

Lawn Tractor Parts: Some drive speeds don't work
Check the cable, pulley, belt, springs, and friction disc if your lawn tractor does not work on some drive speeds. Our repair and symptom guide will help you fix this rare symptom. If you need specific repair instructions related to your model, refer to the manual provided by the manufacturer.
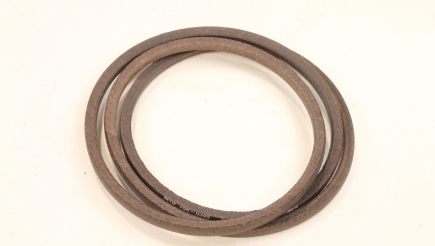
Belts
In your lawn tractor, the first belt drives the variable speed pulley and the second belt is driven off of the variable speed pulley. If these belts are old, worn, cracked, or showing any other signs of damage, they will need to be replaced, as they will affect operation of the speed settings. To replace the belt, start by removing the battery under the seat and the battery hold-in brackets. Lower the mower deck, then loosen the belt guide beside the variable speed pulley, which will give you enough room to remove the belt. Next, move the idler pulley and remove the belt from the transmission, then the variable speed pulley. Remove the shift lever pulley bolts and remove the belt around it (do not take the shift lever apart). Now, move the deck back up and put the parking brake on. This will decrease tension on the front drive belt. At this point, remove the belt guides at the crankshaft pulley and remove the deck belt. Then, let the mower deck back down and remove the crankshaft drive pulley and spacer (remember how the spacer comes off, as you do not want to put it on backwards). Now, take the parking brake off and remove the belt. Re-install a new belt, making sure you are on the inside of the guide pins, then put the parking brake back on. Next, re-install the spacer on the crank shaft, and re-install the drive pulley. Attach the belt, then tighten down the pulley. Release the parking brake and check the tension on the belt. Now you can put the rear belt on, making sure the belt goes around the shifter and bracket first, then around the transmission, and then around the variable pulley. Now you can re-install the shifter bracket. Next, move the idler pulley away and walk the belt around the pulley and tighten the belt guide beside the variable speed pulley. Finally, re-install the deck belt onto the drive pulley, and re-install the belt guides. ... Read more
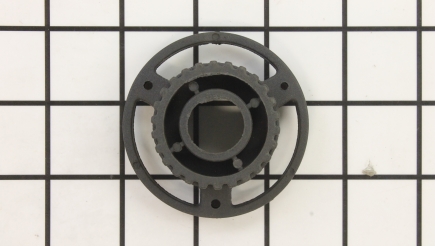
Pulleys
The variable speed pulley controls the drive speed using an adjustable center in the pulley and 2 belts. As you apply pressure to the front drive belt, it will move the adjustable center, causing the belt to ride further down, which allows the drive belt to ride higher on the other side of the pulley, which changes the ratio. Depending on where these belts ride, this pulley will increase or decrease your speed. To check the operation of this pulley, first remove the floor access panel. With the drive wheels off the ground and the lawn tractor secured, start it up and put it into gear. Next, move the lever that controls your different speed settings and check the operation of this pulley. If the pulley is binding or making a gling noise, it will need to be replaced. To replace the variable speed pulley, start by removing the belts (follow the instructions on belt replacement listed elsewhere on this page), then use snap ring pliers to remove the snap ring holding the pulley in place. Remove the damaged pulley and re-install the new one, then re-install the belts. ... Read more

Springs
The springs provide tension to the idler pulley, which keeps the belt tight. As the springs get old, they can become weak and in some cases, they will break entirely. To inspect and replace the springs, first locate the idler pulley and the spring assembly. Depending on your model, you may have to take off your mower deck to do this (check your owner's manual on how to remove the deck). However, it may be easier to reach under the seat with the battery removed; you will need to determine which is best for your model. Then, simply tie a small rope to one end of the spring and pull it off. Now you can install the new spring by attaching it at one end and pulling on it in the same manner. ... Read more

Cable
Your lawn tractor's cable attaches at two points, and connects to mechanical levers at each. When one end of the lever moves, it will cause the other end to move. When cables get old they become stretched, which can impact their ability to operate properly. This can cause your tractor to malfunction at certain drive speeds. To change the cable, first locate the mounting brackets on the speed control lever, and on the idler pulley lever. You will have to remove the access panel and the battery under the seat to reach these points. Keep in mind, you may need pliers to push the tabs in to release the cable, but they may also be attached by means of a cotter pin and washer. Remove any cable hold-down ties, then remove the cable. Replace it with a new one, and re-install the battery and the panel. ... Read more

Friction Disc
Some models of lawn tractor will have a friction disc that drives them. The friction disc is driven by another disc, which, in turn, drives the lawn tractor. As the rubber on this disc wears down, it will start to slip or not drive at all, causing this symptom. To replace the friction disc, you will first need to jack the tractor up. Then, locate the friction disc and remove the bolts, making sure not to remove the center nut. You may want to use a clamp to hold the disc in place as you loosen the bolts and remove the disc. Once you've removed the old friction disc, you can replace it with a new one and tighten it down. ... Read more