


Why Read This Article?
Finish Nailer Repair - Replacing the Driver Guide (Ridgid Part # 79004001022)
Article Breakdown
Finish Nailer Repair - Replacing the Driver Guide (Ridgid Part # 79004001022)
Video
Tools & Materials
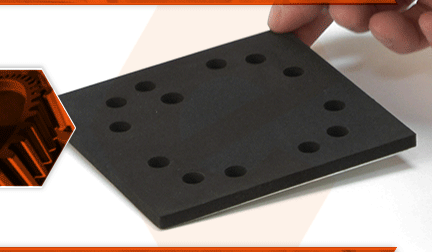
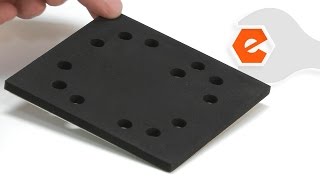
Are you having a hard time keeping the sandpaper attached to your sander? Does it sand unevenly? If so, you could have a worn-out sander pad and backing plate. The sander pad and backing plate consists of a steel plate with a foam pad adhered to it. The foam pad provides grip to the sandpaper, which helps it to stay firmly attached within the clamps. The foam also has a little give, so the pad can conform to a slightly rounded edge. Over time, the foam pad will begin to break down and wear. This can create areas of the pad that will sand more aggressively than others, leading to uneven sanding patterns; especially on softer woods. If the pad wears down to the point that the metal plate is in contact with the paper, the sander will tend to bounce (or move around) erratically.
Let's get started.
REMOVING THE SANDER PAD 1. Unplug the sander.
a. Disconnect the sander from its power source.
2. Remove the sander pad.
a. Remove the four screws securing the sander pad.
b. Remove the sander pad from the platen.
INSTALLING THE NEW SANDER PAD
3. Install the sander pad.
a. Align the holes on the new sander pad with the holes on the platen.
b. Secure the sander pad to the platen with the four screws.
