


Why Read This Article?
Finish Nailer Repair - Replacing the Driver Guide (Ridgid Part # 79004001022)
Article Breakdown
Finish Nailer Repair - Replacing the Driver Guide (Ridgid Part # 79004001022)
Video

Tools & Materials
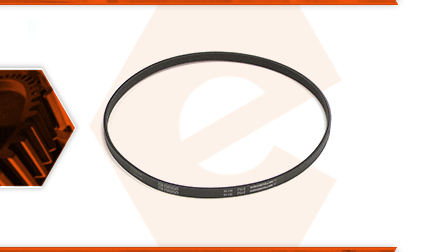
The v-belt attaches between the clutch drum and the arbor pulley. The v-belt uses the powered rotation of the clutch drum to drive the blade or cut-off wheel. Over time, the belt will wear down, crack, and (eventually) snap. Overloading the saw will cause the belt to wear down faster. Replacing a worn v-belt is a repair that can keep the saw in good operating condition.
Let's get started.
REMOVING THE V-BELT 1. Remove the belt cover.
a. Use a socket wrench to remove the two hex nuts on the side of the cover.
b. Use a screwdriver to unthread the belt tensioning screw.
c. Remove the belt cover. (You can leave the tensioning screw, compression spring, and plate in the cover.)
2. Remove the clutch cover.
a. Remove the (3) screws that secure the clutch cover.
b. Remove the clutch cover (along with the recoil starter assembly) from the saw.
3. Remove the v-belt.
a. Remove the v-belt from the arbor pulley, and then from the clutch drum.
INSTALLING THE NEW V-BELT
4. Install the v-belt.
a. Loop one end of the new v-belt around the clutch drum.
b. Verify that the belt is fully seated on the drum pulley.
c. Loop the front portion of the new belt around the arbor pulley.
REASSEMBLING THE UNIT
5. Reinstall the clutch cover.
a. Install the clutch cover (and starter assembly) onto the housing.
b. Secure the clutch cover with the screws.
6. Reinstall the belt cover.
a. Install the belt cover.
b. Attach the belt cover by loosely securing the two nuts. (The nuts can be hand-tightened at this point.)
c. Tension the belt by tightening the tensioning screw.
d. Tighten the nuts the rest of the way with the socket wrench.
