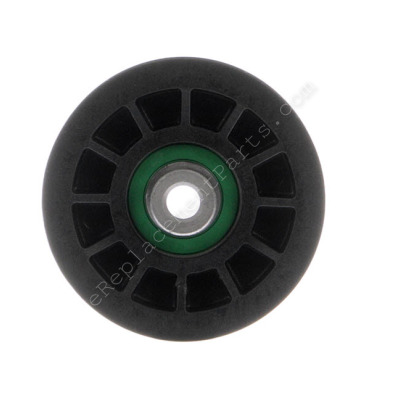
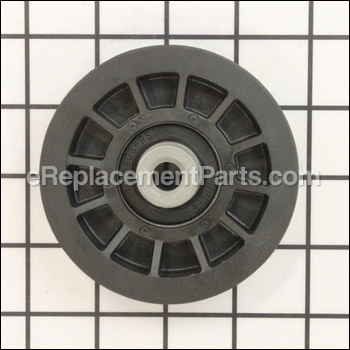
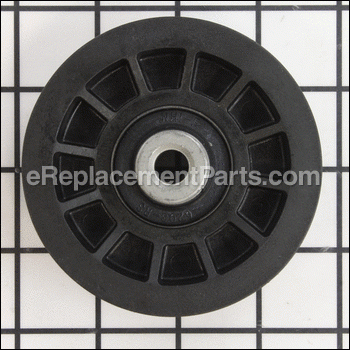
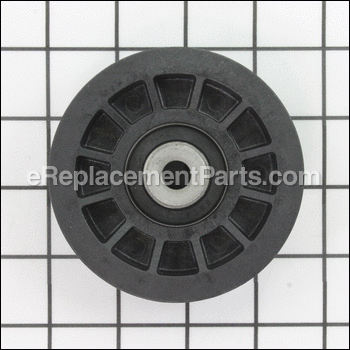
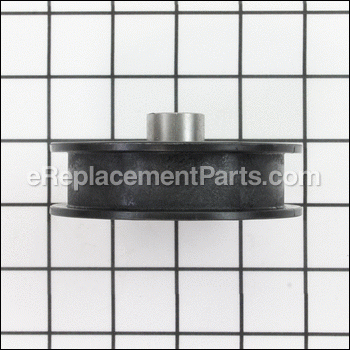
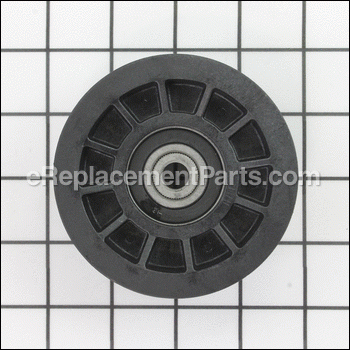
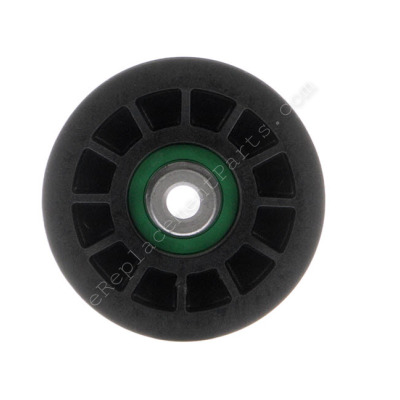
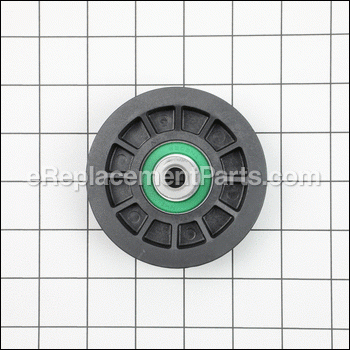
This is an Original Manufacturer Approved replacement ground drive idler pulley designed for lawn tractors. The purpose of this pulley is to apply tension to the belt. It is made out of Plastic with Metal and it is Sold Individually.
To complete this repair you would need a Wrench and Pliers.
• Remove mower deck
• Loosen bolt that secures the pulley and remove Drive belt
• Remove bolts and washers from Pulley
• Replace the old Pulley with a new one
• Secure the pulley and install the belt
• Reassemble mower deck
Flat Idler Pulley 532194327
OEM part for: Husqvarna, Craftsman, Poulan, Weed Eater, Jonsered
Part Number: 532194327
Jump To:
Product Description ?
- Classification: Part
- Weight: 0.40 lbs.
- Shipping: Ships Worldwide
Frequently Purchased Together ?
Compatibility
This part will fit the following 1662 machines
Husqvarna
Poulan
Weed Eater
Craftsman
Jonsered
This item works with the following types of products:
- Lawn Mower Parts
- Lawn Tractor Parts
- Trimmer Parts
This part replaces obsolete part #: , 194327
Customer Part Reviews ?
- 1
- 2
Questions & Answers ?
Our customer Service team is at the ready daily to answer your part and product questions.

Ask our Team
We have a dedicated staff with decades of collective experience in helping customers just like you purchase parts to repair their products.
Does this fit my product?Questions & Answers for Flat Idler Pulley
Customer Repair Instructions ?
All our customer repair instructions are solicited directly from other customers just like you who have purchased and replaced this exact part.
Pulley material worn and destroying belt. Bearings worn in pulley creating a loud grinding noise
Tool Type
Lawn Tractor
Difficulty
Medium
Time
30-60 minutes
Tools Used
Screwdriver, Socket set, WD-40
2. Remove drive belt
3. Remove bolts and washers from each pulley using appropriately sized socket and/or wrench
(Bolts were ceased due to being in place for 6 years. Required WD-40 and ratchet with extended handle for more leverage)
4. Reverse process to install new pulleys, drive belt and mower deck
Noise under mower when clutch engaged
Tool Type
Lawn Tractor
Difficulty
Easy
Time
15-30 minutes
Tools Used
Socket set
Mower developed vibration when moving forward or backward. Flat idler pulley was broken
Tool Type
Lawn Mower
Difficulty
Medium
Time
30-60 minutes
Tools Used
Screwdriver, Wrench Set
Parts Used
The key is the idler pulley is held on by a carriage bolt that you can't see. If you begin loosening the nut on the idler pulley, it will loosen until the square on the carriage bolt head raises up out of the square hole in the frame. After that it just turns along with the nut. The fix is to jam a screwdriver over the head of the carriage bolt to hold it down.
When you get the old idler off, the bracket that holds another idler will drop down as well. Per the video, you have to release the clutch lever, re-position the bracket on the special washer, and then install the new idler pulley.
Once the idler pulley nut is tight,engage the clutch and put the belt where it should be and you're done. Mine worked perfectly.
Lawn mower jerked and would stop moving
Tool Type
Lawn Tractor
Difficulty
Medium
Time
1-2 hours
Tools Used
Pliers, Socket set, Adjustable Wrench
2. Removed drive belt
3. Remove 2 old pulleys (one was completely ruined, Bell crank keeper was broken)
4. Replaced pulleys & keeper bell crank ground drive
5. Replaced drive belt
6. Replaced cutting deck & belt
Mower transmission belt idler pulley failed and steering shaft gear was worn
Tool Type
Lawn Mower
Difficulty
Medium
Time
30-60 minutes
Tools Used
Screwdriver, Pliers, Socket set, Wrench Set
Cleaned dust and debris out of the frame
Took a picture of the assembly for reassembly reference if needed
Removed the steering gear cover plate
Removed the rear steering connecting arms from the steering plate
Removed the steering gear plate
Removed the steering wheel and steering shaft
Removed the idler pulley and belt guards from the clutch housing and replaced it. Had to disconnect the belt tension spring from the idler pulley plate to ease assembly of the pulley to the plate.
Replaced the belt tension spring, 2 man job
Replaced trans belt from front to rear and reattached the belt guards
Attached steering shaft to cover plate and inserted the shaft into place from the bottom
Secured plate screws and installed steering wheel
Drive belt and pulleys
Tool Type
Lawn Tractor
Difficulty
Hard
Time
More than 2 hours
Tools Used
Screwdriver, Power Drill, Socket set
Bearings were bad in pulleys
Tool Type
Lawn Tractor
Difficulty
Medium
Time
1-2 hours
Tools Used
Screwdriver, Pliers, Socket set, Wrench Set
Drive belt had been shredded, so I replaced both V-Groove pullies and the Idler pully, along with the drive belt.
Tool Type
Lawn Tractor
Difficulty
Medium
Time
1-2 hours
Tools Used
Socket set
Stationary idler pulley bearing failed (melted) and mower deck drive belt came off.
Tool Type
Lawn Mower
Difficulty
Hard
Time
More than 2 hours
Tools Used
Screwdriver, Pliers, Socket set, Wrench Set, Adjustable Wrench
Parts Used
- Washer, 13/32 X 1 X 1/2.11guar - 596135501
- Bolt - 596136301
- Flat Idler Pulley - 532194327
- V-groove Idler Pulley - 532194326
- Spacer Retainer - 532194321
- Belt Drive Deck - 593773401
- Washer Hardened - 532178515
- Pulley Idler - 532196106
- Hex Flange Locknut - 532409149
- Bolt - 596435101
- Bolt 3/8-16 X 1-1/2 Gr. 5 - 596136101
- Pulley - 532177968
- Stationary Idler Pulley - 532196104
2. Removed and replaced tractor mounted idler pulleys, since bearings were noisy.
3. Disassembled mower deck - opted to overhaul blade tower supports (3) to clean and renew lubrication. RECOMMEND REPLACING THESE PARTS AS A UNIT, instead of overhaul.
4. Bearing failure had caused hole in deck-mounted pivot support bracket for belt tensioner to become elongated - opted to do nothing at this time.
5. Replacement pulley on pivot support was not sized to accept 7/16" dia bolt!!! Hardened spacer washer hole was too small as well. Re purposed another bolt from the ordered parts, and added washers as necessary to allow pulley to track properly without binding against the tensioner arm.
6. Removed and replaced other pulleys and hardware (these replacement parts were identical to the removed ones).
7. Installed new belt as per diagram on belt slip cover.
8. Reinstalled mower deck underneath the lawn tractor.
Works great!
These are Spare parts that will be installed the next time my blades need sharpening. I will install the parts when the deck is off the machine.
Tool Type
Lawn Tractor
Difficulty
Medium
Time
30-60 minutes
Tools Used
Pliers, Socket set, Wrench Set, Putty knife to clean deck. Fill to sharpen blades.
OEM stands for Original Equipment Manufacturer and means the part you’re buying is sourced directly from the manufacturer who made your product. At eReplacementParts, we sell only genuine OEM parts, guaranteeing the part you’re purchasing is of better design and of higher quality than aftermarket parts.
Our product descriptions are a combination of data sourced directly from the manufacturers who made your product as well as content researched and curated by our content & customer service teams. This content is edited and reviewed internally before being made public to customers.
Our customer service team are at the ready daily to answer your part and product questions. We have a dedicated staff with decades of collective experience in helping customers just like you purchase parts to repair their products.
All our part reviews are solicited directly from other customers who have purchased this exact part. While we moderate these reviews for profanity, offensive language or personally identifiable information, these reviews are posted exactly as submitted and no alterations are made by our team.
All our customer repair instructions are solicited directly from other customers just like you who have purchased and replaced this exact part. While we moderate these reviews for profanity, offensive language or personally identifiable information, these reviews are posted exactly as submitted and no alterations are made by our team.
Based on data from past customer purchasing behaviors, these parts are most commonly purchased together along with the part you are viewing. These parts may be necessary or helpful to replace to complete your current repair.
All our installation videos are created and produced in collaboration with our in-house repair technician, Mark Sodja, who has helped millions of eReplacementParts customers over the last 13 years repair their products. Mark has years of experience in selling and repairing both commercial and residential products with a specialty in gas-powered equipment.
This data is collected from customers who submitted a repair instruction after replacing this exact part. Customers can rate how easy the repair was to complete and how long it took. We aggregate this data to provide a repair rating that allows customers to quickly determine the difficulty and time needed to perform their own repair.

