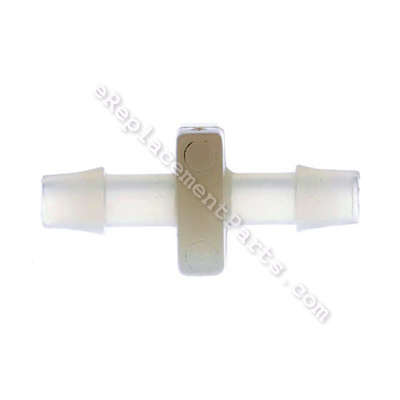
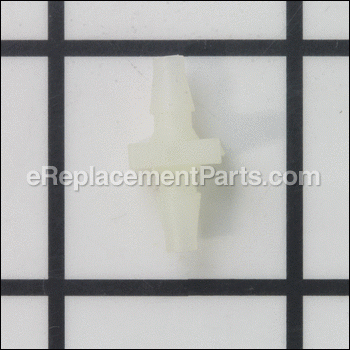
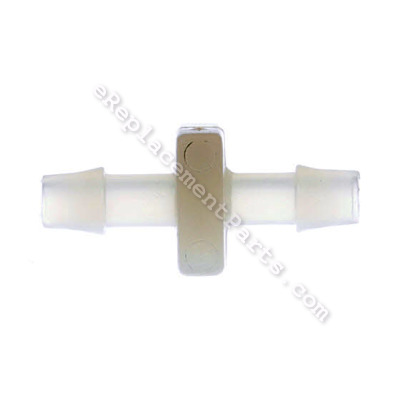
This is a genuine OEM replacement part, it is sold individually.
The purpose of this part is to connect the fuel line extending from the fuel tank to the fuel line that connects to the carburetor.
Over time the fuel lines will become brittle and oversized. They will have to be replaced.
This would be a good time to replace the Fuel Fitting also.
Inline Fuel Fitting 985304001
OEM part for: Ryobi, Homelite
Part Number: 985304001
Jump To:
Product Description ?
- Classification: Part
- Weight: 0.01 lbs.
- Shipping: Ships Worldwide
Frequently Purchased Together ?
Compatibility
This Inline Fuel Fitting will fit the following 291 machines. Confirm this part works with your model, and view the detailed model diagrams and repair help we have to offer.
Ryobi
Homelite
Show More Compatible ModelsThis item works with the following types of products:
- Trimmer Parts
- Pruner Parts
- Blower Parts
- Hedge Trimmer Parts
- Chain Saw Parts
- Saw Parts
This part replaces obsolete part #: 7332, 07332, UP04310, 518086001
Customer Part Reviews ?
- 1
Questions & Answers ?
Our customer Service team is at the ready daily to answer your part and product questions.

Ask our Team
We have a dedicated staff with decades of collective experience in helping customers just like you purchase parts to repair their products.
Does this fit my product?Questions & Answers for Inline Fuel Fitting
Customer Repair Instructions ?
All our customer repair instructions are solicited directly from other customers just like you who have purchased and replaced this exact part.
Old broken fuel lines
Tool Type
Blower
Difficulty
Medium
Time
30-60 minutes
Tools Used
Screwdriver, Pliers, Nutdriver
Remove both lines between fuel tank and carb
Use a wire hook to fish filter and line out of fuel tank
Feed new line into fuel tank far enough to fish line out and attach new filter
Attach line to carb
Attach new return line from carburetor and insert in tank.
Add fuel and start engine
If engine won't run reverse lines at carb.
Leaking fuel, would not start
Tool Type
Blower
Difficulty
Easy
Time
15-30 minutes
Tools Used
Screwdriver, Pliers, Nutdriver
the fuel line i replaced 8 to 10 years ago split
Tool Type
Trimmer
Difficulty
Easy
Time
Less than 15 minutes
Tools Used
Screwdriver, Pliers, sharp pocket knife
Replaced the air filter while i was there. filled tank, primed & we're back in business. hopefully for another 8 to 10 years.
thank ya'll
Rubber tubing had worn out into the plastic fuel tank which started a fuel leak.
Tool Type
Blower
Difficulty
Medium
Time
More than 2 hours
Tools Used
Screwdriver
Removed plastic fuel tank
Disconnected the rubber hoses
Determined the length they send of the rubber hose makes it impossible to reconnect with the fuel filter inside the fuel tank as its way down in their far from the filler neck.
Had to go buy longer rubber tubing from hardware store and then was able to complete the repair.
Gas tank was leaking fuel.
Tool Type
Blower
Difficulty
Easy
Time
Less than 15 minutes
Tools Used
Screwdriver, Putty Knife
2. Removed screws from blower shroud.
3. Removed screws from crankcase cover.
4. Placed rag into crankcase opening to eliminate debris falling into the motor.
5. Removed old crankcase gasket and removed gasket reside with a sharpened putty knife.
6. Disconnected existing fuel lines and removed old fuel tank.
7. Attached new fuel lines and installed new rubber bumpers.
8. Seated new fuel tank.
9. Installed new crankcase gasket and removed rag from Step 4.
10. Reattached crankcase cover.
11. Reattached blower shroud.
OEM stands for Original Equipment Manufacturer and means the part you’re buying is sourced directly from the manufacturer who made your product. At eReplacementParts, we sell only genuine OEM parts, guaranteeing the part you’re purchasing is of better design and of higher quality than aftermarket parts.
Our product descriptions are a combination of data sourced directly from the manufacturers who made your product as well as content researched and curated by our content & customer service teams. This content is edited and reviewed internally before being made public to customers.
Our customer service team are at the ready daily to answer your part and product questions. We have a dedicated staff with decades of collective experience in helping customers just like you purchase parts to repair their products.
All our part reviews are solicited directly from other customers who have purchased this exact part. While we moderate these reviews for profanity, offensive language or personally identifiable information, these reviews are posted exactly as submitted and no alterations are made by our team.
All our customer repair instructions are solicited directly from other customers just like you who have purchased and replaced this exact part. While we moderate these reviews for profanity, offensive language or personally identifiable information, these reviews are posted exactly as submitted and no alterations are made by our team.
Based on data from past customer purchasing behaviors, these parts are most commonly purchased together along with the part you are viewing. These parts may be necessary or helpful to replace to complete your current repair.
All our installation videos are created and produced in collaboration with our in-house repair technician, Mark Sodja, who has helped millions of eReplacementParts customers over the last 13 years repair their products. Mark has years of experience in selling and repairing both commercial and residential products with a specialty in gas-powered equipment.
This data is collected from customers who submitted a repair instruction after replacing this exact part. Customers can rate how easy the repair was to complete and how long it took. We aggregate this data to provide a repair rating that allows customers to quickly determine the difficulty and time needed to perform their own repair.

