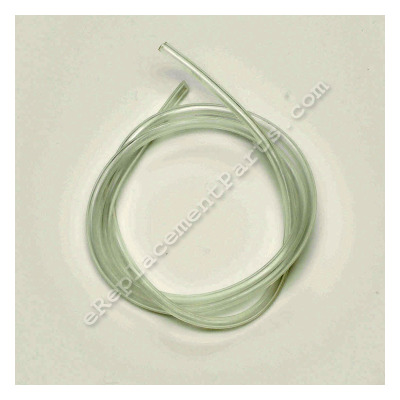
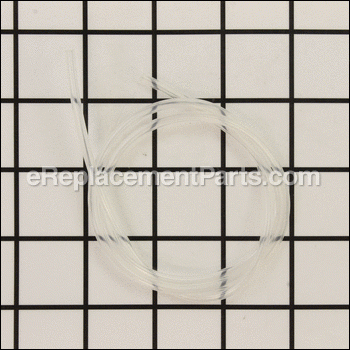
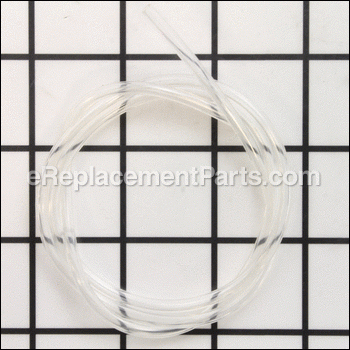
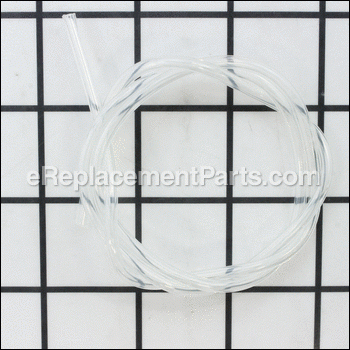
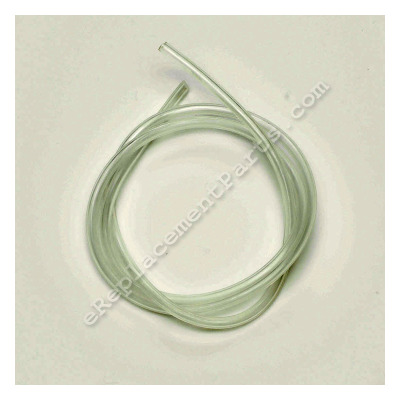
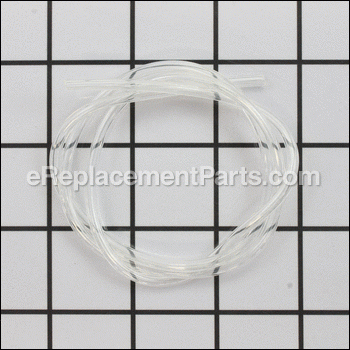
This is a genuine Husqvarna fuel line that is commonly used on gas trimmers and blowers. It is supplied directly from original equipment manufacturer. The fuel line delivers gasoline from the tank into the carburetor. These fuel lines are made out of clear flexible rubber material that over time may begin deteriorate and crack allowing for leaks. At this point it is time to replace the line. Includes one 25-inch fuel line.
Fuel Line 530069247
OEM part for: Poulan, Paramount, Weed Eater, Husqvarna, Craftsman, Jonsered
Part Number: 530069247
Jump To:
Product Description ?
- Classification: Part
- Weight: 0.01 lbs.
- Also Known As: Fuel Tube, Pick-Up Tube, Fuel Hose
- Shipping: Ships Worldwide
Frequently Purchased Together ?
Compatibility
This part will fit the following 1650 machines
Paramount
Poulan
Weed Eater
Husqvarna
Craftsman
Jonsered
This item works with the following types of products:
- Edger Parts
- Blower Parts
- Hedge Trimmer Parts
- Trimmer Parts
- Chain Saw Parts
- Saw Parts
- Pruner Parts
This part replaces obsolete part #: 5300693-26, 21054, 21053, 530021053, 530021082, 530071404, 530021076
Repair Videos ?
|
Return line leaking? Step-by-step instructions show you how to remove and install the fuel return line on your Poulan ch...
November 01, 2016
|
Customer Part Reviews ?
- 1
- 2
- 3
Questions & Answers ?
Our customer Service team is at the ready daily to answer your part and product questions.

Ask our Team
We have a dedicated staff with decades of collective experience in helping customers just like you purchase parts to repair their products.
Does this fit my product?Questions & Answers for Fuel Line
Customer Repair Instructions ?
All our customer repair instructions are solicited directly from other customers just like you who have purchased and replaced this exact part.
Fuel line and fuel filter fell out of fuel tank
Tool Type
Chain Saw
Difficulty
Easy
Time
15-30 minutes
Tools Used
Screwdriver, Pliers, Socket set, forceps
Parts Used
Weed Eater trimmer fuel line rotted due to old age
Tool Type
Trimmer
Difficulty
Hard
Time
30-60 minutes
Tools Used
Screwdriver, Pliers, Socket set, Nutdriver, small punch, carb cleaner
Parts Used
2. Rebuild the carb.
3. Removed what was left of the fuel line.
3. Installed new fuel line, which was very difficult.
4. line fits thru a hole on the fuel tank. This required the line to be forced thru a smaller hole than the OD of the fuel line. I ended up putting silicone grease on the OD of the line and pushing the line thru the hole using a small punch.
5. Once I got enough line thru the hole and out thru the fuel tank cap side, I was able to pull it from that side until I had line that was not pushed thru using the punch.
6. I cut the line close to the fuel cap side of the tank and installed the fuel filter onto the line. The fuel filter just drops into the tank.
7. I then reinstalled the tank and carb.
8. Once all the hardware is reinstalled, I measured and cut the fuel line to fit onto the carb.
9. This may sound easy, but it was not. The weed eater runs great now (its almost 20 years old).
Old Primer Bulb was cracked and would not pump fuel into the carb
Tool Type
Chain Saw
Difficulty
Easy
Time
15-30 minutes
Tools Used
Screwdriver, Pliers
- Removed side cover where primer bulb is located
- Remove old snap in primer bulb (without disconnecting fuel lines)
- Cut and replace the 2 fuel lines one at a time (mine were hard and brittle from old fuel)
- The new bulb has 2 fuel ports, one is longer than the other which matched the old bulb.
- Installation instructions said to double check the direction of the fuel flow (the bulb sucks fuel through the carb, so the inlet side is connected to the carb and the outlet side goes back to the fuel tank).
- Snap the new bulb into place on the side panel
- Attach the side panel
- Attach the top panel
All fuel lines dissolved from age,crumbled and broken.
Tool Type
Chain Saw
Difficulty
Medium
Time
30-60 minutes
Tools Used
Screwdriver, Pliers, Socket set, Nutdriver, hemo-stats to grab fuel line to pull through tank
SST25 Line Trimmer: Would not start. Prior owner left old fuel in the entire fuel system for several years. Entire fuel system was gummed and would not start.
Tool Type
Trimmer
Difficulty
Easy
Time
15-30 minutes
Tools Used
Pliers, Allen Key Set, Needle Nose Pliers, Star Screwdriver Set
1. First I drained and disposed of all the old fuel.
2. Then I removed the fuel filter from the intake hose in the fuel tank with needle nose pliers. Once the fuel filter was removed then I remove the return line fuel assembly pickup (fancy name for little plastic insert) with needle nose pliers.
3. After both the fuel filter and fuel assembly pickup was remove then I removed the gas tank carefully, thus not to tear the fuel lines. The fuel tank is held on with two star screws so you would need the proper star screw driver or ratchet attachment.
4. Next I removed the hoses from the carburetor also careful not to tear the fuel lines. The reason for such care is because I used the old hoses to determine the size of the new hoses. Now for the carburetor.
5. I removed the air filter and air filter cover there are two Allen screws that hold on the carburetor. Using a the proper Allen key I remove both screws. Be careful not to tear any gaskets when removing. Also the throttle cable to attached to the carburetor it is easy to remove just angle the L properly and it slides right out.
Now that the carburetor is removed assess the situation. In my case I took the carburetor apart to see if I could clean it before I ordered a new carburetor but this was beyond cleaning. If you have never taken a carburetor apart proceed with caution and read a different repair guide.
Most of the parts where rusted and gummed and for 25 bucks I simple decided to order a new one. Also since I had the fuel take off I cleaned it and ordered new hoses, fuel filter, and a new fuel tank cap. I only ordered a new cap because the other one was cracked.
6. Once the parts arrived I began by cutting the new fuel hoses. I used the old hoses to determine the size. NOTE: Cut the new pieces a little longer than the old ones because the hardest part of the project is putting the new hoses into the fuel tank. And unless you are really good you will tare up the ends a bit and will need to be cut off. Plus you will need to cut the new ones at an angle so you will need to cut that flat as well.
7. After the cut is made, cut the end of the hoses at a sharp angle thus to be able to put the tip of the hose through the holes int he fuel tank. I recommend using a little lube on the outside of the hoses as well just so they slide easier. In my case I used a little 2-cycle oil because I knew it would not contaminate the line or the gas in the fuel tank. Once the hoses where just barely through the hole I grabbed the end of the hoses with needle nose pliers and pulled the desired length. On the intake hose I cut the end flush and attached the new fuel filter then put it back into the fuel tank. Also cut and attached the return line fuel assembly pickup to the return line then pulled it up to the top of the fuel tank.
8. Before I attached the tank I put the new carburetor on the same way I took it off making sure to attach the throttle cable as I went. When the screws where in line I tightened them down snug. Do not over tighten.
9. Now I attached fuel tank in same manner not to over tighten the screws.
10. Finally I attached the fuel lines to the carburetor filled the fuel tank with good 2 cycle and closes the fuel tank with my new fuel cap. Attached the air filter and air filter cover and we where good to go.
Primed the carburetor, put it full choke, cranked a could of times went into half choke. It fired right up, went to no choke and gave it full throttle and she purred like a kitten. Okay it is a line trimmer she roared like a lion but either way it is working great.
Fuel line in gas tank was disintigrated, chain saw would not start
Tool Type
Chain Saw
Difficulty
Easy
Time
15-30 minutes
Tools Used
Screwdriver, Pliers
Parts Used
fuel lines inside gas tank corroded
Tool Type
Trimmer
Difficulty
Easy
Time
Less than 15 minutes
Tools Used
Screwdriver, Pliers
Parts Used
Take pictures before you start on which lines go where.
Unscrewed tank and was putting back on in 15 minutes.
Hardest part was getting new line back into tank.
Easy thing was line was already pre cut at angle.
Replaced fuel line
Tool Type
Chain Saw
Difficulty
Easy
Time
Less than 15 minutes
Tools Used
Pliers
Parts Used
Two Poulan Pro power heads not running
Tool Type
Pruner
Difficulty
Medium
Time
1-2 hours
Tools Used
Screwdriver, Sharp knife, Allen wrench
Fuel Lines aged and brittle
Tool Type
Chain Saw
Difficulty
Medium
Time
30-60 minutes
Tools Used
Screwdriver, Pliers, Socket set, Scissors/Knife
2) Removed Spark Plug
3) Removed Side Cover
4) Removed Helper Handle
5) Drained Fuel Tank
6) Recover Fuel Filter
7) Took Pictures of Carburetor and Fuel Line Routing
8) Removed Fuel Lines
9) Removed Primer Bulb
10) Removed Carburetor
11) Fish new Lines into Fuel Tank, cut to size
Re-install parts
OEM stands for Original Equipment Manufacturer and means the part you’re buying is sourced directly from the manufacturer who made your product. At eReplacementParts, we sell only genuine OEM parts, guaranteeing the part you’re purchasing is of better design and of higher quality than aftermarket parts.
Our product descriptions are a combination of data sourced directly from the manufacturers who made your product as well as content researched and curated by our content & customer service teams. This content is edited and reviewed internally before being made public to customers.
Our customer service team are at the ready daily to answer your part and product questions. We have a dedicated staff with decades of collective experience in helping customers just like you purchase parts to repair their products.
All our part reviews are solicited directly from other customers who have purchased this exact part. While we moderate these reviews for profanity, offensive language or personally identifiable information, these reviews are posted exactly as submitted and no alterations are made by our team.
All our customer repair instructions are solicited directly from other customers just like you who have purchased and replaced this exact part. While we moderate these reviews for profanity, offensive language or personally identifiable information, these reviews are posted exactly as submitted and no alterations are made by our team.
Based on data from past customer purchasing behaviors, these parts are most commonly purchased together along with the part you are viewing. These parts may be necessary or helpful to replace to complete your current repair.
All our installation videos are created and produced in collaboration with our in-house repair technician, Mark Sodja, who has helped millions of eReplacementParts customers over the last 13 years repair their products. Mark has years of experience in selling and repairing both commercial and residential products with a specialty in gas-powered equipment.
This data is collected from customers who submitted a repair instruction after replacing this exact part. Customers can rate how easy the repair was to complete and how long it took. We aggregate this data to provide a repair rating that allows customers to quickly determine the difficulty and time needed to perform their own repair.

