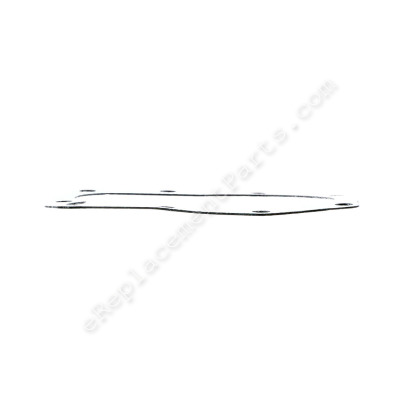
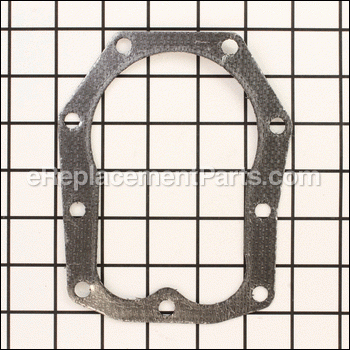
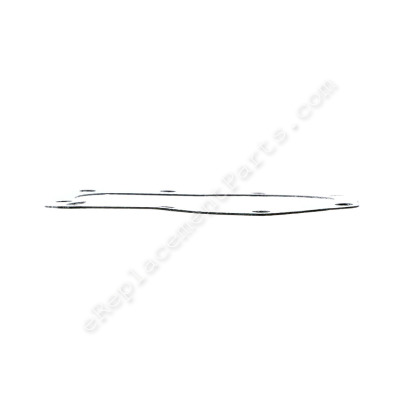
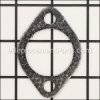
This replacement gasket-cylinder head is sourced from original equipment manufacturer. It is specially designed for use on Briggs and Stratton engines commonly installed on Toro lawn and garden equipment. Its purpose is to provide an air tight seal for the cylinder head. Over time this gasket will get compressed and deteriorate requiring replacement. This item is made from durable composite material and it is sold individually. To complete this repair you will need a set of wrenches.
Gasket-cylinder Head 271866S
OEM part for: Briggs and Stratton, Toro, Lawn Boy, Murray
Part Number: 271866S
Jump To:
Frequently Purchased Together ?
Compatibility
This part will fit the following 3290 machines
Briggs and Stratton
Toro
Lawn Boy
Murray
This item works with the following types of products:
- Generator Parts
- Snowblower Parts
- Lawn Tractor Parts
- Lawn Mower Parts
- Engine Parts
This part replaces obsolete part #: 271866 (Included in Valve Overhaul Gasket Set-Part No. 498539. Included ), 271866, 271075
Customer Part Reviews ?
- 1
Questions & Answers ?
Our customer Service team is at the ready daily to answer your part and product questions.

Ask our Team
We have a dedicated staff with decades of collective experience in helping customers just like you purchase parts to repair their products.
Does this fit my product?Questions & Answers for Gasket-cylinder Head
Customer Repair Instructions ?
All our customer repair instructions are solicited directly from other customers just like you who have purchased and replaced this exact part.
The engine seized
Tool Type
Lawn Tractor
Difficulty
Medium
Time
More than 2 hours
Tools Used
Screwdriver, Pliers, Socket set, Wrench Set, Nutdriver, Impact wrench.
One additional thing I did that doesn't pertain to the original problem is bring the valves to spec. On this engine, the stems have to be ground a bit at a time. I also tapped the valves to the seats. I consider the project a success. The parts come with any unusual techniques or specs needed to do this.
Would not start
Tool Type
Lawn Mower
Difficulty
Easy
Time
15-30 minutes
Tools Used
Screwdriver, Socket set
Parts Used
Blown head gasket
Tool Type
Lawn Tractor
Difficulty
Easy
Time
15-30 minutes
Tools Used
Socket set, Wrench Set
The most time spent on the repair was spent on removing the mower hood, exhaust, fuel input, etc. in order to be able to get to the head.
After that the actual removal of the head, replacement of the gasket, and re-attachment of the head was simple.
My riding mower has Briggs & Stratton's OHV (overhead valves) and that is a pain to get the adjustment correct--that took about 30 minutes and is not included in my estimated time to replace the head gasket. The valve adjustment is a separate repair problem and needs to be done every year or two. I have found NO benefit to the OHV design--I have another riding mower with a Briggs engine and is over 10 years old and have never had a problem with it.
Final step was re-installation of all the various mower body parts.
Needed valve adjustment
Tool Type
Lawn Tractor
Difficulty
Easy
Time
1-2 hours
Tools Used
Screwdriver, Socket set, Wrench Set, Scraper, wire brush
Parts Used
Removed carburetor
Removed intake valve and adjusted valve clearance.
Replaced valve, carburetor, and reinstalled head with new gasket.
Mower runs great
Mouse infestation, corrosion, displaced valve seat, no spark, frozen crank, you name it, in mower engine
Tool Type
Lawn Tractor
Difficulty
Hard
Time
More than 2 hours
Tools Used
Screwdriver, Pliers, Power Drill, Socket set, Wrench Set, Oxy-acetylene torch
Parts Used
2. Cleaned off mouse nest, wire brushed corrosion
3. Removed head bolts (broke two) to remove head.
4. Found displaced intake valve seat. Removed valves.
5. Re-set valve seat, ground valves.
6. Cleaned out combustion chamber
7. Drilled and tapped two head bolt holes
8. Re-installed head with new spark plug.
9. Remove, clean and re-install carb
10. Re-assemble, add fresh gas and run!
Installed New head gasket and starter
Tool Type
Lawn Tractor
Difficulty
Easy
Time
15-30 minutes
Tools Used
Socket set, Wrench Set, Nutdriver
Parts Used
Compression spring was broken off the can-shaft
Tool Type
Lawn Tractor
Difficulty
Easy
Time
15-30 minutes
Tools Used
Screwdriver, Power Drill, Socket set, Wrench Set
Thank you!
Head Gasket Blew
Tool Type
Lawn Tractor
Difficulty
Medium
Time
30-60 minutes
Tools Used
Socket set, Wrench Set, Scrapper and Carb Cleaner
Blown head gasket caused me to have to replace the plug, so I decided to do a general tune up on them both, to include plus, air filter, and oil change.
Thanks for having the parts available.
would not start
Tool Type
Lawn Tractor
Difficulty
Easy
Time
15-30 minutes
Tools Used
Socket set, Wrench Set
Tractor ran rich and extremely hard to start
Tool Type
Lawn Tractor
Difficulty
Medium
Time
More than 2 hours
Tools Used
Screwdriver, Socket set, Wrench Set, Adjustable Wrench
So, I replaced the head gasket after cleaning the head and valves, put a float valve in the carb, by the way the little green ring goes in with a raised lip on the bowl side of the valve, replaced the coil and will install a new ignition switch and module coil when it comes in.
OEM stands for Original Equipment Manufacturer and means the part you’re buying is sourced directly from the manufacturer who made your product. At eReplacementParts, we sell only genuine OEM parts, guaranteeing the part you’re purchasing is of better design and of higher quality than aftermarket parts.
Our product descriptions are a combination of data sourced directly from the manufacturers who made your product as well as content researched and curated by our content & customer service teams. This content is edited and reviewed internally before being made public to customers.
Our customer service team are at the ready daily to answer your part and product questions. We have a dedicated staff with decades of collective experience in helping customers just like you purchase parts to repair their products.
All our part reviews are solicited directly from other customers who have purchased this exact part. While we moderate these reviews for profanity, offensive language or personally identifiable information, these reviews are posted exactly as submitted and no alterations are made by our team.
All our customer repair instructions are solicited directly from other customers just like you who have purchased and replaced this exact part. While we moderate these reviews for profanity, offensive language or personally identifiable information, these reviews are posted exactly as submitted and no alterations are made by our team.
Based on data from past customer purchasing behaviors, these parts are most commonly purchased together along with the part you are viewing. These parts may be necessary or helpful to replace to complete your current repair.
All our installation videos are created and produced in collaboration with our in-house repair technician, Mark Sodja, who has helped millions of eReplacementParts customers over the last 13 years repair their products. Mark has years of experience in selling and repairing both commercial and residential products with a specialty in gas-powered equipment.
This data is collected from customers who submitted a repair instruction after replacing this exact part. Customers can rate how easy the repair was to complete and how long it took. We aggregate this data to provide a repair rating that allows customers to quickly determine the difficulty and time needed to perform their own repair.

