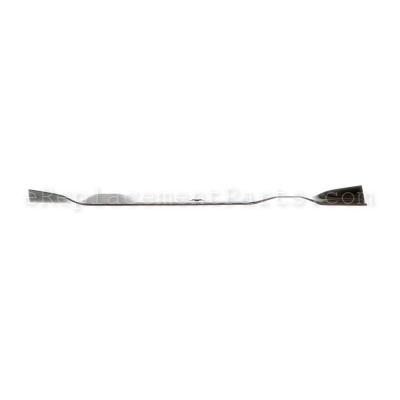
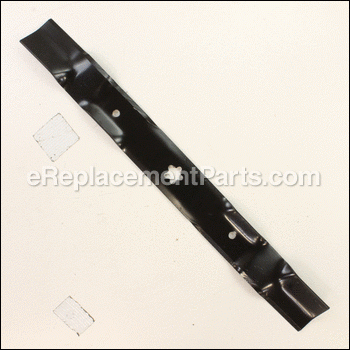
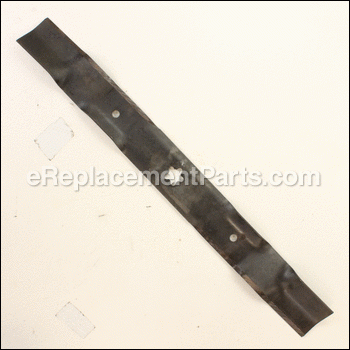
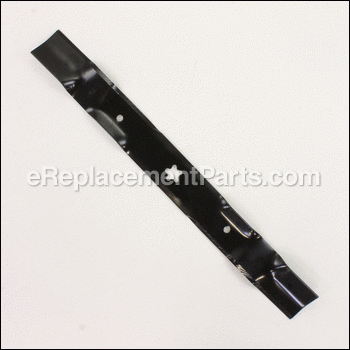
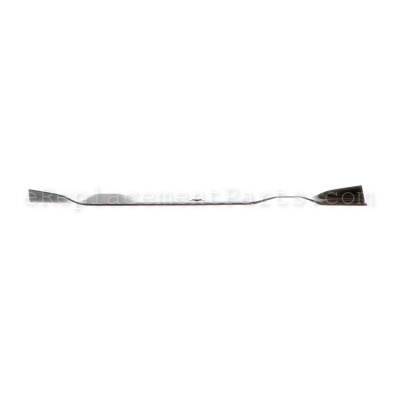
This is mulching blade is specially designed for use with Craftsman riding lawn mowers/tractors. Mulching blades are shaped to keep the grass under deck for longer allowing it to be cut into smaller pieces. This provides natural mulch for your lawn since smaller clippings will decompose quicker, releasing their nutrients into the soil. It is made out of metal and it is sold individually.
To install this mulch blade you would need a socket wrench.
• Park the riding lawnmower on a flat surface such as a garage floor or a driveway
• Disengage blades by pulling the cutting deck lever fully to the disengaged position
• Set the riding lawnmower cutting deck to the highest position to access blades
• Unscrew the blade bolt
• Remove old blade and secure a new one in place
• Reassemble in reverse order and test your new blade
Mulching Blade 532134149
OEM part for: Husqvarna, Poulan, Ryobi, Craftsman, Weed Eater, Jonsered
Part Number: 532134149
Jump To:
Product Description ?
- 42 inch
- Classification: Part
- Weight: 1.68 lbs.
- Shipping: Ships Worldwide
Frequently Purchased Together ?
Compatibility
This part will fit the following 1103 machines
Poulan
Ryobi
Husqvarna
Weed Eater
Craftsman
Jonsered
This item works with the following types of products:
- Chain Saw Parts
- Saw Parts
- Lawn Tractor Parts
- Lawn Mower Parts
This part replaces obsolete part #: 594892701 ((for Mulching Mowers Only)), 594892701, 5391104-60, 5310050-85, 7771341-49, 777134149, 539110460, 134149, 24676
Customer Part Reviews ?
- 1
- 2
- 3
Questions & Answers ?
Our customer Service team is at the ready daily to answer your part and product questions.

Ask our Team
We have a dedicated staff with decades of collective experience in helping customers just like you purchase parts to repair their products.
Does this fit my product?Questions & Answers for Mulching Blade
Customer Repair Instructions ?
All our customer repair instructions are solicited directly from other customers just like you who have purchased and replaced this exact part.
Mower was leaving a swath of grass about a foot wide between rows
Tool Type
Lawn Tractor
Difficulty
Medium
Time
1-2 hours
Tools Used
Pliers, Wrench Set
Parts Used
I have a RYOBI - Husqvarna mower with 42 inch deck - rebuilt. I would not be able to mow my place without it. I have about 4 acres to mow. This description may sound elementary, but it needs to be in layman's terms. The first thing to do is lower the deck all the way to the ground. If you don't do this first, you will put a lot more hours into it than you need to struggling with it. (learned from experience - this is the second time I have done this.) Remove all cotter pins - there are about 8 total. Then raise the deck lever to the highest level to promote easiest removal of deck. (There are levels and bars underneath that will make your life difficult otherwise.)
Since I cannot bend or kneel, I sat on the ground and used both legs to push it out from under the tractor. Be sure to take the belt off the pulleys first - there is a handy-dandy diagram to help you remember how to hook them back up. Also be sure to disconnect the pulley that puts the blade in motion - it is a cable that is not very noticeable but is vital to your mowing job.
The deck is heavy, so I leaned it against a stable surface to get to the blades. Since I also have little arm strength to spare - I have a "cheater bar" that I keep in my car at all times in case of a flat tire - it is very helpful in loosening large nuts like lugnuts. Using the cheater bar, I used a ratchet and attached the bar to the handle of the ratchet (it fits right inside the bar). One strong pull and it loosened the bolt holding on the blades. (I add this because not all people who need repairs are able to hire them done - and small women really are challenged by tasks that should take a lot of manpower.)
After removing the old blades that were ground into little daggers at each end due to the sand content of the soil here, I compared them to the new ones. Sure enough - a full 3 inches was missing on both ends of the old blades. Note to self: drive my mower AROUND the anthills instead of through them from now on.
Actually, this is the first time I have ordered new blades and gotten the exactly correct length for my 42" mower deck, Thanks, EReplacement parts! The last company I used before this gave me blades that were about 2" short.
Tighten the blades, then spin them by hand to make sure they are centered correctly and don't rub the deck. My mower is wearing out and does not have anything left of the flower-like centers that the blades fit over, so I needed to be careful. (That will be another set of parts to buy for the future.) Pay attention to the side of the blades that have writing on them - that is the side you should be able to see while you are tightening them. I believe the words "Grass Side" tell you which way is up. While I had the blades off, it was a perfect time to clean the deck off as well.
Slide the deck back in under the tractor. Lower the deck lever all the way down again. Reattach all cotter pins and cables. Don't forget any - that is what makes the cut so beautiful and even after you have done the work.
I love my lawn tractor and just wanted your readers to know that not all repairs have to be done by a certified mechanic. Even if you are less-abled, there is always a way to get things done if you look for it.
Needed general maintenance:
Tool Type
Lawn Tractor
Difficulty
Medium
Time
1-2 hours
Tools Used
Screwdriver, Pliers, Socket set, Wrench Set, Adjustable Wrench
2. Replaced the blades for mowing.
3. Re-installed the deck.
4. Changed the oil filter and the air filter.
Note: Needed maintenance manual for tractor to learn how to remove and re-install deck.
Needed new blades
Tool Type
Lawn Tractor
Difficulty
Easy
Time
15-30 minutes
Tools Used
Power Drill, Socket set, Wrench Set, Impact gun
Parts Used
Blades damaged and worn beyond repair.
Tool Type
Lawn Tractor
Difficulty
Easy
Time
15-30 minutes
Tools Used
Socket set
Parts Used
Replaced mower blades
Tool Type
Lawn Tractor
Difficulty
Easy
Time
15-30 minutes
Tools Used
Socket set
Parts Used
Belt stretched, blades old.
Tool Type
Lawn Mower
Difficulty
Medium
Time
30-60 minutes
Tools Used
Wrench Set
Damaged.
Tool Type
Lawn Tractor
Difficulty
Medium
Time
30-60 minutes
Tools Used
2. Removed the old parts.
3. Secured the new one.
4. Reassembled and tested.
Blades were dull and worn
Tool Type
Lawn Tractor
Difficulty
Medium
Time
30-60 minutes
Tools Used
Wrench Set
Parts Used
Blocked the tires
Jacked up the tractor and put it on jack stand
Removed old blades and put on new ones
Lowered the tractor and cut the grass
The new blades worked very well.
Nothing
Tool Type
Lawn Tractor
Difficulty
Easy
Time
15-30 minutes
Tools Used
Socket set
Parts Used
shift would not shift
Tool Type
Lawn Tractor
Difficulty
Easy
Time
15-30 minutes
Tools Used
Socket set, Wrench Set, light
Parts Used
OEM stands for Original Equipment Manufacturer and means the part you’re buying is sourced directly from the manufacturer who made your product. At eReplacementParts, we sell only genuine OEM parts, guaranteeing the part you’re purchasing is of better design and of higher quality than aftermarket parts.
Our product descriptions are a combination of data sourced directly from the manufacturers who made your product as well as content researched and curated by our content & customer service teams. This content is edited and reviewed internally before being made public to customers.
Our customer service team are at the ready daily to answer your part and product questions. We have a dedicated staff with decades of collective experience in helping customers just like you purchase parts to repair their products.
All our part reviews are solicited directly from other customers who have purchased this exact part. While we moderate these reviews for profanity, offensive language or personally identifiable information, these reviews are posted exactly as submitted and no alterations are made by our team.
All our customer repair instructions are solicited directly from other customers just like you who have purchased and replaced this exact part. While we moderate these reviews for profanity, offensive language or personally identifiable information, these reviews are posted exactly as submitted and no alterations are made by our team.
Based on data from past customer purchasing behaviors, these parts are most commonly purchased together along with the part you are viewing. These parts may be necessary or helpful to replace to complete your current repair.
All our installation videos are created and produced in collaboration with our in-house repair technician, Mark Sodja, who has helped millions of eReplacementParts customers over the last 13 years repair their products. Mark has years of experience in selling and repairing both commercial and residential products with a specialty in gas-powered equipment.
This data is collected from customers who submitted a repair instruction after replacing this exact part. Customers can rate how easy the repair was to complete and how long it took. We aggregate this data to provide a repair rating that allows customers to quickly determine the difficulty and time needed to perform their own repair.

