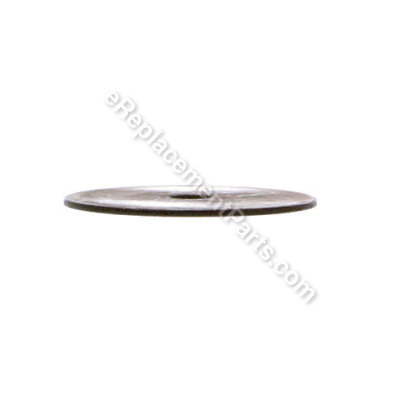
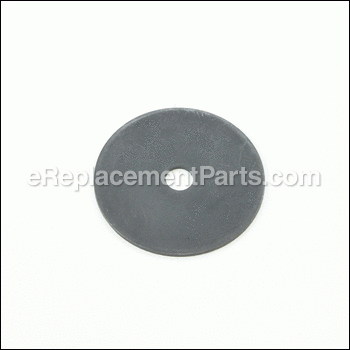
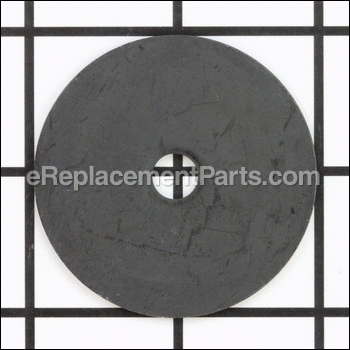
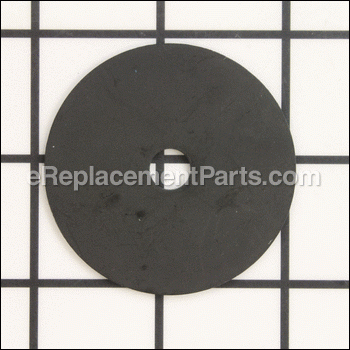
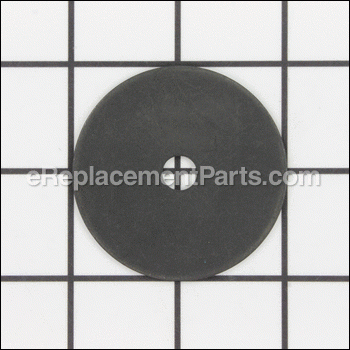
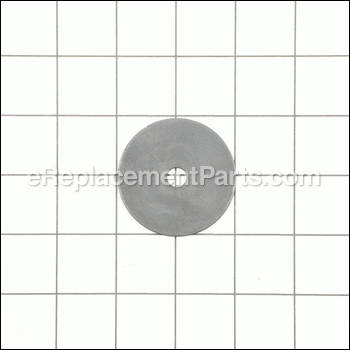
It is a genuine item that is supplied by the original manufacturer for use with Poulan and Weed Eater chainsaws. This washer-clutch is a special friction disk that helps to engage the clutch by ensuring a right fit between connected components. It provides an identical replacement for a damaged or a missing hardware that was installed on a new unit. Check the diagrams of your model for the exact location and the correct installation of this part. One durable metal washer-clutch is included. You may need a screwdriver and a wrench set to perform this repair.
Clutch Washer 530015611
OEM part for: Poulan
Part Number: 530015611
Jump To:
Frequently Purchased Together ?
Compatibility
This Clutch Washer will fit the following 612 machines. Confirm this part works with your model, and view the detailed model diagrams and repair help we have to offer.
Poulan
Show More Compatible ModelsThis item works with the following types of products:
- Chain Saw Parts
- Saw Parts
Repair Videos ?
|
This article explains how to remove the clutch from most line and string trimmers. Tips are provided for removing tricky...
October 21, 2009
|
Customer Part Reviews ?
- 1
Questions & Answers ?
Our customer Service team is at the ready daily to answer your part and product questions.

Ask our Team
We have a dedicated staff with decades of collective experience in helping customers just like you purchase parts to repair their products.
Does this fit my product?Questions & Answers for Clutch Washer
Customer Repair Instructions ?
All our customer repair instructions are solicited directly from other customers just like you who have purchased and replaced this exact part.
Chainsaw chain would not stop moving bad clutch.
Tool Type
Chain Saw
Difficulty
Easy
Time
Less than 15 minutes
Tools Used
Screwdriver, Socket set, Wrench Set, WD-40
2. Spray wad-40 on threads where clutch assemble is.
3 remove spark plug insert 1/2” rope to lock it up.
4. Use torch if needed to help free the clutch.
5.Reverse threads disassemble clutch.
6. In reverse order all new hardware.
Sprocket was stripped
Tool Type
Chain Saw
Difficulty
Medium
Time
15-30 minutes
Tools Used
Power Drill, Hammer
Clutch slipping/ burning
Tool Type
Chain Saw
Difficulty
Easy
Time
Less than 15 minutes
Tools Used
Screwdriver, Socket set, Wrench Set
2- Secure the flywheel on the opposite side against the handle using a socket and ratchet
3- remove the clutch assembly using the clutch tool and in the direction of the off arrows
4- Install new parts in the order as old parts were removed.
5- tighten clutch assembly with the clutch tool in the opposite direction, remembering to reposition your socket and ratchet on the flywheel for opposing force against the handle.
6 - in the event, you must assemble the clutch, lay it on a flat surface, place the spring in the grove under one arm of the center section, slip a flat tip screwdriver under the spring just to the edge of the opposite arm and flip the spring into place under the arm and into the grove while maintaining the first arm in place. A bit tricky and may require assistance.
7 reassemble bar assembly.
Clutch was slipping on chainsaw
Tool Type
Chain Saw
Difficulty
Easy
Time
15-30 minutes
Tools Used
Socket set, Plug socket, rewind rope, clutch tool .
Pushed rewind rope down into the cylinder.
Put the clutch tool on the clutch, turning backwards till the piston comes up against the rope in the cylinder.
Remove the clutch, the clutch drum, the thrust washer.
Put the new parts on In the reverse order.
Pull the rope out of the cylinder, replace the spark plug.
Replace the bar and chainsaw, and covers.
Clutch and clutch drum worn
Tool Type
Chain Saw
Difficulty
Easy
Time
30-60 minutes
Tools Used
Socket set, Clutch removal tool
2. Removed the clutch and washer.
3. Installed the new parts.
4. Installed the covers for the clutch and rope starter.
Chain would not hold tension, and was continuously slipping off bar. Also got very hot when cutting small logs
Tool Type
Chain Saw
Difficulty
Easy
Time
15-30 minutes
Tools Used
Screwdriver, Pliers, Wrench Set
Clutch was slipping when cutting a log
Tool Type
Chain Saw
Difficulty
Easy
Time
15-30 minutes
Tools Used
Screwdriver, Wrench Set
Worn out clutch and drum
Tool Type
Chain Saw
Difficulty
Easy
Time
15-30 minutes
Tools Used
Socket set
I watched the above video on how to remove and install the clutch on my chainsaw. Works like a new one now.
Worn sprocket
Tool Type
Chain Saw
Difficulty
Easy
Time
Less than 15 minutes
Tools Used
Screwdriver, Wrench Set, specialty socket for clutch (use a brake caliper tool)
Parts Used
OEM stands for Original Equipment Manufacturer and means the part you’re buying is sourced directly from the manufacturer who made your product. At eReplacementParts, we sell only genuine OEM parts, guaranteeing the part you’re purchasing is of better design and of higher quality than aftermarket parts.
Our product descriptions are a combination of data sourced directly from the manufacturers who made your product as well as content researched and curated by our content & customer service teams. This content is edited and reviewed internally before being made public to customers.
Our customer service team are at the ready daily to answer your part and product questions. We have a dedicated staff with decades of collective experience in helping customers just like you purchase parts to repair their products.
All our part reviews are solicited directly from other customers who have purchased this exact part. While we moderate these reviews for profanity, offensive language or personally identifiable information, these reviews are posted exactly as submitted and no alterations are made by our team.
All our customer repair instructions are solicited directly from other customers just like you who have purchased and replaced this exact part. While we moderate these reviews for profanity, offensive language or personally identifiable information, these reviews are posted exactly as submitted and no alterations are made by our team.
Based on data from past customer purchasing behaviors, these parts are most commonly purchased together along with the part you are viewing. These parts may be necessary or helpful to replace to complete your current repair.
All our installation videos are created and produced in collaboration with our in-house repair technician, Mark Sodja, who has helped millions of eReplacementParts customers over the last 13 years repair their products. Mark has years of experience in selling and repairing both commercial and residential products with a specialty in gas-powered equipment.
This data is collected from customers who submitted a repair instruction after replacing this exact part. Customers can rate how easy the repair was to complete and how long it took. We aggregate this data to provide a repair rating that allows customers to quickly determine the difficulty and time needed to perform their own repair.

