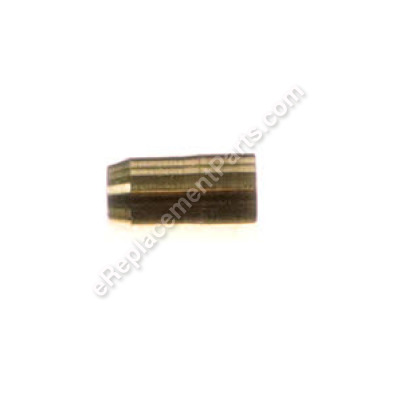
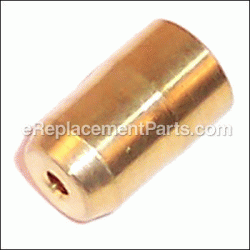
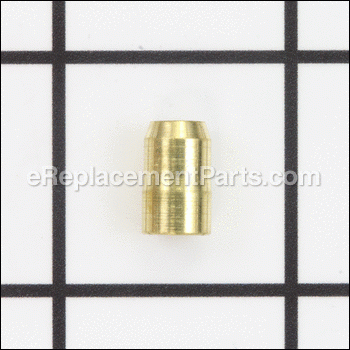
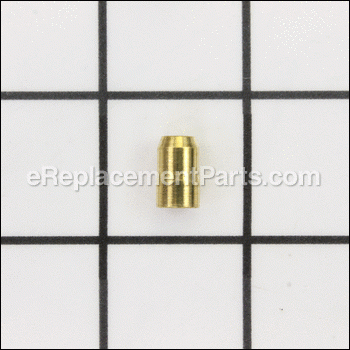
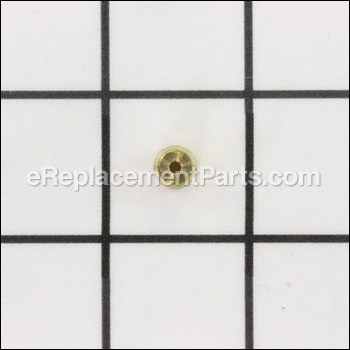
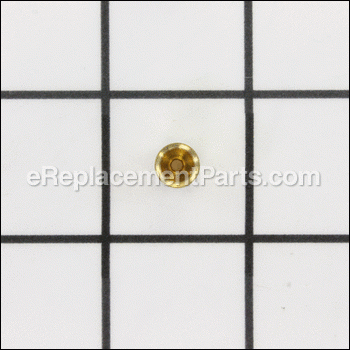
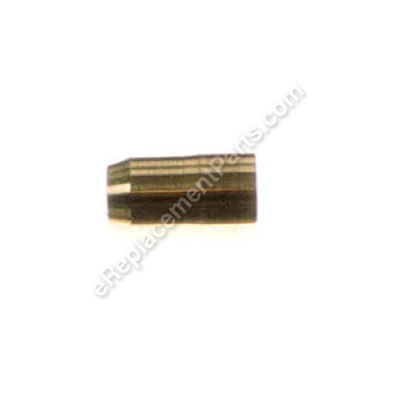
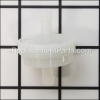
It is a genuine item is supplied by the original equipment manufacturer for Briggs and Stratton engines commonly installed on a variety of lawn and garden equipment. This is the seat-inlet for the needle valve of the carburetor. It is an identical replacement for a missing or a damaged component that was installed on a new unit. Note, one durable metal seat-inlet is included. Keep in mind the needle valve is sold separately. Check the diagrams of your specific model to ensure the correct installation of the new part. You will need a screwdriver, a socket set, and pliers to take apart the carburetor and perform this repair.
Seat-inlet 690577
OEM part for: Briggs and Stratton, Toro, Craftsman, Murray
Part Number: 690577
Jump To:
Frequently Purchased Together ?
Compatibility
This part will fit the following 3969 machines
Briggs and Stratton
Toro
Craftsman
Murray
This item works with the following types of products:
- Engine Parts
- Lawn Tractor Parts
- Lawn Mower Parts
This part replaces obsolete part #: 231854
Customer Part Reviews ?
- 1
Questions & Answers ?
Our customer Service team is at the ready daily to answer your part and product questions.

Ask our Team
We have a dedicated staff with decades of collective experience in helping customers just like you purchase parts to repair their products.
Does this fit my product?Questions & Answers for Seat-inlet
Customer Repair Instructions ?
All our customer repair instructions are solicited directly from other customers just like you who have purchased and replaced this exact part.
Carburetor was not shutting fuel off.
Tool Type
Lawn Tractor
Difficulty
Easy
Time
15-30 minutes
Tools Used
Socket set, Wrench Set, Brass hammer
Parts Used
B&S mower engine back firing through exhaust & carburetor. Gasoline in crankcase. Oil in breather & air filter.
Tool Type
Engine
Difficulty
Medium
Time
More than 2 hours
Tools Used
Screwdriver, Pliers, Socket set, Wrench Set, 1/4\\
Parts Used
2. Remove air cleaner housing. Disconnect from tube to crankcase breather.
3. Remove sediment bowl and float valve & needle from carb. First drain gasoline by loosing bowl screw one turn. Check float to be sure it has no gasoline inside. If so, it has a leak and needs to be replaced.
4. Remove carburetor - no need to remove manifold from engine. Note how throttle and choke linkages are connected to carb.
5. Remove breather (behind carburetor) and gasket.
6. Take carb to bench - Tap old pressed-in seat with 1/4" tap. Remove seat, using puller made with 1/4" bolt, nut, washer and socket.
7. Remove idle mixture screw.
8. Remove atomizing nozzle using narrow blade screw driver.
9. Clean carburetor and nozzle with carb cleaner. Ensure all passages clear and blow out with compressed air.
10. Put in new seat. Pound in lightly using smooth end of socket extension or small block of wood and hammer.
11. Reassemble carburetor with following new parts in addition to seat: float needle, idle mixture screw (with slotted head) and bowl gasket.
12. Put tube to air filter in a new breather assembly and install assembly on engine with new gasket. carefully scrape off any pieces of old gasket to get clean smooth surface.
13. Attach throttle and choke linkages to carburetor. Will have to tilt and twist carb to do this.
14. With intake gasket in place slip bolts through carburetor and holes in gasket and attach carburetor to manifold.
15. Install new fuel filter in line and attach line to carb.
16. Put new air cleaner in air cleaner housing and attach to carburetor using new Seal-O-Ring gasket.
17. Attach breather tube to air cleaner housing.
18. Put in new spark plug set to proper gap.
19. Make initial setting of carburetor idle mixture screw to 1-1/4 turns back of "soft" bottom.
20. Fill crankcase with oil to proper level.
21. Put small amount of FRESH gasoline in tank.
22. Start engine and make final adjustment to idle mixture screw.
This repair has corrected problem.
White smoke. Engine knocked and stalled. Crankcase filled with fuel.
Tool Type
Lawn Tractor
Difficulty
Medium
Time
30-60 minutes
Tools Used
Screwdriver, Pliers, Socket set
2. Unscrewed bell to expose float and needle valve.
3. Removed float by sliding out pin.
4. Removed needle valve.
5. Removed brass seat by tapping with 1/4" tap, inserting bolt, and pulling out with press.
6. Lightly tapped in new seat.
7. Replaced needle valve, float and bell gasket.
8. Reinstalled bell.
9. Reinstalled carburetor.
Gas was leaking into the oil crankcase
Tool Type
Lawn Tractor
Difficulty
Medium
Time
1-2 hours
Tools Used
Screwdriver, Pliers, Socket set
Bad needle valve engine would fill with gas
Tool Type
Lawn Tractor
Difficulty
Easy
Time
Less than 15 minutes
Tools Used
Pliers, Socket set
Parts Used
carburetor leaking gas into crankcase
Tool Type
Lawn Tractor
Difficulty
Medium
Time
1-2 hours
Tools Used
Screwdriver, Pliers, Socket set, Wrench Set, tap to remove seat in carb
the motor was flooding
Tool Type
Lawn Mower
Difficulty
Medium
Time
1-2 hours
Tools Used
Pliers, Socket set, 1/4 tap, 3\\
Parts Used
Carb would not shut fuel off
Tool Type
Lawn Tractor
Difficulty
Medium
Time
15-30 minutes
Tools Used
Screwdriver, Socket set, Wrench Set, Nutdriver
OEM stands for Original Equipment Manufacturer and means the part you’re buying is sourced directly from the manufacturer who made your product. At eReplacementParts, we sell only genuine OEM parts, guaranteeing the part you’re purchasing is of better design and of higher quality than aftermarket parts.
Our product descriptions are a combination of data sourced directly from the manufacturers who made your product as well as content researched and curated by our content & customer service teams. This content is edited and reviewed internally before being made public to customers.
Our customer service team are at the ready daily to answer your part and product questions. We have a dedicated staff with decades of collective experience in helping customers just like you purchase parts to repair their products.
All our part reviews are solicited directly from other customers who have purchased this exact part. While we moderate these reviews for profanity, offensive language or personally identifiable information, these reviews are posted exactly as submitted and no alterations are made by our team.
All our customer repair instructions are solicited directly from other customers just like you who have purchased and replaced this exact part. While we moderate these reviews for profanity, offensive language or personally identifiable information, these reviews are posted exactly as submitted and no alterations are made by our team.
Based on data from past customer purchasing behaviors, these parts are most commonly purchased together along with the part you are viewing. These parts may be necessary or helpful to replace to complete your current repair.
All our installation videos are created and produced in collaboration with our in-house repair technician, Mark Sodja, who has helped millions of eReplacementParts customers over the last 13 years repair their products. Mark has years of experience in selling and repairing both commercial and residential products with a specialty in gas-powered equipment.
This data is collected from customers who submitted a repair instruction after replacing this exact part. Customers can rate how easy the repair was to complete and how long it took. We aggregate this data to provide a repair rating that allows customers to quickly determine the difficulty and time needed to perform their own repair.

