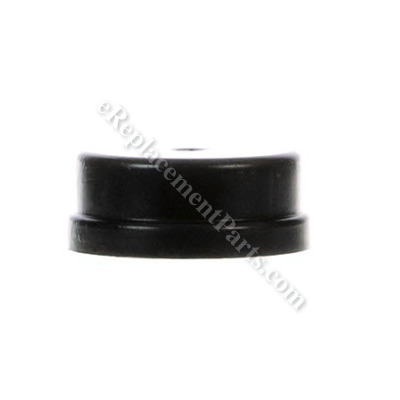
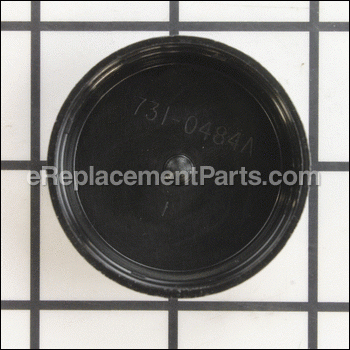
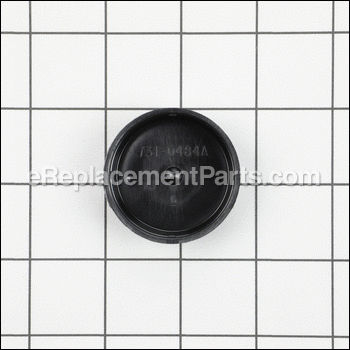
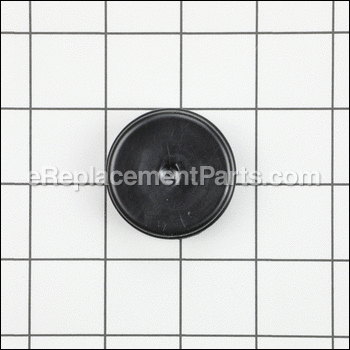
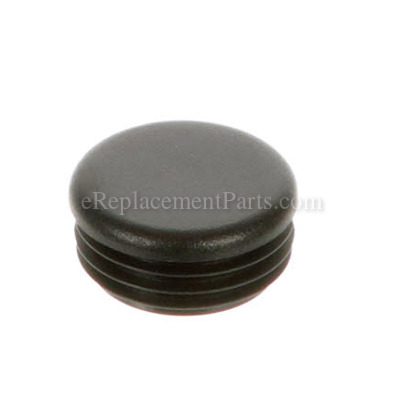
This replacement part is a high-quality item that is supplied by original equipment manufacturer for use with riding lawn mowers and garden tractors. This part is made of durable black plastic and it is sold individually. The purpose of this cap is to provide protection for the axle from dirt and other debris.
Hub Cap - Black 931-0484A
OEM part for: MTD, Ryobi, Yard Machines
Part Number: 931-0484A
Jump To:
Frequently Purchased Together ?
Compatibility
This Hub Cap - Black will fit the following 23556 machines. Confirm this part works with your model, and view the detailed model diagrams and repair help we have to offer.
This item works with the following types of products:
- Lawn Tractor Parts
This part replaces obsolete part #: 43014, AF-43014, 7310484A, 734-0484A, 731-0484, 731-0484AP, 731-0484A
Customer Part Reviews ?
- 1
Questions & Answers ?
Our customer Service team is at the ready daily to answer your part and product questions.

Ask our Team
We have a dedicated staff with decades of collective experience in helping customers just like you purchase parts to repair their products.
Does this fit my product?Questions & Answers for Hub Cap - Black
Customer Repair Instructions ?
All our customer repair instructions are solicited directly from other customers just like you who have purchased and replaced this exact part.
Front wheel fell off. Cotter pin broke
Tool Type
Lawn Tractor
Difficulty
Easy
Time
Less than 15 minutes
Tools Used
Screwdriver, Pliers, Rubber mallot
Missing cap
Tool Type
Lawn Tractor
Difficulty
Easy
Time
15-30 minutes
Tools Used
, Rubber mallet
Parts Used
hub cap was lost
Tool Type
Lawn Mower
Difficulty
Easy
Time
Less than 15 minutes
Tools Used
, No tools required
Parts Used
Lost washer and hub cap.
Tool Type
Lawn Tractor
Difficulty
Easy
Time
Less than 15 minutes
Tools Used
Pliers, Rubber mallet
The steering assembly on the wheel was completely worn out. We've used our riding mower heavily for over 10 years.
Tool Type
Lawn Tractor
Difficulty
Hard
Time
1-2 hours
Tools Used
Screwdriver, Pliers, Socket set, Wrench Set, Hammer
Parts Used
- Hex Jam Nut 3/8-24 Thd. - 712-0262
- Axle End Cap, Standard - 731-04057A
- Nut-flglk 5/16-18 - 712-04063
- Nut-jam 7/16-20 - 912-0240
- Block-steering - 748-04278
- Spacer . - 748-04068
- Axle Asm- Rh Front - 638-04008P
- Bearing-flange .76 - 741-0660A
- Belt- V - 954-04060C
- Bolt-hex - 710-3180
- Hub Cap - Black - 931-0484A
- Pin-cotter-5/32 Di - 714-0162
- Cotter Pin 1/8 Dia - 714-0474
front wheel fell off while mowing
Tool Type
Lawn Tractor
Difficulty
Easy
Time
Less than 15 minutes
Tools Used
Pliers
2. install small washer
3. Put wheel on
4. Install large washer
5. Install cotter pin
6. Snap on hub cap to large washer
Steering column gear stripped, front axles worn our bushings
Tool Type
Lawn Tractor
Difficulty
Medium
Time
More than 2 hours
Tools Used
Socket set, Wrench Set
Parts Used
- H Ex Cap Screw 5/16-18 - 710-0643
- Hex Patch Bolt - 710-1309
- Washer - 736-0242
- Steering Shaft - 738-0919B
- Nut-flglk 5/16-18 - 712-04063
- Nut-flange Lk.nylo - 712-04065
- Screw-shoulder - 738-04141
- Use 941-04124 - 741-04124
- Cap - 948-0389
- Cap - 726-0341
- Bearing-flange .76 - 741-0660A
- Screw-hex 3/8-16 X - 710-0514
- Front Steering Gear Assembly - 617-04094
- Spacer-shoulder - 738-04162C
- Hub Cap - Black - 931-0484A
OEM stands for Original Equipment Manufacturer and means the part you’re buying is sourced directly from the manufacturer who made your product. At eReplacementParts, we sell only genuine OEM parts, guaranteeing the part you’re purchasing is of better design and of higher quality than aftermarket parts.
Our product descriptions are a combination of data sourced directly from the manufacturers who made your product as well as content researched and curated by our content & customer service teams. This content is edited and reviewed internally before being made public to customers.
Our customer service team are at the ready daily to answer your part and product questions. We have a dedicated staff with decades of collective experience in helping customers just like you purchase parts to repair their products.
All our part reviews are solicited directly from other customers who have purchased this exact part. While we moderate these reviews for profanity, offensive language or personally identifiable information, these reviews are posted exactly as submitted and no alterations are made by our team.
All our customer repair instructions are solicited directly from other customers just like you who have purchased and replaced this exact part. While we moderate these reviews for profanity, offensive language or personally identifiable information, these reviews are posted exactly as submitted and no alterations are made by our team.
Based on data from past customer purchasing behaviors, these parts are most commonly purchased together along with the part you are viewing. These parts may be necessary or helpful to replace to complete your current repair.
All our installation videos are created and produced in collaboration with our in-house repair technician, Mark Sodja, who has helped millions of eReplacementParts customers over the last 13 years repair their products. Mark has years of experience in selling and repairing both commercial and residential products with a specialty in gas-powered equipment.
This data is collected from customers who submitted a repair instruction after replacing this exact part. Customers can rate how easy the repair was to complete and how long it took. We aggregate this data to provide a repair rating that allows customers to quickly determine the difficulty and time needed to perform their own repair.

