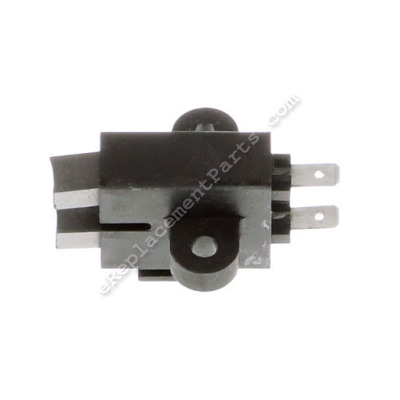
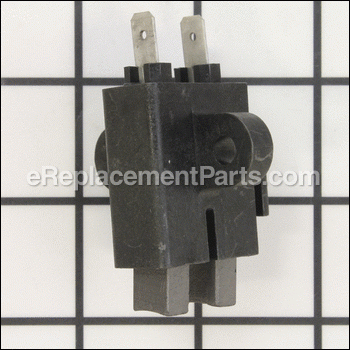
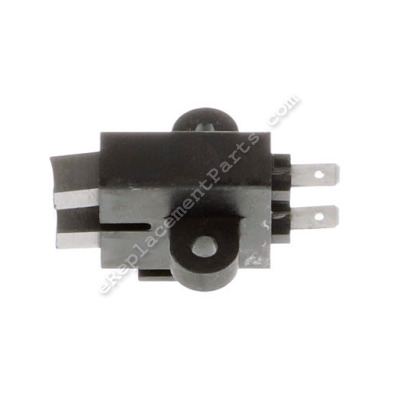
This brush holder assembly is an authentic OEM replacement part that is specially designed for use on Briggs and Stratton generators. Brushes help to conduct electric current in the motor that powers the unit. This assembly includes one plastic brush holder and two carbon brushes with a lead wires and springs attached. You would need a screwdriver to complete this job.
Assembly, Holder, Brush 66386GS
OEM part for: Briggs and Stratton, Snapper
Part Number: 66386GS
Jump To:
Frequently Purchased Together ?
Compatibility
This Assembly, Holder, Brush will fit the following 406 machines. Confirm this part works with your model, and view the detailed model diagrams and repair help we have to offer.
Briggs and Stratton
Snapper
Show More Compatible ModelsThis item works with the following types of products:
- Generator Parts
Questions & Answers ?
Our customer Service team is at the ready daily to answer your part and product questions.

Ask our Team
We have a dedicated staff with decades of collective experience in helping customers just like you purchase parts to repair their products.
Does this fit my product?Questions & Answers for Assembly, Holder, Brush
Customer Repair Instructions ?
All our customer repair instructions are solicited directly from other customers just like you who have purchased and replaced this exact part.
No power
Tool Type
Generator
Difficulty
Easy
Time
Less than 15 minutes
Tools Used
Screwdriver, Pliers
Generator did not put out 120 volts
Tool Type
Generator
Difficulty
Easy
Time
15-30 minutes
Tools Used
Screwdriver, Nutdriver
No output from generator
Tool Type
Generator
Difficulty
Medium
Time
30-60 minutes
Tools Used
Screwdriver, Socket set, Small alligator clip jumper cables
2. Removed and replaced old AVR and brush assembly
3. Followed included instructions to remagnetize brush assembly by using small alligator 4. Clip jumper cables (not included) to connect positive and negative leads of brushes to a positive and negative posts of a 12 V battery (not included).
5. Started and ran the generator for a few seconds.
6. Removed jumper cables.
7. Reconnected lead wires.
8. Re-installed the cap.
9. Started generator and now works as good as new!
10kw Briggs & Stratton generator - start up and shut down, would not stay running
Tool Type
Generator
Difficulty
Hard
Time
More than 2 hours
Tools Used
Screwdriver, Socket set
Parts Used
Because the brushes are at the bottom of this model I actually had to take off the side panels, disconnect all wiring and fuel line and remove the engine. The cap needs to be removed from the alternator at the very bottom of the engine/generator assembly to get to the brushes. Once you have it out, its very easy to get them out and replace them. Unfortunately because of the design and that the generator side of the unit is sunk down into the bottom of the unit I don't believe there is a way to change the brushes with the engine still in the unit. Its also impossible to just remove the generator from the engine as you would need a puller to disconnect it and this can't be done with the engine in place.
The engine is very heavy and took 2 people to lift out from the mounts and move it. If your strong you can probably move it a short ways out of the unit and lay it down to work on it.
Love to no electricity from generator
Tool Type
Generator
Difficulty
Easy
Time
Less than 15 minutes
Tools Used
Nutdriver
Parts Used
Took off old brushes
Replaced with a new set
Replaced cover
Generator would run but there was NO output voltage
Tool Type
Generator
Difficulty
Medium
Time
30-60 minutes
Tools Used
Screwdriver, Pliers, Socket set, Nutdriver
Generator only had 3 volts on output
Tool Type
Generator
Difficulty
Easy
Time
15-30 minutes
Tools Used
Pliers, Nutdriver
2. Removed brush assembly and regulator.7mm nut driver
3. Used pliers to pull wire connectors off
4. Installed new parts.
5. Our front cover back on.
6. Started generator tested power.
Generator put out no power when running
Tool Type
Generator
Difficulty
Easy
Time
Less than 15 minutes
Tools Used
Screwdriver
2. Remove and replace brush assembly, being sure to connect wires correctly
3. Remove the old voltage regulator and booster (if equipped), replacing both items with the voltage regulator as described in the directions included with the new voltage regulator
4. Start generator and retest for proper function (electrical output)
Not producing electricity
Tool Type
Generator
Difficulty
Easy
Time
15-30 minutes
Tools Used
Socket set
Removed cover with socket set
Slid out regulator - AVR control out of slot holding it....
Removed screw holding in Assy Holder , brush...... disconnected wires by pulling them off....
Pulled out assy holder, brush and replaced with new one after plugging wires back on new one , then screwed it back in.
Removed wires from regulator - AVR control, and then plugged those wires on new AVR control
Then slid back into slot ....
Replaced cover, reconnected spark plug....
And now have electricity.!!!!!
OEM stands for Original Equipment Manufacturer and means the part you’re buying is sourced directly from the manufacturer who made your product. At eReplacementParts, we sell only genuine OEM parts, guaranteeing the part you’re purchasing is of better design and of higher quality than aftermarket parts.
Our product descriptions are a combination of data sourced directly from the manufacturers who made your product as well as content researched and curated by our content & customer service teams. This content is edited and reviewed internally before being made public to customers.
Our customer service team are at the ready daily to answer your part and product questions. We have a dedicated staff with decades of collective experience in helping customers just like you purchase parts to repair their products.
All our part reviews are solicited directly from other customers who have purchased this exact part. While we moderate these reviews for profanity, offensive language or personally identifiable information, these reviews are posted exactly as submitted and no alterations are made by our team.
All our customer repair instructions are solicited directly from other customers just like you who have purchased and replaced this exact part. While we moderate these reviews for profanity, offensive language or personally identifiable information, these reviews are posted exactly as submitted and no alterations are made by our team.
Based on data from past customer purchasing behaviors, these parts are most commonly purchased together along with the part you are viewing. These parts may be necessary or helpful to replace to complete your current repair.
All our installation videos are created and produced in collaboration with our in-house repair technician, Mark Sodja, who has helped millions of eReplacementParts customers over the last 13 years repair their products. Mark has years of experience in selling and repairing both commercial and residential products with a specialty in gas-powered equipment.
This data is collected from customers who submitted a repair instruction after replacing this exact part. Customers can rate how easy the repair was to complete and how long it took. We aggregate this data to provide a repair rating that allows customers to quickly determine the difficulty and time needed to perform their own repair.


