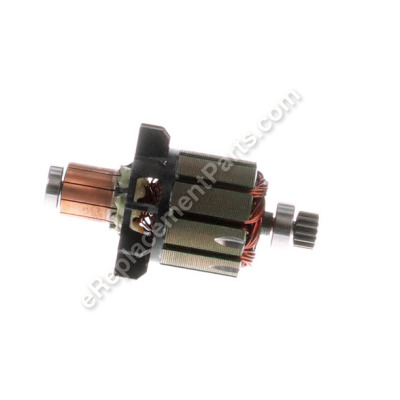
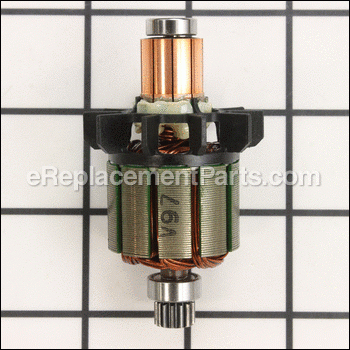
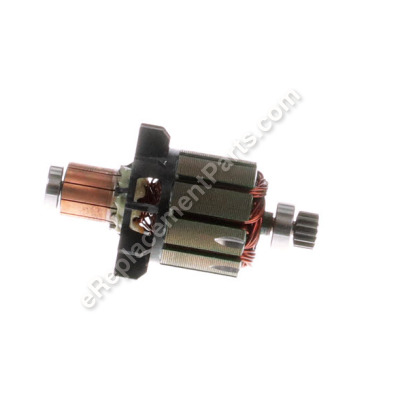
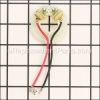
This is genuine manufacturer approved replacement armature. It is designed for Makita drills/drivers. Armature is one of the key components of an electric motor. If you notice smoke or sparks coming from the vents on the back of your tool, you've probably overloaded your armature at some point. Usually this is caused by the broken insulation. Due to constant contact with carbon brushes armature will eventually wear out and would need to be replaced. It is highly recommended to replace both carbon brushes when replacing an armature. Includes an armature, fan, armature bearing and commutator end bearing.
To replace this armature you would need a screwdriver.
• Remove the battery from the drill
• Remove the end cap
• Remove the top half of the housing
• Disengage the brush springs
• Remove the old armature
• Install the new armature
• Reassemble in reverse order and test the unit
Armature 619198-8
OEM part for: Makita
Part Number: 619198-8
Jump To:
Product Description ?
- Classification: Part
- Weight: 0.29 lbs.
- Shipping: Ships Worldwide
Frequently Purchased Together ?
Compatibility
This part will fit the following 22 machines
Makita
This item works with the following types of products:
- Drill Parts
- Cordless Drill Parts
- Hammer Drill Parts
Repair Videos ?
|
This article explains how to hot-wire test a cordless drill motor with step-by-step instructions and a demonstration vid...
September 30, 2009
|
Questions & Answers ?
Our customer Service team is at the ready daily to answer your part and product questions.

Ask our Team
We have a dedicated staff with decades of collective experience in helping customers just like you purchase parts to repair their products.
Does this fit my product?Questions & Answers for Armature
Customer Repair Instructions ?
All our customer repair instructions are solicited directly from other customers just like you who have purchased and replaced this exact part.
Drill wasn't powering up.
Tool Type
Cordless Drill
Difficulty
Easy
Time
15-30 minutes
Tools Used
Screwdriver
Parts Used
Removed the old Armature and installed the new one. Put the drill back together and it worked lime a charm.
Armature burn up because bad contact on switch terminal very common problem
Tool Type
Drill
Difficulty
Easy
Time
15-30 minutes
Tools Used
Screwdriver, Pliers
Parts Used
Drill lost power, smoke from armature, stopped working except for LED light
Tool Type
Cordless Drill
Difficulty
Easy
Time
30-60 minutes
Tools Used
Screwdriver
Smoking burning from back vents of drill eventually stopped working at all
Tool Type
Cordless Drill
Difficulty
Medium
Time
15-30 minutes
Tools Used
Screwdriver
Parts Used
Older makita drill overheated and melted the brush holder and armature
Tool Type
Cordless Drill
Difficulty
Medium
Time
15-30 minutes
Tools Used
Screwdriver
2. Remove screw side half of drill housing observing damage and parts orientation. Note there is one screw inside the back cap to unscrew as well.
3. Remove damaged parts and add replacement parts in same orientation. I checked a newer drill for reference, but should have taken a photo before I started.
4. Reassembled taking care on the trigger lock and speed shifter since they try to get out of alignment. There is also a small "T" shaped piece of curved steel that aligns in a groove forward of the chuck. It fell out loose on mine.
5. Check drill operation.
Drill would not turn on when trigger was depressed.
Tool Type
Cordless Drill
Difficulty
Medium
Time
15-30 minutes
Tools Used
Screwdriver
Drill bound up and smoked.
Tool Type
Cordless Drill
Difficulty
Medium
Time
15-30 minutes
Tools Used
Screwdriver
Parts Used
OEM stands for Original Equipment Manufacturer and means the part you’re buying is sourced directly from the manufacturer who made your product. At eReplacementParts, we sell only genuine OEM parts, guaranteeing the part you’re purchasing is of better design and of higher quality than aftermarket parts.
Our product descriptions are a combination of data sourced directly from the manufacturers who made your product as well as content researched and curated by our content & customer service teams. This content is edited and reviewed internally before being made public to customers.
Our customer service team are at the ready daily to answer your part and product questions. We have a dedicated staff with decades of collective experience in helping customers just like you purchase parts to repair their products.
All our part reviews are solicited directly from other customers who have purchased this exact part. While we moderate these reviews for profanity, offensive language or personally identifiable information, these reviews are posted exactly as submitted and no alterations are made by our team.
All our customer repair instructions are solicited directly from other customers just like you who have purchased and replaced this exact part. While we moderate these reviews for profanity, offensive language or personally identifiable information, these reviews are posted exactly as submitted and no alterations are made by our team.
Based on data from past customer purchasing behaviors, these parts are most commonly purchased together along with the part you are viewing. These parts may be necessary or helpful to replace to complete your current repair.
All our installation videos are created and produced in collaboration with our in-house repair technician, Mark Sodja, who has helped millions of eReplacementParts customers over the last 13 years repair their products. Mark has years of experience in selling and repairing both commercial and residential products with a specialty in gas-powered equipment.
This data is collected from customers who submitted a repair instruction after replacing this exact part. Customers can rate how easy the repair was to complete and how long it took. We aggregate this data to provide a repair rating that allows customers to quickly determine the difficulty and time needed to perform their own repair.

