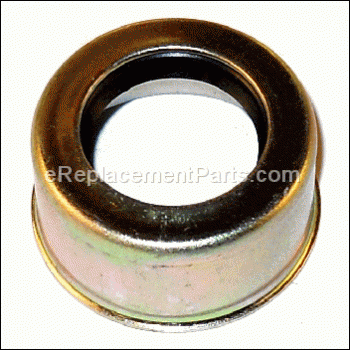
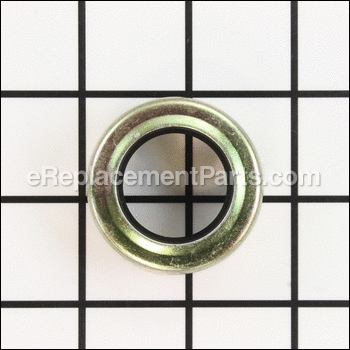

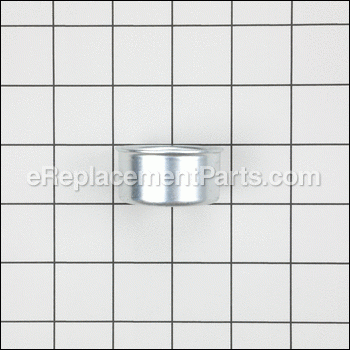

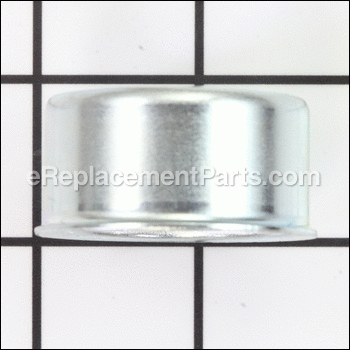
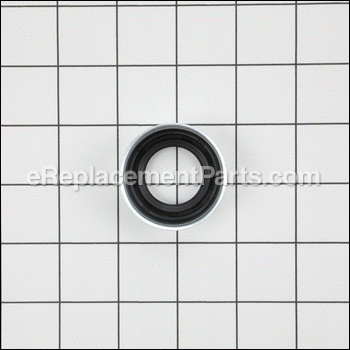
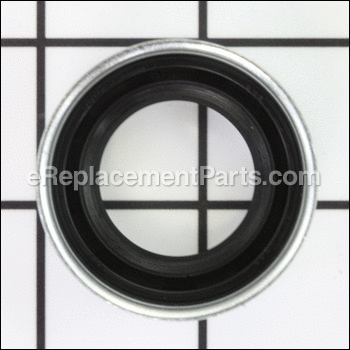
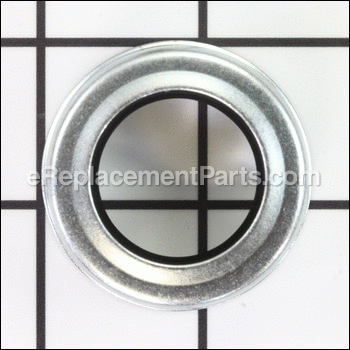

This is a genuine manufacturer-sourced replacement component which is specially designed for use with lawn and garden equipment. It is one of the parts that helps to provide a tight seal for the shaft, please make sure to check the appropriate diagrams of your model for the correct location and application of this hardware. Keep in mind this durable item is made of high-quality metal with rubber and is sold individually.
Seal Asm, Oil 532155236
OEM part for: Husqvarna, Poulan, Weed Eater, Craftsman, Jonsered
Part Number: 532155236
$7.46
In Stock
Jump To:
Frequently Purchased Together ?


Compatibility
This Seal Asm, Oil will fit the following 560 machines. Confirm this part works with your model, and view the detailed model diagrams and repair help we have to offer.
Poulan
Husqvarna
Weed Eater
Craftsman
Jonsered
Show More Compatible ModelsThis item works with the following types of products:
- Lawn Mower Parts
- Heater Parts
- Cultivator Parts
This part replaces obsolete part #: 532009672, 532009674, 9674R, 9676R, 147344, 9672R, 155236
Customer Part Reviews ?
Average Rating (out of 5):
Click to filter by ratings:
5 stars
0
4 stars
1
3 stars
0
2 stars
0
1 stars
0
< PREV
- 1
nice, well-made axle seals
These seals were high quality--perhaps old stock? They were a tad too small for my application but I was able to make them work, since my machine is about 60 years old, parts are no longer made. The service was fast and efficient.
Guest -
November 12, 2022
Verified Purchase
Questions & Answers ?
Our customer Service team is at the ready daily to answer your part and product questions.

Ask our Team
We have a dedicated staff with decades of collective experience in helping customers just like you purchase parts to repair their products.
Does this fit my product?Questions & Answers for Seal Asm, Oil
No questions have been asked yet
Customer Repair Instructions ?
All our customer repair instructions are solicited directly from other customers just like you who have purchased and replaced this exact part.
Tiller would not shift gears
roberto - March 23, 2018
👍 1 of 1 people found this instruction helpful
Tool Type
Cultivator
Difficulty
Medium
Time
1-2 hours
Tools Used
Screwdriver, Pliers, Wrench Set
Completely disassemble tiller main case
Remove all grease,if it is brown it had water in it.this case are a two piece shell type.
Replace the shiftier rod,spring bearing,water gets inside where the spring and ball are. Mine got water inside from using the pressure washer to clean.
Use 400 grit sandpaper to polish any rusty shafts.
Re-lube chain and gears using good grease,Valvoline #2 red grease works good.
Make sure to work grease into the needle bearings real good ,as they don't get any grease otherwise it's the way they designed them.
Clean off the mating surface of the two halves with acetone or lacquer thinner.
Use a bead of automotive silicon seal without a gasket to seal.put a bead inline with the bolt holes and at the holes go all the way around the hole.
Carefully put the shell half back on taking care not to forget any parts ,tighten as needed .
Let sealer set up 24 hours before using.
Did you find this story helpful?
Thanks for voting and helping fellow customers!
Bearing failure causing input shaft to break, and loaning tiller to a friend.
Chris - June 15, 2016
Tool Type
Lawn Mower
Difficulty
Medium
Time
More than 2 hours
Tools Used
Screwdriver, Pliers, Socket set, Wrench Set, Adjustable Wrench, cordless impact, two arm puller
Replaced needle bearings, drive chain and the input shaft. it was pretty much a straight forward disassembly of the entire rototiller. With the exception of the removal of the left hand side tines and drive wheel. It required using the two arm puller for removal of these items. the only issue I had with reassembly was the rear tine axle seals. they had a pretty tight tolerance, and I had to heat them up to expand them to fit on the hubs. As far as special instructions, I would recommend not removing the three shaft nuts on the left hand side of the transmission during disassembly and splitting of the transmission body. It's not needed, and the re-tightening of these nuts can be a little tricky as far as over tightening them. You should turn the Tine axle during re-tightening to make sure all of the gear works is turning smoothly before you move to reassembly of the rest of the tiller. Nothing worse than taking it back apart to loosen something.
Did you find this story helpful?
Thanks for voting and helping fellow customers!
OEM stands for Original Equipment Manufacturer and means the part you’re buying is sourced directly from the manufacturer who made your product. At eReplacementParts, we sell only genuine OEM parts, guaranteeing the part you’re purchasing is of better design and of higher quality than aftermarket parts.
Our product descriptions are a combination of data sourced directly from the manufacturers who made your product as well as content researched and curated by our content & customer service teams. This content is edited and reviewed internally before being made public to customers.
Our customer service team are at the ready daily to answer your part and product questions. We have a dedicated staff with decades of collective experience in helping customers just like you purchase parts to repair their products.
All our part reviews are solicited directly from other customers who have purchased this exact part. While we moderate these reviews for profanity, offensive language or personally identifiable information, these reviews are posted exactly as submitted and no alterations are made by our team.
All our customer repair instructions are solicited directly from other customers just like you who have purchased and replaced this exact part. While we moderate these reviews for profanity, offensive language or personally identifiable information, these reviews are posted exactly as submitted and no alterations are made by our team.
Based on data from past customer purchasing behaviors, these parts are most commonly purchased together along with the part you are viewing. These parts may be necessary or helpful to replace to complete your current repair.
All our installation videos are created and produced in collaboration with our in-house repair technician, Mark Sodja, who has helped millions of eReplacementParts customers over the last 13 years repair their products. Mark has years of experience in selling and repairing both commercial and residential products with a specialty in gas-powered equipment.
This data is collected from customers who submitted a repair instruction after replacing this exact part. Customers can rate how easy the repair was to complete and how long it took. We aggregate this data to provide a repair rating that allows customers to quickly determine the difficulty and time needed to perform their own repair.