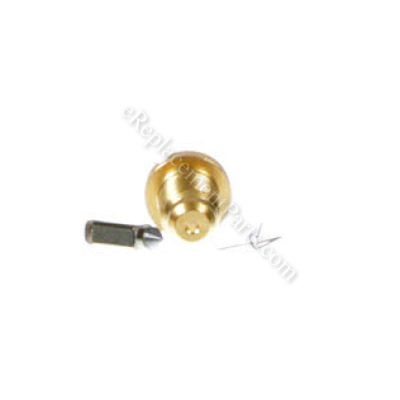
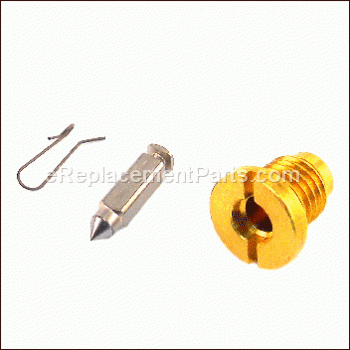
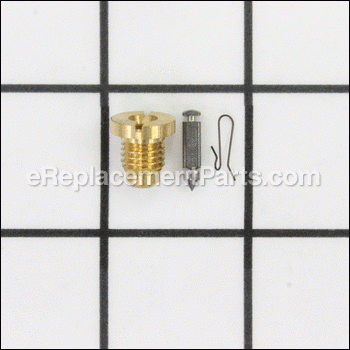
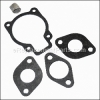
Seat-inlet 801317
OEM part for: Briggs and Stratton, Toro
Part Number: 801317
Jump To:
Frequently Purchased Together ?
Compatibility
This Seat-inlet will fit the following 153 machines. Confirm this part works with your model, and view the detailed model diagrams and repair help we have to offer.
Briggs and Stratton
Toro
Show More Compatible ModelsThis item works with the following types of products:
- Snowblower Parts
- Engine Parts
Customer Part Reviews ?
Questions & Answers ?
Our customer Service team is at the ready daily to answer your part and product questions.

Ask our Team
We have a dedicated staff with decades of collective experience in helping customers just like you purchase parts to repair their products.
Does this fit my product?Questions & Answers for Seat-inlet
Customer Repair Instructions ?
All our customer repair instructions are solicited directly from other customers just like you who have purchased and replaced this exact part.
No start; flooding.
Tool Type
Snowblower
Difficulty
Medium
Time
30-60 minutes
Tools Used
Screwdriver, Socket set, Nutdriver, Carb cleaner, fine wire
Parts Used
Most important, always use fresh gas/oil mix; drain & run dry for summer storage. Start the new season with fresh gas/oil mix too. Difficulty of repair will vary. Take it slow.
Fuel leaking, overflowing from carberator. Scraper was worn
Tool Type
Snowblower
Difficulty
Easy
Time
15-30 minutes
Tools Used
Screwdriver, Socket set, Wrench Set
Remove bolts holding old scraper and installed new.
Carburator leaked fuel out of device
Tool Type
Snowblower
Difficulty
Easy
Time
30-60 minutes
Tools Used
Screwdriver, Pliers
Parts Used
2. Removed carburator from engine (2 Phillips head screws) while disconnecting air link-vane from governor;
3. Drained carburator;
4. Removed bowl screws and bowl gasket;
5. Removed and replaced brass valve seat and valve needle;
6. Reassembled with new nozzel screen and gaskets;
7. Reattached carburator while reattaching governor air link-vane;
8. Reattached fuel line and released fuel line pinch.
OEM stands for Original Equipment Manufacturer and means the part you’re buying is sourced directly from the manufacturer who made your product. At eReplacementParts, we sell only genuine OEM parts, guaranteeing the part you’re purchasing is of better design and of higher quality than aftermarket parts.
Our product descriptions are a combination of data sourced directly from the manufacturers who made your product as well as content researched and curated by our content & customer service teams. This content is edited and reviewed internally before being made public to customers.
Our customer service team are at the ready daily to answer your part and product questions. We have a dedicated staff with decades of collective experience in helping customers just like you purchase parts to repair their products.
All our part reviews are solicited directly from other customers who have purchased this exact part. While we moderate these reviews for profanity, offensive language or personally identifiable information, these reviews are posted exactly as submitted and no alterations are made by our team.
All our customer repair instructions are solicited directly from other customers just like you who have purchased and replaced this exact part. While we moderate these reviews for profanity, offensive language or personally identifiable information, these reviews are posted exactly as submitted and no alterations are made by our team.
Based on data from past customer purchasing behaviors, these parts are most commonly purchased together along with the part you are viewing. These parts may be necessary or helpful to replace to complete your current repair.
All our installation videos are created and produced in collaboration with our in-house repair technician, Mark Sodja, who has helped millions of eReplacementParts customers over the last 13 years repair their products. Mark has years of experience in selling and repairing both commercial and residential products with a specialty in gas-powered equipment.
This data is collected from customers who submitted a repair instruction after replacing this exact part. Customers can rate how easy the repair was to complete and how long it took. We aggregate this data to provide a repair rating that allows customers to quickly determine the difficulty and time needed to perform their own repair.

