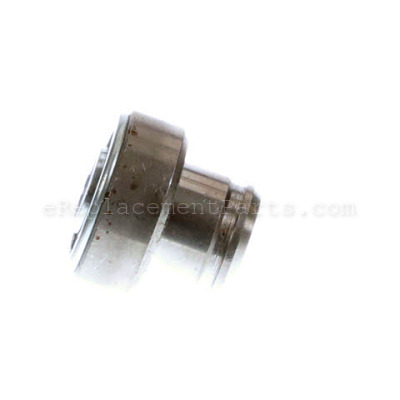
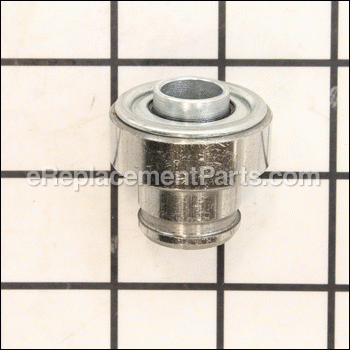
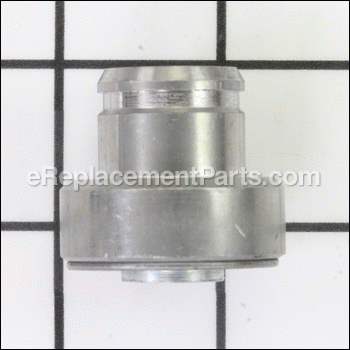
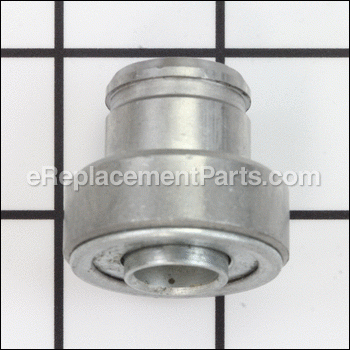
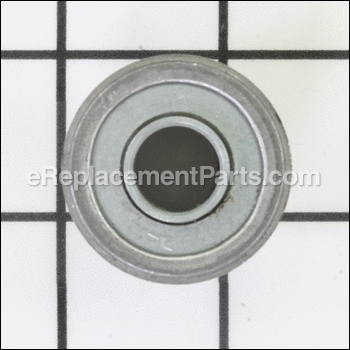
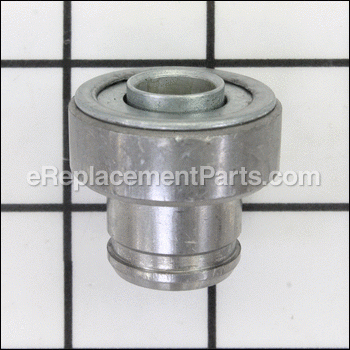
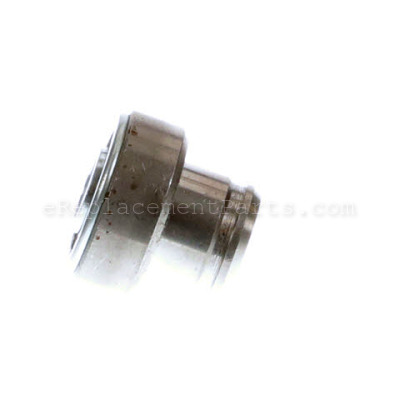
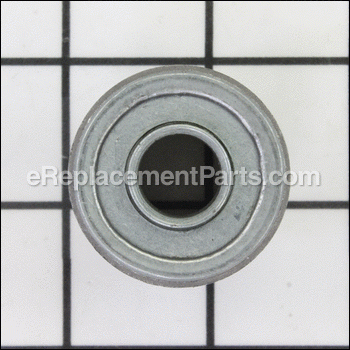
This bearing assembly fits various models of Craftsman lawn mowers. This part is produced by original manufacturer. Bearings buffer and secure moving parts in order to reduce friction and stabilize movement. This results in smooth and steady motion. Bearings are high wear and therefore may require regular replacement. This item is sold individually.
Wheel Adjuster Bearing 587070202
OEM part for: Husqvarna, Poulan, Craftsman, Weed Eater, Jonsered
Part Number: 587070202
Jump To:
Frequently Purchased Together ?
Compatibility
This part will fit the following 509 machines
Husqvarna
Poulan
Craftsman
Weed Eater
Jonsered
This item works with the following types of products:
- Lawn Mower Parts
- Snowblower Parts
- Lawn Tractor Parts
This part replaces obsolete part #: 5321910-19, 5324048-31, 587070201 (Included in Wheel Adjusters), 587070201, 532404831, 5324218-36, 5321910-39, 532421836, 532191039, 421836, 191019, 191039
Customer Part Reviews ?
- 1
- 2
Questions & Answers ?
Our customer Service team is at the ready daily to answer your part and product questions.

Ask our Team
We have a dedicated staff with decades of collective experience in helping customers just like you purchase parts to repair their products.
Does this fit my product?Questions & Answers for Wheel Adjuster Bearing
Customer Repair Instructions ?
All our customer repair instructions are solicited directly from other customers just like you who have purchased and replaced this exact part.
Wheel bearing on front self-propelled wheel
Tool Type
Lawn Mower
Difficulty
Medium
Time
30-60 minutes
Tools Used
Pliers, Wrench Set, Snap Ring pliers
Parts Used
2. Remove E-clip on gear and axle pin, tap out axle pin gently.
3. Use 13mm wrench to remove the 2 screws holding wheel assembly on axle.
4. Remove bearing, mine was broken so snap ring was already floating on the axle.
5. Re-assemble wheel assembly with new bearing, attach to mower with 2 13mm screws
and put axle pin in and gear on, re-attach E-Clip.
6. That's it, it's not hard, takes about an hour, but could be done in 30 minutes if you move quickly.
Axle bearing broke stripped drive wheel
Tool Type
Lawn Mower
Difficulty
Easy
Time
1-2 hours
Tools Used
Screwdriver, Pliers, Socket set, Wrench Set, Adjustable Wrench, Snap ring pliers
Bearings bad on front drive wheels
Tool Type
Lawn Mower
Difficulty
Medium
Time
30-60 minutes
Tools Used
Screwdriver, Pliers, Socket set, Wrench Set
Parts Used
Replaced bearing assembly into carrier.
Reassembled.
Wheel Bearing froze and broke
Tool Type
Lawn Mower
Difficulty
Easy
Time
30-60 minutes
Tools Used
Screwdriver, Pliers, Socket set, Hammer
2. Removed height adjustment mechanism and disassembled
3. Had to hammer off frozen bearing.
4. Polished shaft, installed new bearing with grease
5. Reassembled height adjustment mechanism (with new dust cover) and reinstalled
6. Reinstalled wheel.
Broken wheel bearing
Tool Type
Lawn Mower
Difficulty
Medium
Time
30-60 minutes
Tools Used
Screwdriver, Pliers, Socket set, Wrench Set, Snap ring pliers, hammer, pb blaster
Parts Used
E-ring can be removed with flathead screwdriver
Remove drive gear-may need persuasion
Axle pin has a collar- must be removed one direction only
Remove plastic shield
Remove snap ring retaining wheel bearing (inside mower deck)
Remove wheel bearing
(The wheel bearing did not include the rubber o-ring from factory
reuse o-ring)
I removed the entire wheel adjustment assembly to install new bearing- remove 2 bolts inside the mower deck (be careful when removing these 11mm grass-seized bolts)
(Be careful not to damage tensioning spring for the axle gear box)
Spin the wheel height adjustment arm out of the way to reinstall the snap ring -(its a tight fit, I used channel lock pliers to compress things and expose snap ring's groove and then crammed the ring into place)
reassemble (ensure drive gears engage with plastic gear teeth on the wheels)
Wheel bearing
Tool Type
Lawn Mower
Difficulty
Hard
Time
30-60 minutes
Tools Used
, Dremle cutting tool
Parts Used
Front drive bearings were completely worn out. This made the drive gear eat the ring gear on the wheel
Tool Type
Lawn Mower
Difficulty
Hard
Time
1-2 hours
Tools Used
Screwdriver, Socket set, Snap ring pliers, sanding pads, sharpened file
Parts Used
I had to remove a slight amount of inner surface of one of the pinion bearings because the combined length was a bit different
Tool Type
Lawn Mower
Difficulty
Medium
Time
30-60 minutes
Tools Used
Screwdriver, Pliers, Power Drill, Socket set, Wrench Set, Nutdriver, I had to use a bench grinder
e-rings then remove both bearings keep the left side parts on left and right side on right side just incase something goes wrong and you have to put the old parts back . Then replace new parts in reverse order.
Replaced front wheel bearings on a self propelled mower
Tool Type
Lawn Mower
Difficulty
Medium
Time
15-30 minutes
Tools Used
Screwdriver, Pliers, Adjustable Wrench, snap ring pliers
Parts Used
Remove the drive gear from the axle by removing the retention ring with a flat screwdriver.
Remove the pin located behind the drive gear.
Pull off the plastic backing plate (Wheel cover).
Remove the wheel height adjuster that holds the bearing and housing from the deck with a wrench.
Remove the old bearing and housing by removing the snap ring with a pair of snap ring pliers and punching out the bearing and housing.
Install the new bearing and housing into the height adjuster.
Install the height adjuster onto the axle and secure to the deck.
Install the wheel cover and washer
Put in the pin
Install the drive gear
Install the wheel.
Removed the flange bearing from the mower deck and drive axle.
installed new bearing and housing onto the axle.
Re-assembled the front wheel, washer, and wheel housing onto the axle.
wheel bearing went bad wheel wobble
Tool Type
Lawn Mower
Difficulty
Medium
Time
30-60 minutes
Tools Used
Socket set, Wrench Set, snap ring plyers
Parts Used
OEM stands for Original Equipment Manufacturer and means the part you’re buying is sourced directly from the manufacturer who made your product. At eReplacementParts, we sell only genuine OEM parts, guaranteeing the part you’re purchasing is of better design and of higher quality than aftermarket parts.
Our product descriptions are a combination of data sourced directly from the manufacturers who made your product as well as content researched and curated by our content & customer service teams. This content is edited and reviewed internally before being made public to customers.
Our customer service team are at the ready daily to answer your part and product questions. We have a dedicated staff with decades of collective experience in helping customers just like you purchase parts to repair their products.
All our part reviews are solicited directly from other customers who have purchased this exact part. While we moderate these reviews for profanity, offensive language or personally identifiable information, these reviews are posted exactly as submitted and no alterations are made by our team.
All our customer repair instructions are solicited directly from other customers just like you who have purchased and replaced this exact part. While we moderate these reviews for profanity, offensive language or personally identifiable information, these reviews are posted exactly as submitted and no alterations are made by our team.
Based on data from past customer purchasing behaviors, these parts are most commonly purchased together along with the part you are viewing. These parts may be necessary or helpful to replace to complete your current repair.
All our installation videos are created and produced in collaboration with our in-house repair technician, Mark Sodja, who has helped millions of eReplacementParts customers over the last 13 years repair their products. Mark has years of experience in selling and repairing both commercial and residential products with a specialty in gas-powered equipment.
This data is collected from customers who submitted a repair instruction after replacing this exact part. Customers can rate how easy the repair was to complete and how long it took. We aggregate this data to provide a repair rating that allows customers to quickly determine the difficulty and time needed to perform their own repair.

