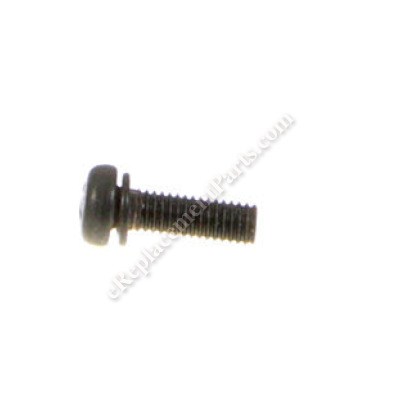
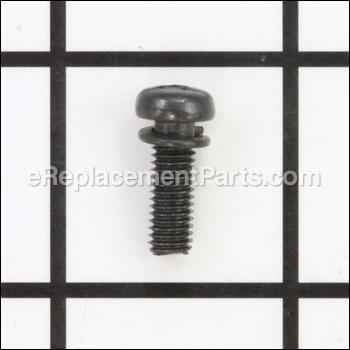
This replacement screw is an authentic item that is sourced directly from original equipment manufacturer for use on Bosch miter table saws. This is one of the screw for the gear cover, please make sure to check appropriate diagram for correct location and use of this hardware. Note that this item includes one Phillips head screw and one metal washer per order.
Screw 2610998572
OEM part for: Bosch
Part Number: 2610998572
Jump To:
Frequently Purchased Together ?
Compatibility
This part will fit the following 27 machines
Bosch
This item works with the following types of products:
- Saw Parts
- Table Saw Parts
- Miter Saw Parts
Customer Part Reviews ?
Questions & Answers ?
Our customer Service team is at the ready daily to answer your part and product questions.

Ask our Team
We have a dedicated staff with decades of collective experience in helping customers just like you purchase parts to repair their products.
Does this fit my product?Questions & Answers for Screw
Customer Repair Instructions ?
All our customer repair instructions are solicited directly from other customers just like you who have purchased and replaced this exact part.
The bearing was blown apart
Tool Type
Table Saw
Difficulty
Easy
Time
15-30 minutes
Tools Used
Screwdriver, Socket set
Parts Used
Burned out armature bearing. Blade would not turn and made lots of noise. Blade lock screw shaft on gear cover snapped
Tool Type
Table Saw
Difficulty
Expert
Time
More than 2 hours
Tools Used
Screwdriver, Pliers, Power Drill, Socket set, Wrench Set, Adjustable Wrench, Bearing Puller, Bearing Press, Beer
2. Remove the motor assemble
3. Got stuck on how to remove the armature.
4. Took off Blade lock assembly then broke the screw
5. Armature still stuck
6. Took off blade height adjustment to see if could find a way to take off the armature
7. Took off the table top from mount. Could not find a way to remove armature
8. Table saw in pieces. Jump up and down scream a !
9. Ready to dump the table saw, then read comments on ereplacement blog and found answer on where armature screws were
10. Take off armature. Ordered parts. Took to shop to remove bearing. Pressed new bearing in
11. Took off gear cover, found out that need to pull gear off, then bearing, to remove gear assembly from gear cover. Did not have the new bearing and old one was fine. Decided not to change gear cover. Did not repair blade lock and will use a piece of wood to remove saw blade
12. Put everything back then found out needed to take everything apart in order to put armature back on. Needed to do first. Wasted 1 hour of work. Jump up and down again. screamed and yelled. Saw recommendation in blog to use long screws, I did not have any. Used 12awg electrical wire to line up holes. pulled as close as I could carefully. Tried for 20 minutes. Ready to scream and yell #!#$!@#!! but was eventually successful in getting the mounting screws in.
14. Put armature back on - replaced brushes, restore motor assembly
15. Put remaining pieces back. Replaced power cord. Plastic grommets on original power cord would not fit since new cord was more thicker. Drilled out hole on switch assemble to accept the thicker cord with wider grommet placement. Clean up and oil all the remaining moving parts on Table saw.
16. Fire up the saw - it was music to my ears.
The repair was difficult but your website was a breeze to use . Wish there was a video on how to repair my model of table saw. Would have saved me some time and !#$!%^!! but at least I found the answers and parts needed.
Thanks eReplacement parts!
OEM stands for Original Equipment Manufacturer and means the part you’re buying is sourced directly from the manufacturer who made your product. At eReplacementParts, we sell only genuine OEM parts, guaranteeing the part you’re purchasing is of better design and of higher quality than aftermarket parts.
Our product descriptions are a combination of data sourced directly from the manufacturers who made your product as well as content researched and curated by our content & customer service teams. This content is edited and reviewed internally before being made public to customers.
Our customer service team are at the ready daily to answer your part and product questions. We have a dedicated staff with decades of collective experience in helping customers just like you purchase parts to repair their products.
All our part reviews are solicited directly from other customers who have purchased this exact part. While we moderate these reviews for profanity, offensive language or personally identifiable information, these reviews are posted exactly as submitted and no alterations are made by our team.
All our customer repair instructions are solicited directly from other customers just like you who have purchased and replaced this exact part. While we moderate these reviews for profanity, offensive language or personally identifiable information, these reviews are posted exactly as submitted and no alterations are made by our team.
Based on data from past customer purchasing behaviors, these parts are most commonly purchased together along with the part you are viewing. These parts may be necessary or helpful to replace to complete your current repair.
All our installation videos are created and produced in collaboration with our in-house repair technician, Mark Sodja, who has helped millions of eReplacementParts customers over the last 13 years repair their products. Mark has years of experience in selling and repairing both commercial and residential products with a specialty in gas-powered equipment.
This data is collected from customers who submitted a repair instruction after replacing this exact part. Customers can rate how easy the repair was to complete and how long it took. We aggregate this data to provide a repair rating that allows customers to quickly determine the difficulty and time needed to perform their own repair.

