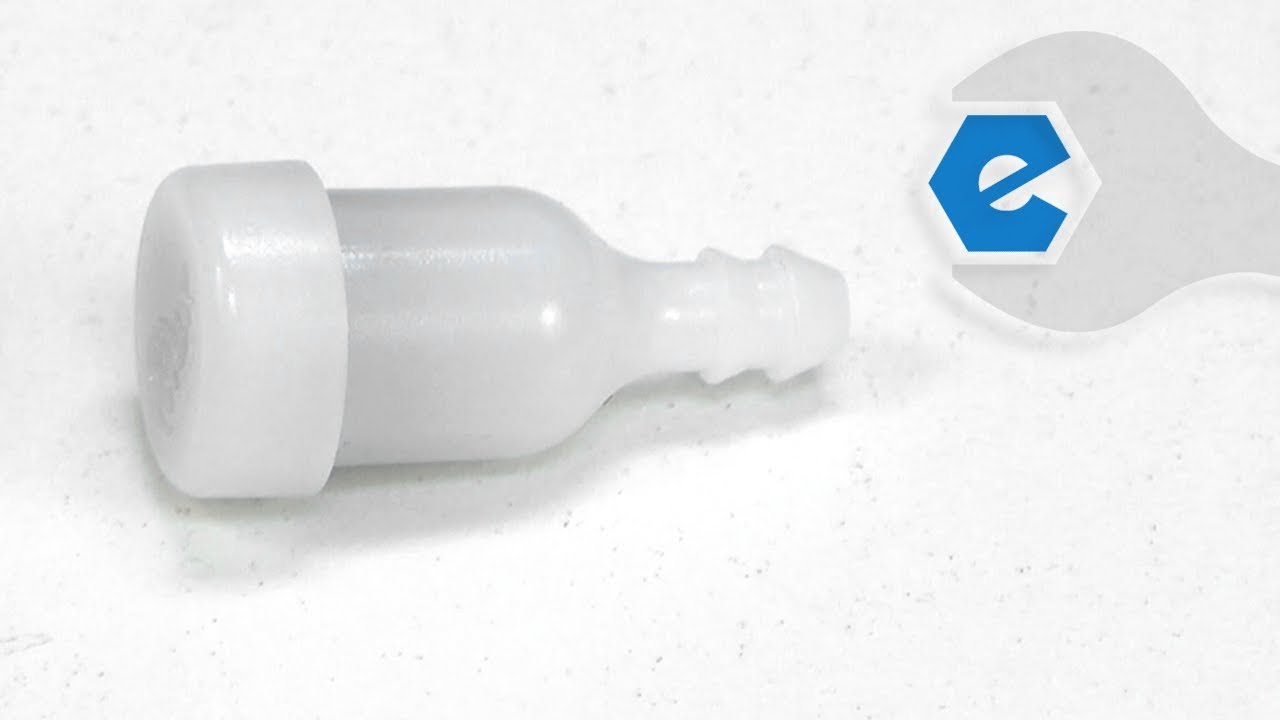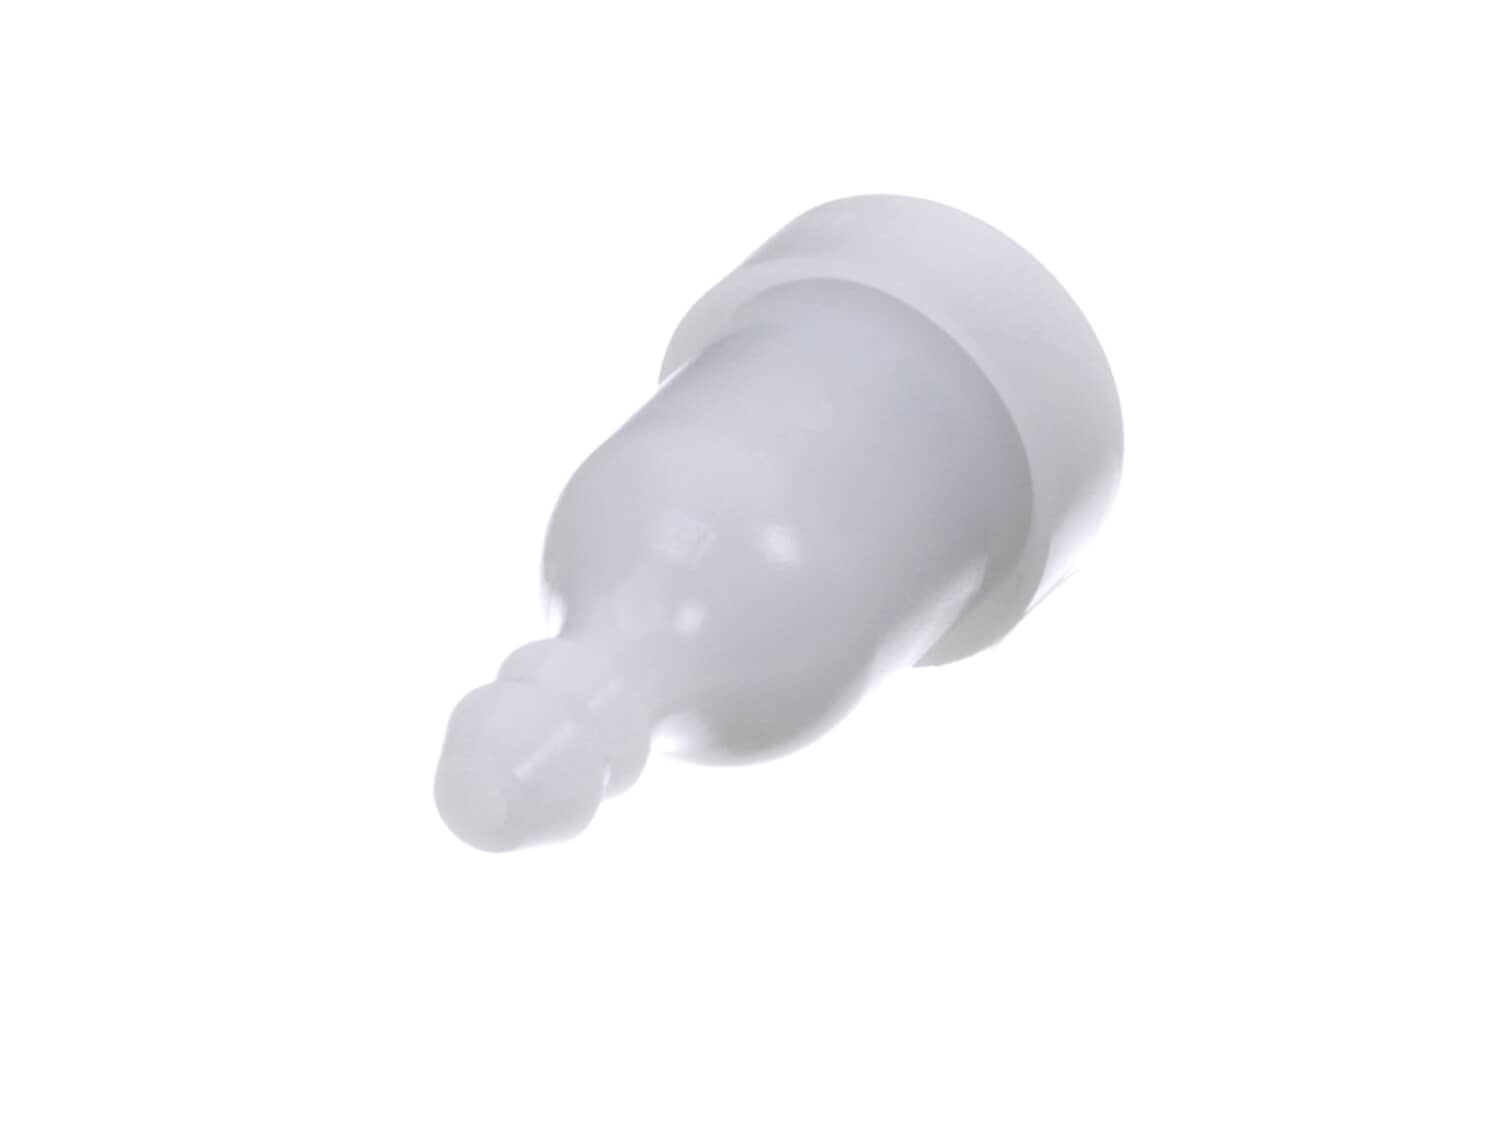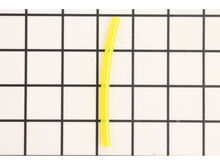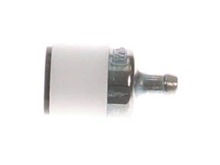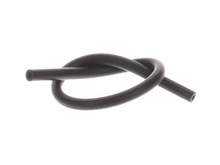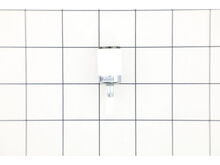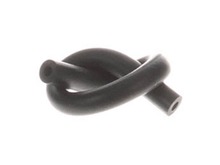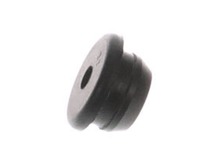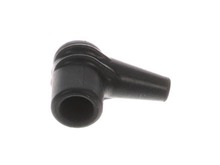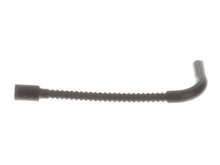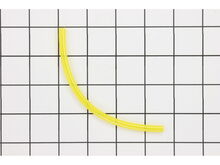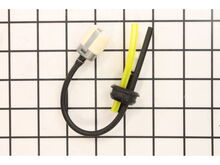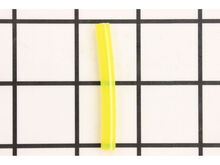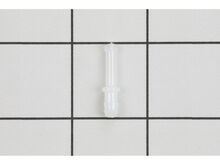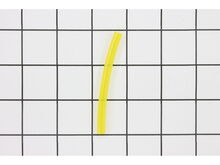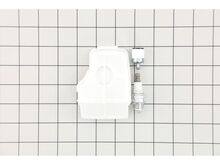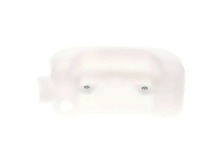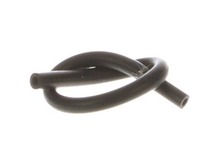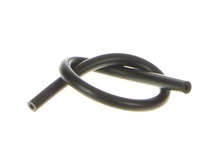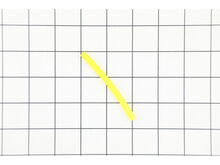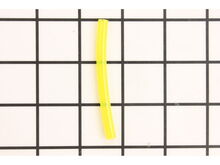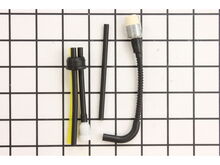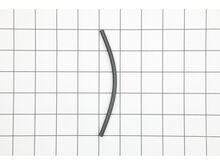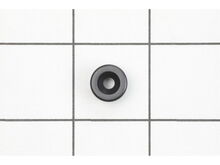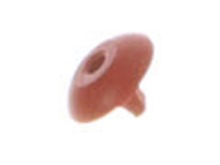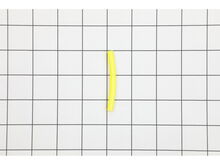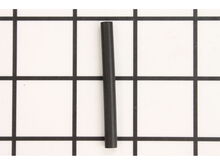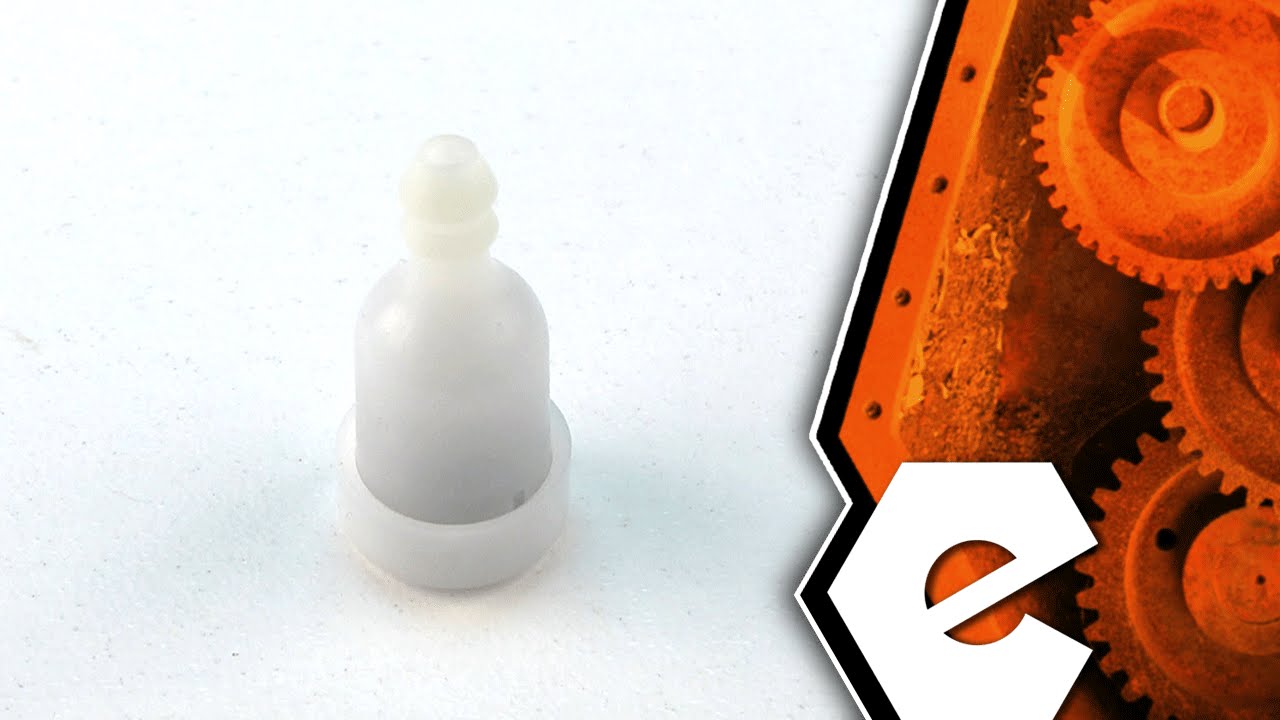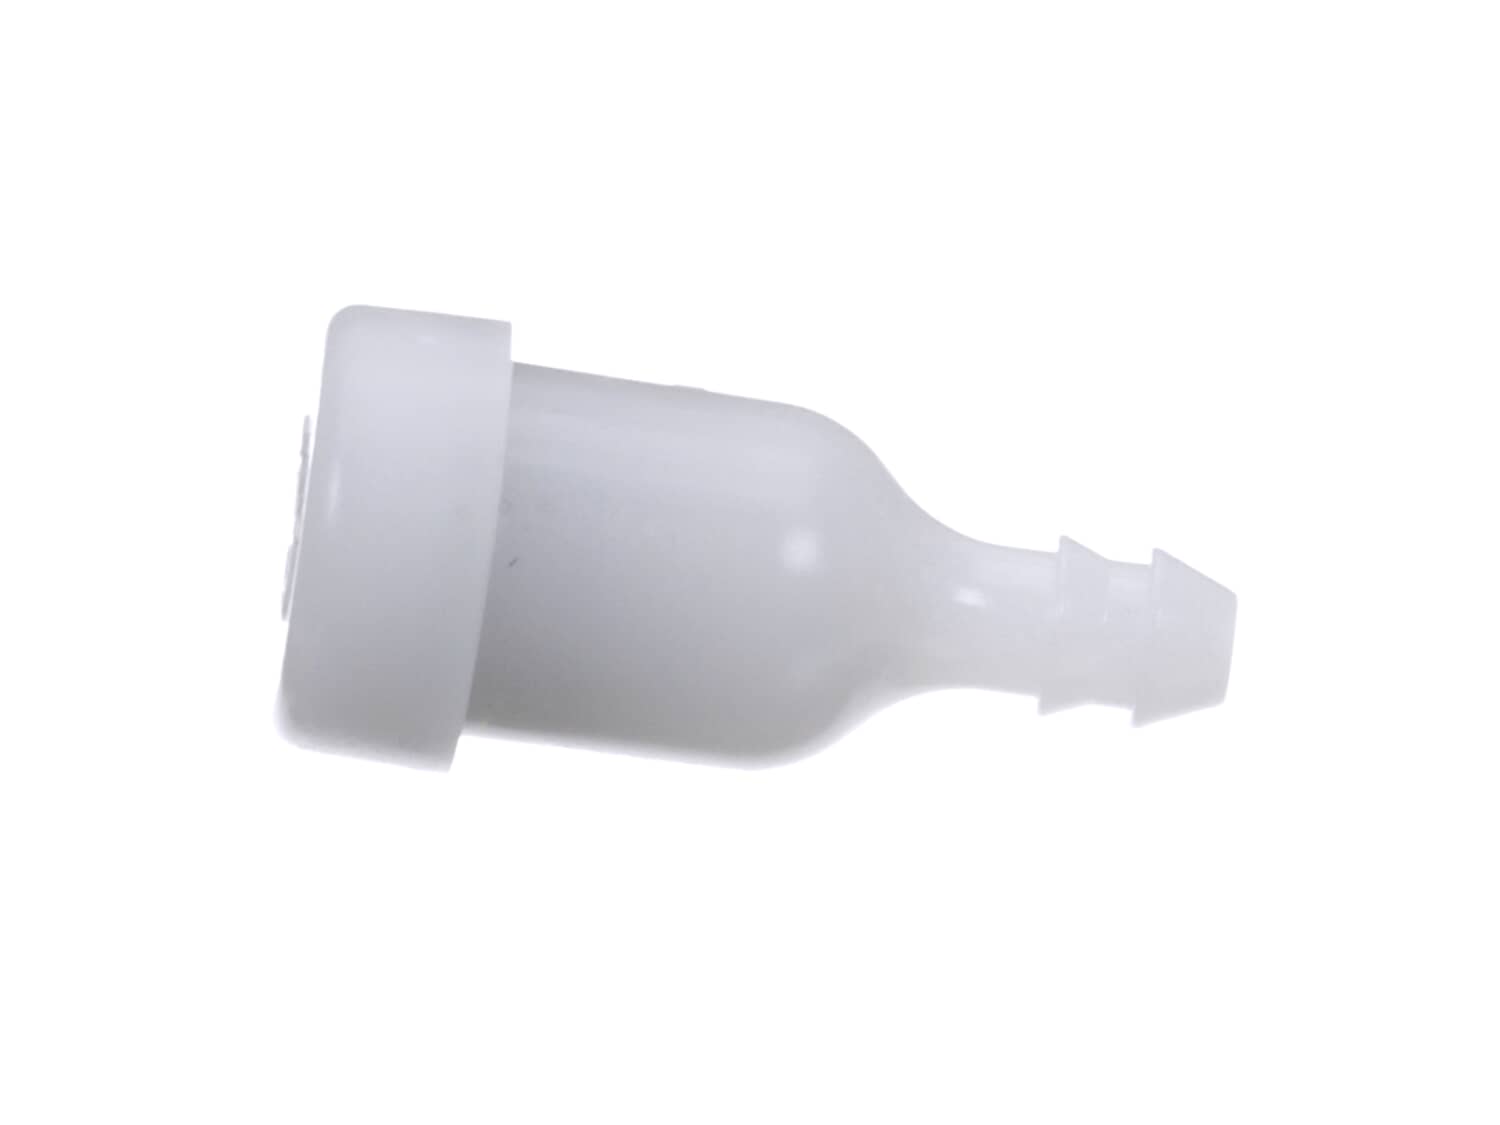
Part Location Diagram of A356000031 Echo Leaf Blower Fuel Tank Vent
See part B-24 in the diagram
Replacing your Echo Trimmer Leaf Blower Fuel Tank Vent
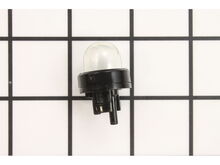
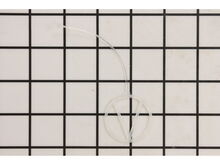
( Grid squares measure 1x1 inch )
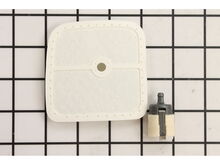
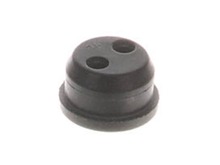
Leaf Blower Fuel Tank Vent A356000031

Manufactured by:
Echo
ERP Number:
ERP9183121
Part Number:
A356000031
Original Equipment Manufacturer ?
  Works with your model  SRM-266S!
In Stock
Delivers in 3-5 Business Days!

Easy 

15 - 30 mins 

(66 rated repairs) ?
  Works with your model   SRM-266S!

Product Description

?

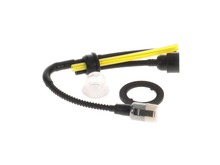
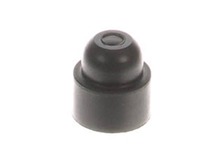
This a a genuine OEM replacement check valve for your small engine. It is also known as a fuel tank vent. You may need to replace this part if you are noticing debris or dirty oil in the reservoir. Make sure the engine is cool before you begin this repair, and remove the wire and boot from the spark plug to prevent the engine from starting up.

Frequently Purchased Together

?

Troubleshooting

This part works with the following brands:
  • Echo
  • Shindaiwa
  • Little Wonder
This part works with the following products:
  • Trimmer
  • Hedge Trimmer
  • Leaf Blower / Vacuum
  • Chainsaw
  • Pole Saw
  • Edger
  • Chipper Shredder
  • Engine
  • Brush Cutter
  • Auger
  • Tiller
  • Water Pump
  • Chop Saw
  • Multi-Tool
Part# A356000031 replaces these:
A356000031,

Videos For installing this part.

?
Replacing your Leaf Blower Fuel Tank Vent

Customer Part Reviews

?
4.9
Average Rating (out of 5):
★★★★★
★★★★★
(14 Reviews)
Click to filter by ratings:
  • 5 stars
    12
  • 4 stars
    2
  • 3 stars
    0
  • 2 stars
    0
  • 1 star
    0
  • 1
  • 2
Sort by:  
Sorry, we couldn't find any existing reviews that matched. Try using some different or simpler keywords.
  • 1
  • 2

Questions & Answers

?

Ask our Team

We have a dedicated staff with decades of collective experience in helping customers just like you purchase parts to repair their products.

Does this fit my product?
  • 1
Sort by:  
Sorry, we couldn't find any existing answers that matched.
Try using some different or simpler keywords, or submit your new question by using the "Ask a Question" button above!
I lose all fuel by the next day with out use. I think the fuel tank has a crack in it, couldn't find it just by looking. If I change out the fuel tank, what other parts should I order?
Roman For model number PB-201 - January 3, 2024

Hello Roman, Thank you for your inquiry. We show the compatible tank as part# A350002541, the fuel tank cap as part# P100006640, the fuel tank vent is part# A356000031, and the vent cover is part# 13132840630. We would recommend checking the fuel filter and lines as well. Good luck with your repair.

eReplacementParts Team
January 3, 2024

Did this question help you?
Thank you for voting!

Customer Repair Instructions

All our customer repair instructions are solicited directly from other customers just like you who have purchased and replaced this exact part.

Easy 

15 - 30 mins 

(66 rated repairs) ?
  • 1
  • 2
  • 3
Sort by:  
Sorry, we couldn't find any existing installation instruction that matched.

Echo Trimmer had become hard to start, wouldn\'t run consistently, and died often.

Dale from Mansfield, Texas

14 of 14 people found this instruction helpful.
Difficulty Level:
A Bit Difficult
Total Repair Time:
30 - 60 mins
Tools:
Pliers, Screw drivers, Socket set
Installed the carb repair kit, new tank grommet, new fuel filter, and tank vent. Had to adjust the high and low adjustments a bit, but now it starts and runs like a new one!
Did you find this story helpful?
Thank you for voting!

Replaced tank grommet, fuel line vent

Ken from penn lard, Virginia

13 of 13 people found this instruction helpful.
Difficulty Level:
Easy
Total Repair Time:
15 - 30 mins
Tools:
Screw drivers
Parts Used:
A356000031, 13211546730
Echo PB-250 leaf blower, 5 years old. Removed fuel lines from carb, ( note the position of lines from carb,)
I take a few close up pics of everything first ! Makes replacement of everything easier. Removed and cleaned tank, two screws holding it.
Replaced grommet in tank and threaded fuel lines through it, ( I did not remov e the filter from tank) replaced tank and connected fuel lines back to carb, added vent to third line.

Added fuel and fired that bad boy up ! runs like new.
Excellent powerful and balanced blower.
Did you find this story helpful?
Thank you for voting!

Primer bulb was leaking, Trimmer was difficult to start and ran rough. Fuel lines and fuel line grommet were soft and sticky.

Dennis from Paso Robles, California

12 of 12 people found this instruction helpful.
Difficulty Level:
A Bit Difficult
Total Repair Time:
30 - 60 mins
Tools:
Screw drivers
Removed fuel lines from air purge body assembly. Removed the purge bulb retainer. Removed fuel line grommet from fuel tank by prying out with a screw drive. Inserted new fuel line, fuel vent line, and fuel return lines in new fuel line grommet. Inserted new grommet with lines into fuel tank by carefully using a screw driver to push gr ommet into the opening. Then inserted fuel tank vent into the vent line. As a precaution, I changed out the air purge body assembly. Attached the fuel line and the fuel return line to the air purge body assembly. I had taken a photo of the connections before dis-assembly to be sure I got the lines back in the right places. Installed the new purge bulb and reinstalled the purge bulb retainer. Hedger now runs great.
Did you find this story helpful?
Thank you for voting!

Gas leak at fuel cap & grommet

Mike from Lowndesville, South Carolina

8 of 8 people found this instruction helpful.
Difficulty Level:
A Bit Difficult
Total Repair Time:
30 - 60 mins
Tools:
Pliers, Screw drivers
Removed fuel tank/removed old gourmet & fuel lines from tank /pulled fuel lines & etc loose from carburetor. Thread new lines through gourmet/installed new gas filter before installing gourmet & other lines into fuel tank. Used lite coat of oil on lines to get them through gourmet easier. The gas filter will fit through hole the gourmet c omes out of. When finished there was no more gas leaks & Echo weed eater runs like a new one . I did install a new spark plug which I already had,gap is .026.
Did you find this story helpful?
Thank you for voting!

Would not start easy and would not stay running.

Joseph from Sand Springs, Oklahoma

7 of 7 people found this instruction helpful.
Difficulty Level:
A Bit Difficult
Total Repair Time:
15 - 30 mins
Tools:
Pliers, Screw drivers, Socket set
Removed carburetor cleaned , disassembled , replaced parts, and reassembled. will start and run after reassembly.
Did you find this story helpful?
Thank you for voting!

2 hard to start trimmers

KURT from LIBERTYVILLE, Illinois

7 of 7 people found this instruction helpful.
Difficulty Level:
Easy
Total Repair Time:
Less than 15 mins
Tools:
Screw drivers, Socket set
The Echo trimmer needs a fuel line grommet, the old one was cracked. The trouble shooting list on ereplacement web site clearly indicated this problem and solution. The new grommet solved the problem. For shipping cost, also order and replace vent tube and fuel tank vent.
The Toro trimmer had the same problem, but grommet is no lon ger available. Had to order a new fuel tank. I was happy that the new tank comes with fuel filter and fuel and vent tubing already installed permanently on the new tank. No grommet is needed in the new fuel tank. So the purchase price is a good value. Just plug the fuel and vent tubing to the engine, and it runs like new!
Did you find this story helpful?
Thank you for voting!

Gasoline leaking from grommet in fuel tank. Old tubes also well worn. Time to replace air filter and spark plug too.

Paul from Morgantown, Pennsylvania

5 of 5 people found this instruction helpful.
Difficulty Level:
A Bit Difficult
Total Repair Time:
30 - 60 mins
Tools:
Pliers, Screw drivers, Socket set
1. Removed \"foot\" from the base of the motor.
2. Removed pull starter.
3. Removed fuel tank, all tubes, and grommet.
4. Replaced grommet, tubes, and filters.
5. Also replaced air filter and spark plug.
No more leaks and unit runs well!
Did you find this story helpful?
Thank you for voting!

It was leaking gas

Terri from Gainesville, Florida

5 of 5 people found this instruction helpful.
Difficulty Level:
A Bit Difficult
Total Repair Time:
15 - 30 mins
Tools:
Pliers, Screw drivers
1. Removed gas tank
2. Replaced parts
3. Cleaned the outter components
4. Put it back together
5. Works like new!!
Did you find this story helpful?
Thank you for voting!

Was leaking gas

Gregory from Cleburne, Texas

4 of 4 people found this instruction helpful.
Difficulty Level:
A Bit Difficult
Total Repair Time:
30 - 60 mins
Tools:
Screw drivers
Removed the cover over the gas tank.
Disconnected the fuel lines from the carburetor.
Removed the gas tank from the edger and was able to see the gas tank was OK.
My problem was the fuel return tube. The tube is vinyl and was loose in the grommet.
The new grommet has metal sleeves that the old grommet doesn\'t. Bec ause of the metal sleeves, the hoses were hard to install. Finally on the last hose, I put some light grease on it and the last hose went in a whole lot easier. I wish I had thought of that sooner. Actually, I should have used some of the oil you mix with the gas. I\'m not a full time mechanic.
I installed the grommet in the new tank (might as well use the new tank) and reinstalled the tank.
I reconnected the fuel lines to the carburetor.
I reinstalled the cover.
I filled the tank with gas and the edger started right up and I no longer have a gas leak.
If you experience a gas leak, try sliding all 3 hoses up and down. They shouldn\'t move. If they do, you might have an old grommet like I did without the metal sleeves. My vinyl fuel return hose was also deformed were it went thru the grommet causing my gas leak and the edger harder to start.
I hope some of this is helpful to somebody else. I\'m not an author either.
Did you find this story helpful?
Thank you for voting!

Replaced fuel line, filter, pump ball, and fuel tank vent.

Steve from Dothan , Alabama

4 of 4 people found this instruction helpful.
Difficulty Level:
A Bit Difficult
Total Repair Time:
15 - 30 mins
Tools:
Screw drivers
Parts Used:
A356000031
Pulled off bad parts and replaced with new.
Did you find this story helpful?
Thank you for voting!
  • 1
  • 2
  • 3

Model Cross Reference

This part works with the following models:
ERP Number: ERP9183121
Manufacturer Part Number: A356000031
Brand Model Number Description
Little Wonder 2119 Hedge Trimmer - Gas Hedge Trimmer
Little Wonder 2124 Hedge Trimmer - Gas Hedge Trimmer
Little Wonder 2130 Hedge Trimmer - Gas Hedge Trimmer
Little Wonder 2216D Hedge Trimmer - Gas Hedge Trimmer
Little Wonder 2224D Hedge Trimmer - Gas Hedge Trimmer
Little Wonder 2230D Hedge Trimmer - Gas Hedge Trimmer
Little Wonder 2242S Hedge Trimmer - Gas Hedge Trimmer
Shindaiwa 305s Chainsaw - Gasoline Chainsaws
Shindaiwa 326T Chainsaw - Chainsaw
Shindaiwa 340s Chainsaw - Gasoline Chainsaws
Shindaiwa 402s Chainsaw - Gasoline Chainsaws
Little Wonder 6040 Edger - Mantis Edger
Little Wonder 9555 Leaf Blower / Vacuum - Mantis Blower/Shredder Vacuum
Shindaiwa AH262 Hedge Trimmer - Articulated Hedge Trimmers (Ah)
Shindaiwa AHS262 Hedge Trimmer - Articulated Hedge Trimmers (Ahs)
Echo BRD-2620 Edger - Edgers Bed Redefiners (Brd)
Echo BRD-280 Edger - Edger
Shindaiwa C262 Brush Cutter - Brushcutters (C)
Shindaiwa C302 Brush Cutter - Brushcutters (C)
Echo CLS-4600 Trimmer - Straight Shaft Clearing Saw
Echo CS-300 Chainsaw - Chainsaw
Echo CS-3000 Chainsaw - Chainsaw
Echo CS-301 Chainsaw - Chainsaw
Echo CS-303T Chainsaw - 30.1cc Top Handle Chain Saw
Echo CS-305 Chainsaw - Chainsaw
Echo CS-306 Chainsaw - C07511001001 - C07511999999 Chainsaw
Echo CS-310 Chainsaw - Chainsaw
Echo CS-330MX4 Chainsaw - Chainsaw
Echo CS-330T Chainsaw - Chainsaw
Echo CS-340 Chainsaw - Chainsaw