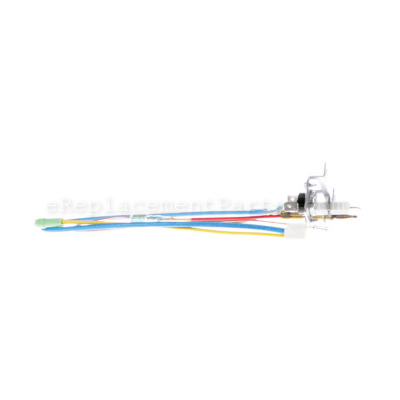
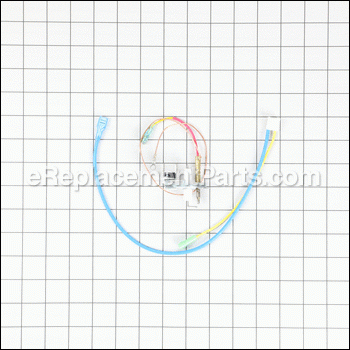
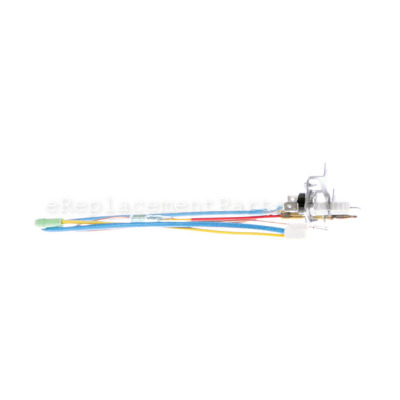
Multi Bkt Assembly 22-504-0002
OEM part for: Pro Temp, Heat Stream, Heat Hog, Master
Part Number: 22-504-0002
7 - 12 business days
Compatibility
This part will fit the following 20 machines
Pro Temp
Heat Stream
Heat Hog
Master
This item works with the following types of products:
- Heater Parts
This part replaces obsolete part #: 22-603-0001, 22-504-0003
Repair Videos ?
Customer Part Reviews ?
- 1
Questions & Answers ?
Our customer Service team is at the ready daily to answer your part and product questions.

Ask our Team
We have a dedicated staff with decades of collective experience in helping customers just like you purchase parts to repair their products.
Does this fit my product?Questions & Answers for Multi Bkt Assembly
Customer Repair Instructions ?
All our customer repair instructions are solicited directly from other customers just like you who have purchased and replaced this exact part.
Heater would not stay lit after holding igniter button in for a minute or more
Tool Type
Heater
Difficulty
Easy
Time
15-30 minutes
Tools Used
Screwdriver
Parts Used
2. Removed blower motor
3. Removed thermocouple unit
4. Compared to new assembly and found to be exactly the same
5. Installed new unit, screws etc.
Would not stay lit after 1 minute without holding in the knob
Tool Type
Heater
Difficulty
Easy
Time
15-30 minutes
Tools Used
Screwdriver
Heater would ignite but not stay lit
Tool Type
Heater
Difficulty
Easy
Time
15-30 minutes
Tools Used
Screwdriver
Parts Used
Propane heater would not stay burning
Tool Type
Heater
Difficulty
Easy
Time
Less than 15 minutes
Tools Used
Screwdriver
Parts Used
2. Pull fan guard and fan out from the housing. ( carful the 2 fan wires are attached.
3. Look inside and you will see the igniter and thermocoupler remove the 2 screws.
4. Take note of the 4wires on this. They should match the new part. Remove the 4 wires.
5. Remove 2 screws on the bottom of the unit and the face plate.
6. Pull the 4 wires through the rubber grommet. Take note of their location. And remove wires from their clip or screw holder.
7. At this point you are ready to instal new part. Simply repeat steps in reverse.
8. Before installing fan. Make sure all wires are zip tied and out of the way of fan blade. Or they will contact the fan.
9. Hook up propane and test heater for proper function and leaks.
The heater would not stay lit / Thermocouple failed
Tool Type
Heater
Difficulty
Easy
Time
30-60 minutes
Tools Used
Screwdriver
Parts Used
Removed the two screws from the bottom panel Unplugged the fan. Removee the four screws around the back and removed the fan. Unplugged the assembly from the botton. Remove the ground screw and remove the ground wire to the assembly. Remove the two screw holding the thermocouple assembly into the chasis, and ease the old thermocouple out of the chasis. Ease the wires out through the cabinet hole. Put the new thermocouple back in place being careful to position the wires where they will not interfere with the fan. Re-assemble everything reversing the steps above. Reconnect power and gas and tested unit. The replacement part works perfectly and the heater works as good as new.
Heater would not stay lite after hold down time .
Tool Type
Heater
Difficulty
Easy
Time
15-30 minutes
Tools Used
Screwdriver, Pliers
Parts Used
Thanks
Lowell
Old Guy's Wood Shop
Cedaredge CO.
OEM stands for Original Equipment Manufacturer and means the part you’re buying is sourced directly from the manufacturer who made your product. At eReplacementParts, we sell only genuine OEM parts, guaranteeing the part you’re purchasing is of better design and of higher quality than aftermarket parts.
Our product descriptions are a combination of data sourced directly from the manufacturers who made your product as well as content researched and curated by our content & customer service teams. This content is edited and reviewed internally before being made public to customers.
Our customer service team are at the ready daily to answer your part and product questions. We have a dedicated staff with decades of collective experience in helping customers just like you purchase parts to repair their products.
All our part reviews are solicited directly from other customers who have purchased this exact part. While we moderate these reviews for profanity, offensive language or personally identifiable information, these reviews are posted exactly as submitted and no alterations are made by our team.
All our customer repair instructions are solicited directly from other customers just like you who have purchased and replaced this exact part. While we moderate these reviews for profanity, offensive language or personally identifiable information, these reviews are posted exactly as submitted and no alterations are made by our team.
Based on data from past customer purchasing behaviors, these parts are most commonly purchased together along with the part you are viewing. These parts may be necessary or helpful to replace to complete your current repair.
All our installation videos are created and produced in collaboration with our in-house repair technician, Mark Sodja, who has helped millions of eReplacementParts customers over the last 13 years repair their products. Mark has years of experience in selling and repairing both commercial and residential products with a specialty in gas-powered equipment.
This data is collected from customers who submitted a repair instruction after replacing this exact part. Customers can rate how easy the repair was to complete and how long it took. We aggregate this data to provide a repair rating that allows customers to quickly determine the difficulty and time needed to perform their own repair.


