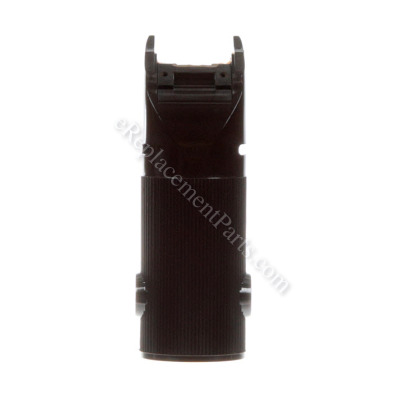
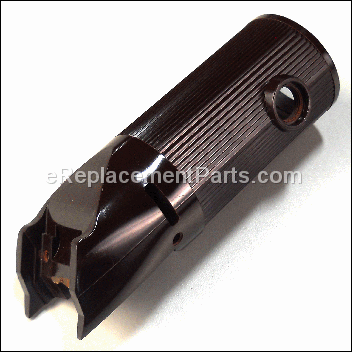
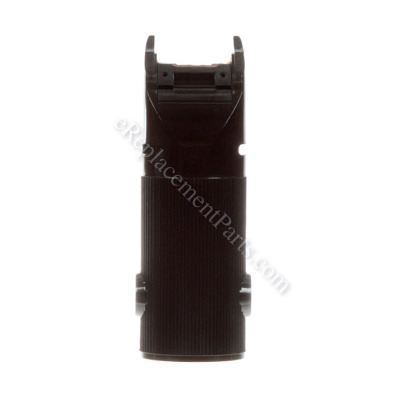
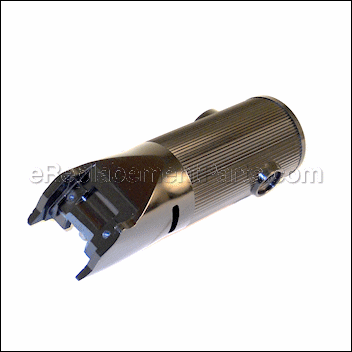
This part has been manufactured by Oster Pro for use in many different models of clippers. This Motor Housing is made of a hard plastic and comes in a burgundy finish. The Motor Housing holds and protects the Armature, Field, and the End Frame (part number 058006-000-000). This part will crack and break if the clipper has been dropped. It is common to replace the Oiler (part number 041676-000-000) and the Oil Wick (0428563-000-000).
Motor Housing Burgundy 57022005000
OEM part for: Oster Pro
Part Number: 57022005000
Compatibility
This part will fit the following 1 machine
Oster Pro
This item works with the following types of products:
- Hair Clipper Parts
Questions & Answers ?
Our customer Service team is at the ready daily to answer your part and product questions.

Ask our Team
We have a dedicated staff with decades of collective experience in helping customers just like you purchase parts to repair their products.
Does this fit my product?Questions & Answers for Motor Housing Burgundy
Customer Repair Instructions ?
All our customer repair instructions are solicited directly from other customers just like you who have purchased and replaced this exact part.
Was not working
Tool Type
Hair Clipper
Difficulty
Medium
Time
30-60 minutes
Tools Used
Adjustable Wrench
Parts Used
Clipper was making a squealing sound
Tool Type
Hair Clipper
Difficulty
Medium
Time
30-60 minutes
Tools Used
Screwdriver
The armature worm gear was stripped and the housing was cracked
Tool Type
Hair Clipper
Difficulty
Medium
Time
1-2 hours
Tools Used
Screwdriver, Retaining ring pliers for the snap ring that holds the motor
2. Test fit everything (old components and new armature) in the new housing
3. A light sanding of some high spots in the new housing was needed, as the motor was an extremely tight fit. Took my time in order to not remove excessive material from the housing.
4. Test fit until the motor goes in smoothly
5. Tighten up and lock down all the components and install the end cap with switch
6. Plenty of grease on the worm gear and associated components
7. Attach the cover plate and then plug the unit in and power it up
8. It runs so smoothly and quietly now, that the blade can be attached and the clippers put back into service
OEM stands for Original Equipment Manufacturer and means the part you’re buying is sourced directly from the manufacturer who made your product. At eReplacementParts, we sell only genuine OEM parts, guaranteeing the part you’re purchasing is of better design and of higher quality than aftermarket parts.
Our product descriptions are a combination of data sourced directly from the manufacturers who made your product as well as content researched and curated by our content & customer service teams. This content is edited and reviewed internally before being made public to customers.
Our customer service team are at the ready daily to answer your part and product questions. We have a dedicated staff with decades of collective experience in helping customers just like you purchase parts to repair their products.
All our part reviews are solicited directly from other customers who have purchased this exact part. While we moderate these reviews for profanity, offensive language or personally identifiable information, these reviews are posted exactly as submitted and no alterations are made by our team.
All our customer repair instructions are solicited directly from other customers just like you who have purchased and replaced this exact part. While we moderate these reviews for profanity, offensive language or personally identifiable information, these reviews are posted exactly as submitted and no alterations are made by our team.
Based on data from past customer purchasing behaviors, these parts are most commonly purchased together along with the part you are viewing. These parts may be necessary or helpful to replace to complete your current repair.
All our installation videos are created and produced in collaboration with our in-house repair technician, Mark Sodja, who has helped millions of eReplacementParts customers over the last 13 years repair their products. Mark has years of experience in selling and repairing both commercial and residential products with a specialty in gas-powered equipment.
This data is collected from customers who submitted a repair instruction after replacing this exact part. Customers can rate how easy the repair was to complete and how long it took. We aggregate this data to provide a repair rating that allows customers to quickly determine the difficulty and time needed to perform their own repair.


