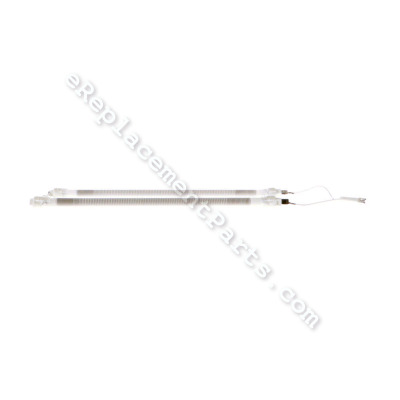
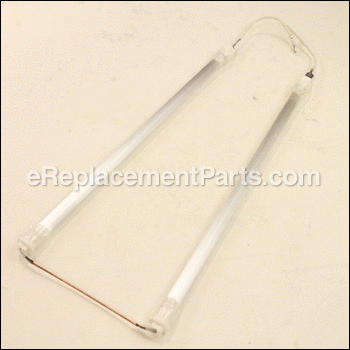
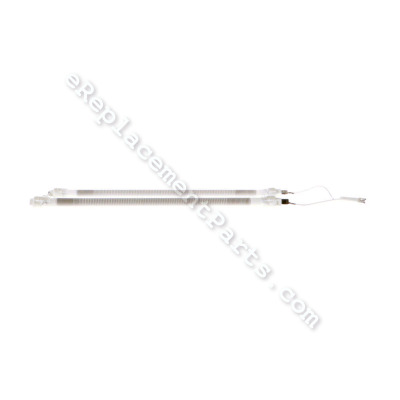
This is a genuine item that is supplied by the original equipment manufacturer for use with Breville ovens. It is an identical replacement for the bottom heating element, please make sure to refer to the appropriate diagrams of your model for the correct location and application of this component. This high-quality assembly is made of durable metal and is sold individually, keep in mind the top element is sold separately. Note, the hardware to secure it is sold separately.
Bottom Element Set Assembly SP0010494
OEM part for: Breville
Part Number: SP0010494
Jump To:
Frequently Purchased Together ?
Compatibility
This Bottom Element Set Assembly will fit the following 1 machine. Confirm this part works with your model, and view the detailed model diagrams and repair help we have to offer.
Breville
This item works with the following types of products:
- Oven Parts
This part replaces obsolete part #: BOV650XL/96
Customer Part Reviews ?
- 1
Questions & Answers ?
Our customer Service team is at the ready daily to answer your part and product questions.

Ask our Team
We have a dedicated staff with decades of collective experience in helping customers just like you purchase parts to repair their products.
Does this fit my product?Questions & Answers for Bottom Element Set Assembly
Customer Repair Instructions ?
All our customer repair instructions are solicited directly from other customers just like you who have purchased and replaced this exact part.
Toaster oven lower element glass tube broken, replace lower unit
Tool Type
Convection Oven
Difficulty
Medium
Time
1-2 hours
Tools Used
Screwdriver, Pliers, Power Drill, electrical repair supplies, magnet stick, small flash light
Parts Used
2) Remove surround panel back screws ( organize your screws) you cannot pull off yet
3) Pull back surround paying attention not to bend too much ( very thin, and sharp edges)
4) Remove rear panel after surround is loosened
5) After rear panel is removed, long phillips screw driver required to reach final 5 screw that secure the control panel to the surround ( magnet stick helpful to retrieve screws) control panel should remain in place.
6) Cut two wires for lower element near control panel area, leave slack for reattaching new wires later ( one side is a blade clip connection )
7) To release lower glass tubes from frame, remove two black screws that hold element retainer bracket ( located on the lower left inside of oven) slide out element tubes
8) Switch over retainer bracket to new element tubes, reinsert new tubes into oven
9) Reverse process with addition of connecting new wires with crimp and shrink tube connectors.
Approximately 2 hours, at my kitchen table with proper tools..organize your disassembly well
Lower heating element was broken
Tool Type
Toaster
Difficulty
Medium
Time
1-2 hours
Tools Used
Screwdriver, Pliers, Nutdriver
Parts Used
Then the removable end of the element was visible.
I removed the element and put in the new one.
After that, the case was put back on and secured.
The number of screws to remove the case was about 15.
It wasn't so much hard as tedious.
The lower heating element no longer reached the proper temperature.
Tool Type
Convection Oven
Difficulty
Hard
Time
More than 2 hours
Tools Used
Screwdriver, Wire cutter, Long-reach magnetic Phillips screwdriver
Parts Used
I consider myself a skilled do-it-yourselfer, with years of successful repairs on a variety of appliances and tools. The bottom line is that I fixed it and didn't have to buy a new oven, but it took an entire day because this oven was not designed to be taken apart. I never completely got the case off, but was able to lift and prop it enough to get to the bottom element to remove and replace it.
The screws that hold the element in place are small and VERY short, They also pierce a heat shield between their heads and their threaded mounting holes. The heat shield can slide back and forth, ruining the alignment with the screw holes. Trying to re-screw these two screws took hours, because they were too short to fit back through the heat shield and align and bite into the threaded holes. Hours passed because I didn't want to give up. In the end I gave up, There is a metal tab in the end housing that fits into a hole on the element brace that limits its movement, and once the oven is closed there's no where for the element to go.
Putting the case back together went well, in spite of the need for a long magnetic screwdriver to place tiny screws at the front by approaching from the back. Put in all the case screws loosely at first. You may need to prod and push on the case to get it to line up correctly again. It's important to observe how this all goes together while you are taking it apart so you get it right the first time when putting it back together.
The over is now back in service. It looks and works like it did when new.
OEM stands for Original Equipment Manufacturer and means the part you’re buying is sourced directly from the manufacturer who made your product. At eReplacementParts, we sell only genuine OEM parts, guaranteeing the part you’re purchasing is of better design and of higher quality than aftermarket parts.
Our product descriptions are a combination of data sourced directly from the manufacturers who made your product as well as content researched and curated by our content & customer service teams. This content is edited and reviewed internally before being made public to customers.
Our customer service team are at the ready daily to answer your part and product questions. We have a dedicated staff with decades of collective experience in helping customers just like you purchase parts to repair their products.
All our part reviews are solicited directly from other customers who have purchased this exact part. While we moderate these reviews for profanity, offensive language or personally identifiable information, these reviews are posted exactly as submitted and no alterations are made by our team.
All our customer repair instructions are solicited directly from other customers just like you who have purchased and replaced this exact part. While we moderate these reviews for profanity, offensive language or personally identifiable information, these reviews are posted exactly as submitted and no alterations are made by our team.
Based on data from past customer purchasing behaviors, these parts are most commonly purchased together along with the part you are viewing. These parts may be necessary or helpful to replace to complete your current repair.
All our installation videos are created and produced in collaboration with our in-house repair technician, Mark Sodja, who has helped millions of eReplacementParts customers over the last 13 years repair their products. Mark has years of experience in selling and repairing both commercial and residential products with a specialty in gas-powered equipment.
This data is collected from customers who submitted a repair instruction after replacing this exact part. Customers can rate how easy the repair was to complete and how long it took. We aggregate this data to provide a repair rating that allows customers to quickly determine the difficulty and time needed to perform their own repair.


