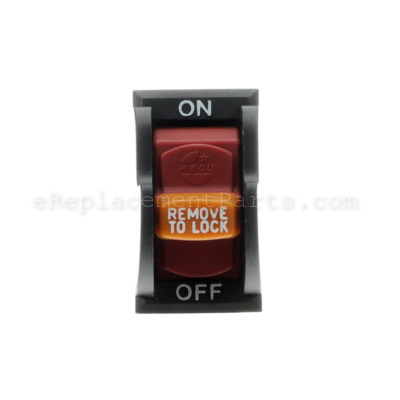
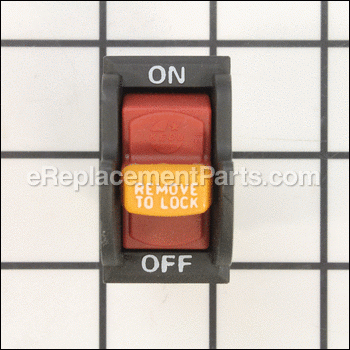
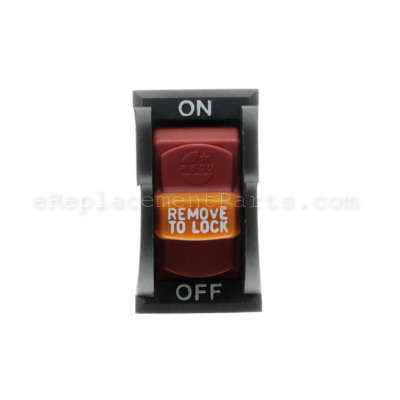
This authentic Ryobi switch is specially designed for belt and disk sanders. It is sourced directly from original manufacturer and it is sold individually. This is the switch that turns the unit on and off. It comes with a plastic key which when pulled out will prevent anyone from using the tool. Switches have mechanical components that over time will wear out, requiring switch to be replaced.
Replacing this switch is fairly easy and you should only need a screwdriver.
• Remove screws from the switch guard
• Remove old switch and secure new one in place
• Reassemble and test the equipment
Switch With Key Hy7 BD46125
OEM part for: Ryobi
Part Number: BD46125
Product Description ?
- Classification: Part
- Weight: 0.03 lbs.
- Shipping: Ships Worldwide
Compatibility
This part will fit the following 3 machines
Ryobi
This item works with the following types of products:
- Sander Parts
This part replaces obsolete part #: 080900062530, BD46023, 080900062522
Customer Part Reviews ?
- 1
Questions & Answers ?
Our customer Service team is at the ready daily to answer your part and product questions.

Ask our Team
We have a dedicated staff with decades of collective experience in helping customers just like you purchase parts to repair their products.
Does this fit my product?Questions & Answers for Switch With Key Hy7
Customer Repair Instructions ?
All our customer repair instructions are solicited directly from other customers just like you who have purchased and replaced this exact part.
Original switch was bad
Tool Type
Sander
Difficulty
Medium
Time
30-60 minutes
Tools Used
Screwdriver, Pliers
Parts Used
2. Removed wires from old switch
3. Removed old switch from mounting plate
4. Installed new switch on mounting plate
5. Installed wires on proper terminals of new switch
6. Installed mounting plate on sander
7. Turned on sander (It worked !!)
switch would not turn sander off
Tool Type
Sander
Difficulty
Easy
Time
15-30 minutes
Tools Used
Screwdriver, Pliers
Parts Used
moved wires from old switch to new switch
painted switch guard
installed new switch
switch internals burned out and separated.
Tool Type
Sander
Difficulty
Easy
Time
Less than 15 minutes
Tools Used
Screwdriver
Parts Used
On/off switch stopped working
Tool Type
Sander
Difficulty
Medium
Time
15-30 minutes
Tools Used
Screwdriver
Parts Used
Switch broke.
Tool Type
Sander
Difficulty
Easy
Time
15-30 minutes
Tools Used
Screwdriver, Pliers, Allen wrench
Parts Used
Worn out switch.
Tool Type
Sander
Difficulty
Easy
Time
Less than 15 minutes
Tools Used
Screwdriver
Parts Used
2. Removed four wires from the switch.
3. Removed screws from the switchplate.
4. Removed the switch from the switchplate.
5. Replaced the switch.
6. Returned the switch to the plate. Reinstalled screws.
7. Reinstalled the base plate screws.
8. Works like a charm.
The main power switch froze in the on position
Tool Type
Sander
Difficulty
Easy
Time
15-30 minutes
Tools Used
Screwdriver
Parts Used
The previous switch was burned beyond repair
Tool Type
Sander
Difficulty
Easy
Time
Less than 15 minutes
Tools Used
Screwdriver
Parts Used
OEM stands for Original Equipment Manufacturer and means the part you’re buying is sourced directly from the manufacturer who made your product. At eReplacementParts, we sell only genuine OEM parts, guaranteeing the part you’re purchasing is of better design and of higher quality than aftermarket parts.
Our product descriptions are a combination of data sourced directly from the manufacturers who made your product as well as content researched and curated by our content & customer service teams. This content is edited and reviewed internally before being made public to customers.
Our customer service team are at the ready daily to answer your part and product questions. We have a dedicated staff with decades of collective experience in helping customers just like you purchase parts to repair their products.
All our part reviews are solicited directly from other customers who have purchased this exact part. While we moderate these reviews for profanity, offensive language or personally identifiable information, these reviews are posted exactly as submitted and no alterations are made by our team.
All our customer repair instructions are solicited directly from other customers just like you who have purchased and replaced this exact part. While we moderate these reviews for profanity, offensive language or personally identifiable information, these reviews are posted exactly as submitted and no alterations are made by our team.
Based on data from past customer purchasing behaviors, these parts are most commonly purchased together along with the part you are viewing. These parts may be necessary or helpful to replace to complete your current repair.
All our installation videos are created and produced in collaboration with our in-house repair technician, Mark Sodja, who has helped millions of eReplacementParts customers over the last 13 years repair their products. Mark has years of experience in selling and repairing both commercial and residential products with a specialty in gas-powered equipment.
This data is collected from customers who submitted a repair instruction after replacing this exact part. Customers can rate how easy the repair was to complete and how long it took. We aggregate this data to provide a repair rating that allows customers to quickly determine the difficulty and time needed to perform their own repair.


