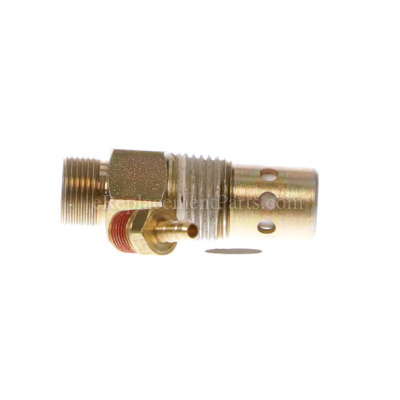
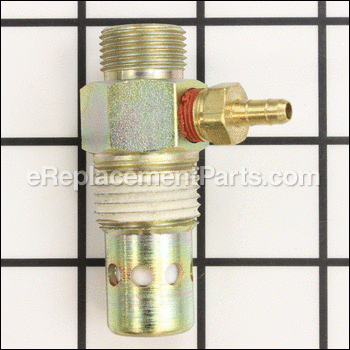
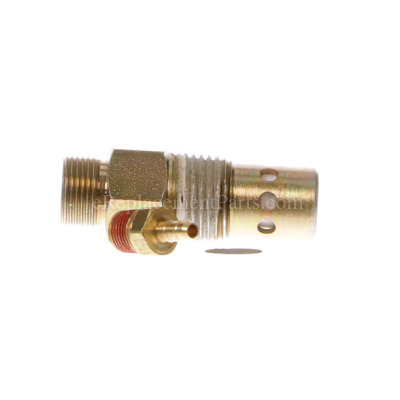
It is a genuine item that is supplied directly from the original equipment manufacturer for use with Campbell Hausfeld air compressors. A check valve is an important safety feature that will release excess pressure from the tank. If the valve is damaged or missing it should be replaced to ensure your equipment functions safe and properly. One durable metal check valve assembly is included. Refer to the owner\\\'s manual and the diagrams for your model for the correct installation of the new part. You will need a wrench to secure and remove this check valve. Make sure to drain the air from the tank before starting the repair.
Check Valve Assembly CV221503SJ
OEM part for: Campbell Hausfeld, Husky
Part Number: CV221503SJ
Jump To:
Frequently Purchased Together ?
Compatibility
This Check Valve Assembly will fit the following 145 machines. Confirm this part works with your model, and view the detailed model diagrams and repair help we have to offer.
Campbell Hausfeld
Husky
Show More Compatible ModelsThis item works with the following types of products:
- Compressor Parts
This part replaces obsolete part #: CV221503AJ (Replaces CV218403AJ), CV220303AJ, CV220306AJ, CV221503AJ, CV221500AJ
Customer Part Reviews ?
- 1
Questions & Answers ?
Our customer Service team is at the ready daily to answer your part and product questions.

Ask our Team
We have a dedicated staff with decades of collective experience in helping customers just like you purchase parts to repair their products.
Does this fit my product?Questions & Answers for Check Valve Assembly
Customer Repair Instructions ?
All our customer repair instructions are solicited directly from other customers just like you who have purchased and replaced this exact part.
Compressor would pop breaker after building pressure and trying to restart after pressure dropped to restart pressure
Tool Type
Compressor
Difficulty
Easy
Time
Less than 15 minutes
Tools Used
Adjustable Wrench
Parts Used
Compressor leaking air
Tool Type
Compressor
Difficulty
Easy
Time
30-60 minutes
Tools Used
Wrench Set
Parts Used
Check valve leaking
Tool Type
Compressor
Difficulty
Medium
Time
30-60 minutes
Tools Used
Socket set, Wrench Set, Adjustable Wrench
Parts Used
Removed plastic line from check valve to pressure switch.
Removed check valve.
Installed in reverse
Beaker triping
Tool Type
Compressor
Difficulty
Easy
Time
15-30 minutes
Tools Used
Adjustable Wrench
Parts Used
Bad check valve replaced, exhaust tube replace and foot installed.
Tool Type
Compressor
Difficulty
Easy
Time
Less than 15 minutes
Tools Used
Wrench Set
Tool Type
Compressor
Difficulty
Easy
Time
30-60 minutes
Tools Used
Adjustable Wrench, Steel wool, Teflon tape
Air compressor kept bleeding air when tank full and pressure level reached.
Tool Type
Compressor
Difficulty
Medium
Time
30-60 minutes
Tools Used
Screwdriver, Socket set, Wrench Set, Pipe Bender
Parts Used
Compressor tank check valve wore out (leaking air)
Tool Type
Compressor
Difficulty
Easy
Time
15-30 minutes
Tools Used
Wrench Set
Parts Used
2. Removed the old check valve from the tank inlet.
3. Replaced the check valve with the new unit.
4. Reconnected the air line from the pump.
Tube wrenches are the best tools for this repair however, a combination wrench can be used, just go easy not to round off or flatten the compression fitting nuts. I do not recommend adjustable wrenches, pliers, or other slip joint, or locking style pliers. Get a good solid wrench that fits correctly!
Compressor would blow the garage circuit
Tool Type
Compressor
Difficulty
Easy
Time
15-30 minutes
Tools Used
Wrench Set, Adjustable Wrench
Parts Used
2. Remove the bad check valve
3. Clean the threads on the line fittings
4. Install plumbers threat tape on all threads
5. Install the check valve in the compressor tank
6. Install the two lines from the compressor to the check valve
7. Plug in and test for leaks
Compressor tank would leak air and go flat with the unit shut off.
Tool Type
Compressor
Difficulty
Easy
Time
15-30 minutes
Tools Used
Wrench Set, Adjustable Wrench
OEM stands for Original Equipment Manufacturer and means the part you’re buying is sourced directly from the manufacturer who made your product. At eReplacementParts, we sell only genuine OEM parts, guaranteeing the part you’re purchasing is of better design and of higher quality than aftermarket parts.
Our product descriptions are a combination of data sourced directly from the manufacturers who made your product as well as content researched and curated by our content & customer service teams. This content is edited and reviewed internally before being made public to customers.
Our customer service team are at the ready daily to answer your part and product questions. We have a dedicated staff with decades of collective experience in helping customers just like you purchase parts to repair their products.
All our part reviews are solicited directly from other customers who have purchased this exact part. While we moderate these reviews for profanity, offensive language or personally identifiable information, these reviews are posted exactly as submitted and no alterations are made by our team.
All our customer repair instructions are solicited directly from other customers just like you who have purchased and replaced this exact part. While we moderate these reviews for profanity, offensive language or personally identifiable information, these reviews are posted exactly as submitted and no alterations are made by our team.
Based on data from past customer purchasing behaviors, these parts are most commonly purchased together along with the part you are viewing. These parts may be necessary or helpful to replace to complete your current repair.
All our installation videos are created and produced in collaboration with our in-house repair technician, Mark Sodja, who has helped millions of eReplacementParts customers over the last 13 years repair their products. Mark has years of experience in selling and repairing both commercial and residential products with a specialty in gas-powered equipment.
This data is collected from customers who submitted a repair instruction after replacing this exact part. Customers can rate how easy the repair was to complete and how long it took. We aggregate this data to provide a repair rating that allows customers to quickly determine the difficulty and time needed to perform their own repair.


