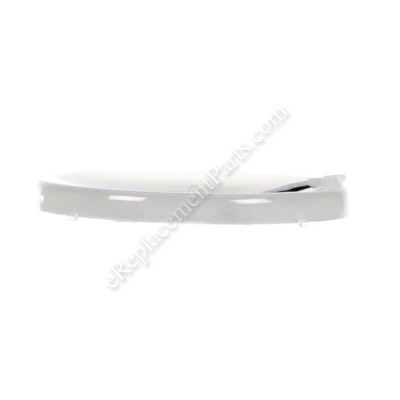
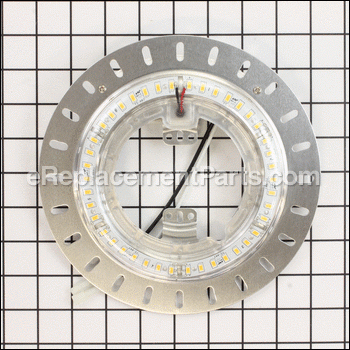
Led Assembly K658101000
OEM part for: Hunter
Part Number: K658101000
Compatibility
This part will fit the following 1 machine
Hunter
This item works with the following types of products:
This part replaces obsolete part #: K159202000
Customer Part Reviews ?
- 1
Questions & Answers ?
Our customer Service team is at the ready daily to answer your part and product questions.

Ask our Team
We have a dedicated staff with decades of collective experience in helping customers just like you purchase parts to repair their products.
Does this fit my product?Questions & Answers for Led Assembly
Customer Repair Instructions ?
All our customer repair instructions are solicited directly from other customers just like you who have purchased and replaced this exact part.
LED lights in ceiling fan were blinking and flashing.
Tool Type
Ventilation
Difficulty
Easy
Time
15-30 minutes
Tools Used
Screwdriver
Parts Used
LED started flickering on and off
Tool Type
Ventilation
Difficulty
Easy
Time
15-30 minutes
Tools Used
Screwdriver, Wire nut
Parts Used
2. Removed glass cover over light by removing decorative nut and plastic retaining clip.
3. Removed one screw and loosened two screws on LED light assembly.
4. Unplugged connector and LED assembly.
5. Removed two screws holding LED.
6. Loosen black wire from wire nut going to pull cord switch. Unplug white wire from quick connect.
7. Plug in new LED using wire nut for black wire and white wire ti connection. Its keyed so you can't mess this up.
8. Plug in connecter from LED assembly to fan.
9. Install LED assembly with three screws.
10. Install glass cover with plastic retaining clip.
11. Install decorative nut. Do not forget pull cords, they have to run through plastic grommets especially fan cord.
Old LED light burnt out
Tool Type
Ventilation
Difficulty
Medium
Time
15-30 minutes
Tools Used
Screwdriver, Pliers, wire strippers
Parts Used
OEM stands for Original Equipment Manufacturer and means the part you’re buying is sourced directly from the manufacturer who made your product. At eReplacementParts, we sell only genuine OEM parts, guaranteeing the part you’re purchasing is of better design and of higher quality than aftermarket parts.
Our product descriptions are a combination of data sourced directly from the manufacturers who made your product as well as content researched and curated by our content & customer service teams. This content is edited and reviewed internally before being made public to customers.
Our customer service team are at the ready daily to answer your part and product questions. We have a dedicated staff with decades of collective experience in helping customers just like you purchase parts to repair their products.
All our part reviews are solicited directly from other customers who have purchased this exact part. While we moderate these reviews for profanity, offensive language or personally identifiable information, these reviews are posted exactly as submitted and no alterations are made by our team.
All our customer repair instructions are solicited directly from other customers just like you who have purchased and replaced this exact part. While we moderate these reviews for profanity, offensive language or personally identifiable information, these reviews are posted exactly as submitted and no alterations are made by our team.
Based on data from past customer purchasing behaviors, these parts are most commonly purchased together along with the part you are viewing. These parts may be necessary or helpful to replace to complete your current repair.
All our installation videos are created and produced in collaboration with our in-house repair technician, Mark Sodja, who has helped millions of eReplacementParts customers over the last 13 years repair their products. Mark has years of experience in selling and repairing both commercial and residential products with a specialty in gas-powered equipment.
This data is collected from customers who submitted a repair instruction after replacing this exact part. Customers can rate how easy the repair was to complete and how long it took. We aggregate this data to provide a repair rating that allows customers to quickly determine the difficulty and time needed to perform their own repair.


