

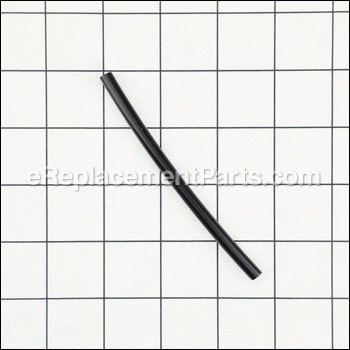
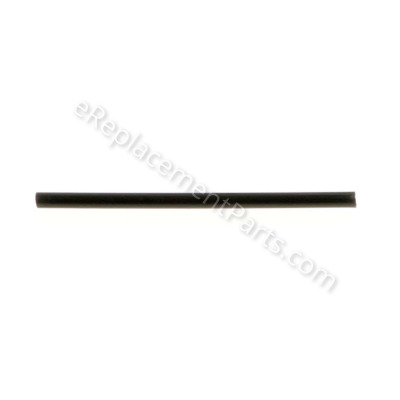


Inlet Tubing 9R201463
OEM part for: Bostitch, Porter Cable
Part Number: 9R201463
$3.99
In Stock
Jump To:
Frequently Purchased Together ?


Compatibility
This part will fit the following 2 machines
Porter Cable
TS056 (Type 1) Pneumatic Stapler View Diagrams & Manuals
Bostitch
BTFP71875 (Type 1) Pneumatic Stapler View Diagrams & Manuals
This item works with the following types of products:
- Stapler Parts
Questions & Answers ?
Our customer Service team is at the ready daily to answer your part and product questions.

Ask our Team
We have a dedicated staff with decades of collective experience in helping customers just like you purchase parts to repair their products.
Does this fit my product?Questions & Answers for Inlet Tubing
No questions have been asked yet
Customer Repair Instructions ?
All our customer repair instructions are solicited directly from other customers just like you who have purchased and replaced this exact part.
Was leaking air - rotted, broken inlet nipple
Anthony - March 19, 2022
Tool Type
Stapler
Difficulty
Easy
Time
15-30 minutes
Tools Used
Screwdriver, Pliers, Torx driver, heat gun or cigarette lighter
NOTES: The tubing in hard and you will need to gently heat it to shape it. You will need to heat it to remove it and install it. I don't have a heat gun so I used a lighter.
DO NOT USE OIL! This tool does not get oiled as other air tools. Oil, especially WD40, will rot the o-rings and degrade the plastic parts. That's why mine broke.
ALSO: if you're not good at remembering assembly and disassembly draw a diagram.
1. Remove the torx screws and split the two halves of the tool ( make sure the pin retainer o-ring doesn't fall and get lost) also make sure you note the position of the trigger safety spring
2.Remove the hoses from the valve and cylinder ( you will need to heat the ends)
3.pre-form the cylinder tube (use heat)
4. Attach the tubing to the nipples (Heat the ends) Take care not to stress the nipples the plastic is rigid and doesn't bend.
5. Reassemble and position the parts as per your diagram if you needed one.
6. The two halves may not mesh together. This is because you need to align the drive mechanism by using a thin screwdriver to push it into place.
6. Before you put the screws in make sure the slide to load the staples works properly.
Mine didn't and I had to loosen the screws back up and make sure it was free.
7. Now you're done. just put the screws back in and test it.
Did you find this story helpful?
Thanks for voting and helping fellow customers!
OEM stands for Original Equipment Manufacturer and means the part you’re buying is sourced directly from the manufacturer who made your product. At eReplacementParts, we sell only genuine OEM parts, guaranteeing the part you’re purchasing is of better design and of higher quality than aftermarket parts.
Our product descriptions are a combination of data sourced directly from the manufacturers who made your product as well as content researched and curated by our content & customer service teams. This content is edited and reviewed internally before being made public to customers.
Our customer service team are at the ready daily to answer your part and product questions. We have a dedicated staff with decades of collective experience in helping customers just like you purchase parts to repair their products.
All our part reviews are solicited directly from other customers who have purchased this exact part. While we moderate these reviews for profanity, offensive language or personally identifiable information, these reviews are posted exactly as submitted and no alterations are made by our team.
All our customer repair instructions are solicited directly from other customers just like you who have purchased and replaced this exact part. While we moderate these reviews for profanity, offensive language or personally identifiable information, these reviews are posted exactly as submitted and no alterations are made by our team.
Based on data from past customer purchasing behaviors, these parts are most commonly purchased together along with the part you are viewing. These parts may be necessary or helpful to replace to complete your current repair.
All our installation videos are created and produced in collaboration with our in-house repair technician, Mark Sodja, who has helped millions of eReplacementParts customers over the last 13 years repair their products. Mark has years of experience in selling and repairing both commercial and residential products with a specialty in gas-powered equipment.
This data is collected from customers who submitted a repair instruction after replacing this exact part. Customers can rate how easy the repair was to complete and how long it took. We aggregate this data to provide a repair rating that allows customers to quickly determine the difficulty and time needed to perform their own repair.