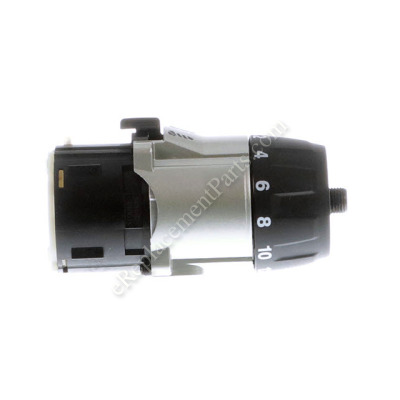
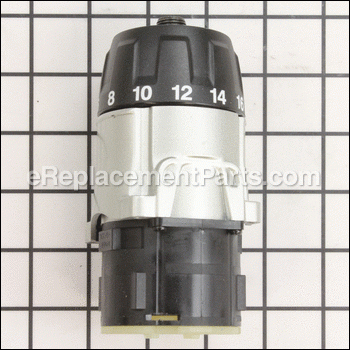
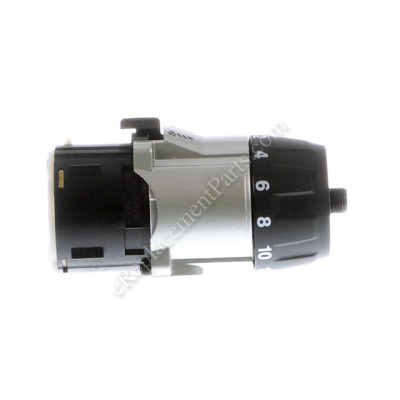
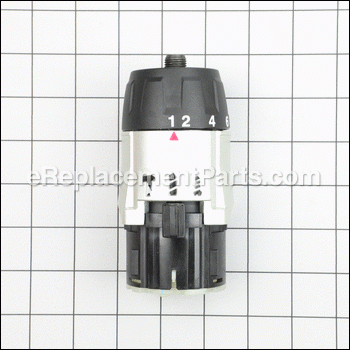
This is a complete, genuine replacement Makita gearbox. It is commonly found in newer Makita Lithium-Ion powered drills. The gearbox is a complete assembly, including the threaded spindle, selector collar, housings, and internal gears and bearings. The gearbox comes pre lubricated and sealed and is ready to install. This part is compatible with the Makita drills listed below, but it will not fit any other power tools.
Gear Assembly 125430-5
OEM part for: Makita
Part Number: 125430-5
Product Description ?
- OEM Makita drill gearbox
- Complete gearbox assembly
- Ships ready for installation
- Classification: Part
- Weight: 1.65 lbs.
- Shipping: Ships Worldwide
Compatibility
This part will fit the following 2 machines
Makita
This item works with the following types of products:
- Drill Parts
This part replaces obsolete part #: 125317-1
Customer Part Reviews ?
- 1
Questions & Answers ?
Our customer Service team is at the ready daily to answer your part and product questions.

Ask our Team
We have a dedicated staff with decades of collective experience in helping customers just like you purchase parts to repair their products.
Does this fit my product?Questions & Answers for Gear Assembly
Customer Repair Instructions ?
All our customer repair instructions are solicited directly from other customers just like you who have purchased and replaced this exact part.
Clutch would slip and not drill.
Tool Type
Cordless Drill
Difficulty
Easy
Time
15-30 minutes
Tools Used
Screwdriver, Allen wrench,hammer
Parts Used
the hammer drill transmission failed. It would no longer turn the chuck.
Tool Type
Hammer Drill
Difficulty
Hard
Time
More than 2 hours
Tools Used
Screwdriver, vice grips, bench vice dremel grinder
Parts Used
2. Lifted the motor and the transmission out of the body cases.
3. Separated the motor from the transmission
4. Removed the brush holder plate from the motor. I released the tension from one of the brushes to allow the motor to be easily separated from the brush holder plate.
5. Cleaned the motor with electrical component solvent spray. Motor commutator had quite a bit of dirt inside which limited the air flow through it
6. Reattached the motor to the transmission and installed the assembly in the case. This required an exceptional amount of patience and determination because it would not go back together as easily as it came apart.
7. Finally, reassembled the case/internals by returning all of the screws to their rightful locations.
8. All that remains to be done is to attach the chuck. It will not come free from the old transmission because the left-handed mounting screw is stuck. I am in the process of drilling/grinding the screw out. Have several hours into the chuck removal with no end in sight\
9. The part that I ordered from was in pieces when it arrived about ten days late. I was able to figure out how to return all of the little gears to their appointed locations and get the rear cover back on. FEDEX was the carrier and after some nudging, they produced the damaged package. I think the driver was embarrassed because he dropped the package and left hurriedly.
10. Now I am in the final approach, using a small grinder to remove the remainder of the screw that wasn't drilled away. A problem has occurred with holding the chuck carrier shaft while I attempt to smack the chuck loose from it. If it weren't for the stuck chuck, replacing the broken transmission would have been straight forward.
checked on u - tube
Tool Type
Cordless Drill
Difficulty
Medium
Time
Less than 15 minutes
Tools Used
Screwdriver, Wrench Set, vise
Parts Used
Makita hammer drill gearbox slipping, hammer function failed.
Tool Type
Cordless Drill
Difficulty
Medium
Time
30-60 minutes
Tools Used
Screwdriver, Vise, acetylene torch, sledge hammer, hex keys
Parts Used
2. Removed two screws and rear cover of drill motor housing.
3. Removed eight screws in housing and removed top side, leaving motor and gearbox in place.
4. Note position of motor. Motor must be in precise position to reinstall housing.
5. Tipped up and removed gearbox.
6. Installed new gearbox.
7. Carefully repositioned internal parts, and reinstalled and fastened top housing, rear cover, and fastened gearbox.
8. Removed chuck retaining screw in old gearbox, attempted to remove chuck. Failed.
9. Smashed old gearbox with sledgehammer to access chuck shaft.
10. Attempted chuck removal again with chuck shaft in large machine vise. Failed.
11. Heated chuck shaft with acetylene torch until nicely smoking. Clamped shaft in vise, and finally removed the chuck with moderate force using an impact driver. Whew.
12. Installed chuck on new gearbox, and installed retainer screw with Locktight.
The project was problem free and fast with the exception of the chuck removal. It is like having a brand new tool with the new gearbox.
Gearbox gears stripped
Tool Type
Cordless Drill
Difficulty
Medium
Time
30-60 minutes
Tools Used
Screwdriver
Parts Used
The keyless chuck broke along with second gear breaking as well.
Tool Type
Hammer Drill
Difficulty
Easy
Time
Less than 15 minutes
Tools Used
Screwdriver
2. Opened the drill casing by removing all screws.
3. Removed the gear assembly and the chuck as one unit.
4. Replaced with the assembled gearbox and the chuck.
5. Secured the casing.
6. Attached the battery.
7. Tested, worked just fine.
Gear unit had stripped.
Tool Type
Cordless Drill
Difficulty
Medium
Time
30-60 minutes
Tools Used
Screwdriver
Parts Used
OEM stands for Original Equipment Manufacturer and means the part you’re buying is sourced directly from the manufacturer who made your product. At eReplacementParts, we sell only genuine OEM parts, guaranteeing the part you’re purchasing is of better design and of higher quality than aftermarket parts.
Our product descriptions are a combination of data sourced directly from the manufacturers who made your product as well as content researched and curated by our content & customer service teams. This content is edited and reviewed internally before being made public to customers.
Our customer service team are at the ready daily to answer your part and product questions. We have a dedicated staff with decades of collective experience in helping customers just like you purchase parts to repair their products.
All our part reviews are solicited directly from other customers who have purchased this exact part. While we moderate these reviews for profanity, offensive language or personally identifiable information, these reviews are posted exactly as submitted and no alterations are made by our team.
All our customer repair instructions are solicited directly from other customers just like you who have purchased and replaced this exact part. While we moderate these reviews for profanity, offensive language or personally identifiable information, these reviews are posted exactly as submitted and no alterations are made by our team.
Based on data from past customer purchasing behaviors, these parts are most commonly purchased together along with the part you are viewing. These parts may be necessary or helpful to replace to complete your current repair.
All our installation videos are created and produced in collaboration with our in-house repair technician, Mark Sodja, who has helped millions of eReplacementParts customers over the last 13 years repair their products. Mark has years of experience in selling and repairing both commercial and residential products with a specialty in gas-powered equipment.
This data is collected from customers who submitted a repair instruction after replacing this exact part. Customers can rate how easy the repair was to complete and how long it took. We aggregate this data to provide a repair rating that allows customers to quickly determine the difficulty and time needed to perform their own repair.


