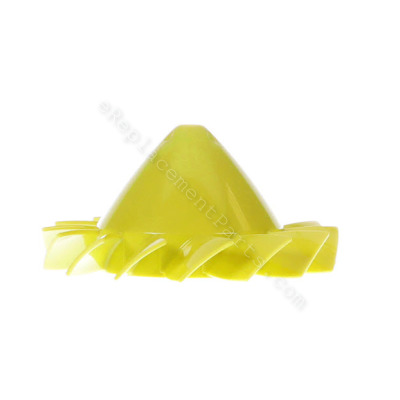
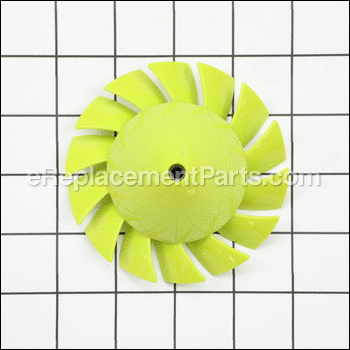
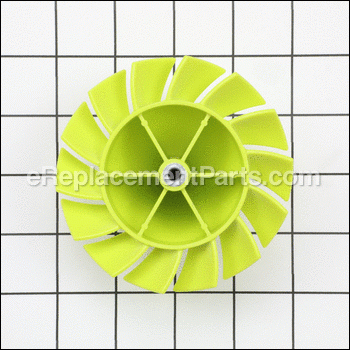
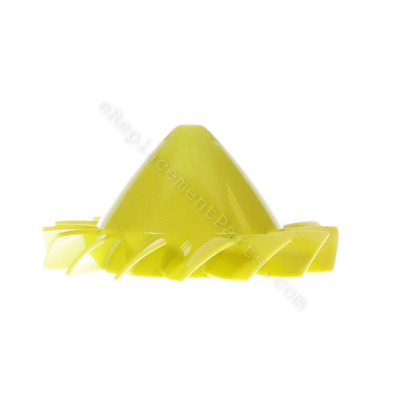
This authentic OEM fan blade, also known as an impeller or fan wheel, is found within the blower housing. Located near the tail cone assembly and the motor, it creates airflow by spinning rapidly and then expelling it through the nozzle to move leaves and debris. This green replacement fan, with an insert nut, is specifically designed to replace the existing orange fan in your blower. It is made of plastic and should be replaced if it shows signs of cracks, chips, or missing sections. If you notice a decrease in power, it could be an indication of a faulty fan. To replace the blade, gather a screwdriver, pliers, and a T15 driver or bit. Refer to your user guide for detailed instructions. Generally, you will need to remove the screws holding the inlet guard and blower outlet housing, detach them, locate and access the rear shaft of the motor, hold the shaft with pliers, and thread off the old fan assembly. When installing the new assembly, make sure to continue holding the shaft securely while threading it on.
Fan Blade 529437004
OEM part for: Ryobi
Part Number: 529437004
Jump To:
Frequently Purchased Together ?
Compatibility
This part will fit the following 4 machines
Ryobi
This item works with the following types of products:
Customer Part Reviews ?
- 1
- 2
- 3
Questions & Answers ?
Our customer Service team is at the ready daily to answer your part and product questions.

Ask our Team
We have a dedicated staff with decades of collective experience in helping customers just like you purchase parts to repair their products.
Does this fit my product?Questions & Answers for Fan Blade
Customer Repair Instructions ?
All our customer repair instructions are solicited directly from other customers just like you who have purchased and replaced this exact part.
Blower fan blade separation
Tool Type
Blower
Difficulty
Easy
Time
Less than 15 minutes
Tools Used
Screwdriver, Pliers, T15 driver or bit required for disassembly/ assembly
Parts Used
2. Separate both halves.
3. Remove fan housing/duct while leaving cables attached.
4. Locate shaft at rear of motor.
5. Hold shaft with pliers while backing/threading old fan assembly off.
6. Hold shaft with pliers while threading new fan assembly on.
7. Reverse steps 3-1
Green/yellow fan is a direct replacement for orange fan. The inner collar of green fan is threaded.
Every single blade on the fan broke off
Tool Type
Blower
Difficulty
Easy
Time
15-30 minutes
Tools Used
Screwdriver, Torx head bit for screws
Parts Used
Fan blade self destructed on Ryobi P2108 18V Blower
Tool Type
Blower
Difficulty
Medium
Time
15-30 minutes
Tools Used
, torx driver
Parts Used
Remove 4 screws from bottom up that holds cases together. Only ones going through the green part and not handle screws.
Leave handle screws in.
Two screws on each side of the bottom next to the ID label hold the clear air tube, and the green pointed motor cover. through a clamping action.
Spread lower half open enough to remove the clear shield and green pointed fan motor cover
use an adjustable wrench to hold back of motor shaft
Unscrew fan counter-clockwise or normal left screw, and screw new one on.
Replace all removed screws.
Going by memory if I missed anything but the screws going through the black handle grip were not removed.
Fan blade sucked in a foreign object and disintegrated
Tool Type
Blower
Difficulty
Easy
Time
15-30 minutes
Tools Used
Power Drill, Adjustable Wrench
Parts Used
Exposed the shaft on the opposite end of the blade
Secured shaft with a small adjustable wrench
Unscrewed the blade by hand
Screw the new blade on by hand
Reassembled
Works great
Fan blade broke into pieces (reason for failure unknown)
Tool Type
Blower
Difficulty
Medium
Time
15-30 minutes
Tools Used
Screwdriver, Pliers
Parts Used
Removed all screws (at least a dozen) to expose the fan blade.
Held opposite end of blade shaft with pliers in order to "unscrew" broken fan blade.
Replaced with new fan blade and reversed the order.
I should add that the parts diagram on the eReplacements Parts site was very helpful.
The blower fan blades simply exploded...BTW, this is the 2nd time!
Tool Type
Blower
Difficulty
Medium
Time
15-30 minutes
Tools Used
Screwdriver, Allen wrench
Parts Used
2. Used long reach allen wrench to remove the 4 small bolts that hold the Blower fan Cover.
3. Removed the broken "spinner" that had no blades remaining...This was a pain as the piece was difficult to unscrew to remove it. (Righty tighty, Lefty Loosey)
4. After finally removing the broken "spinner", I simply put the new one on by screwing it on. Make sure the spacer goes on first!
5. Re-installed the Blower Fan Cover using the 4 allen head bolts.
The fan blades exploded
Tool Type
Blower
Difficulty
Medium
Time
15-30 minutes
Tools Used
Screwdriver, Pliers
Parts Used
2. Removed snout of blower
3. Removed 10 or so screws
4. Blower broke in half
5. Used pliers to hold the motor and unsrewed the fan
6. Screwed the new fan to motor
7. Put it back together
Works great , next time it will only take 15 Minutes Max
Fan blade shattered in leaf blower (Ryobi 18v cordless)
Tool Type
Blower
Difficulty
Medium
Time
15-30 minutes
Tools Used
Screwdriver, Torx bits
Parts Used
Plastic blade broke
Tool Type
Blower
Difficulty
Easy
Time
Less than 15 minutes
Tools Used
Screwdriver
Parts Used
Blower fan blade had disintegrated
Tool Type
Blower
Difficulty
Easy
Time
15-30 minutes
Tools Used
Screwdriver
Parts Used
Unscrewed all of the screws holding the two halves of the blower assembly together, which allowed access to the fan blade.
Unscrewed the blade hub from the electric motor axle
Replaced the blade
Put the housing back together
OEM stands for Original Equipment Manufacturer and means the part you’re buying is sourced directly from the manufacturer who made your product. At eReplacementParts, we sell only genuine OEM parts, guaranteeing the part you’re purchasing is of better design and of higher quality than aftermarket parts.
Our product descriptions are a combination of data sourced directly from the manufacturers who made your product as well as content researched and curated by our content & customer service teams. This content is edited and reviewed internally before being made public to customers.
Our customer service team are at the ready daily to answer your part and product questions. We have a dedicated staff with decades of collective experience in helping customers just like you purchase parts to repair their products.
All our part reviews are solicited directly from other customers who have purchased this exact part. While we moderate these reviews for profanity, offensive language or personally identifiable information, these reviews are posted exactly as submitted and no alterations are made by our team.
All our customer repair instructions are solicited directly from other customers just like you who have purchased and replaced this exact part. While we moderate these reviews for profanity, offensive language or personally identifiable information, these reviews are posted exactly as submitted and no alterations are made by our team.
Based on data from past customer purchasing behaviors, these parts are most commonly purchased together along with the part you are viewing. These parts may be necessary or helpful to replace to complete your current repair.
All our installation videos are created and produced in collaboration with our in-house repair technician, Mark Sodja, who has helped millions of eReplacementParts customers over the last 13 years repair their products. Mark has years of experience in selling and repairing both commercial and residential products with a specialty in gas-powered equipment.
This data is collected from customers who submitted a repair instruction after replacing this exact part. Customers can rate how easy the repair was to complete and how long it took. We aggregate this data to provide a repair rating that allows customers to quickly determine the difficulty and time needed to perform their own repair.

