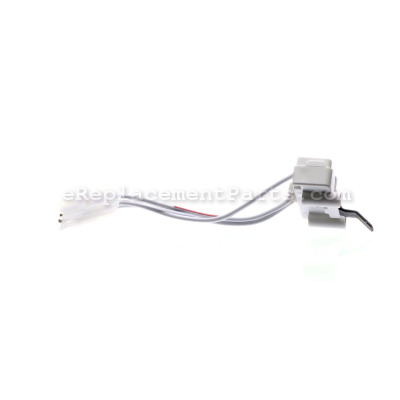
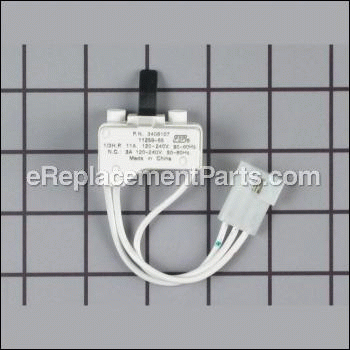
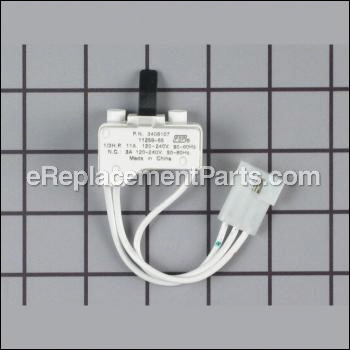
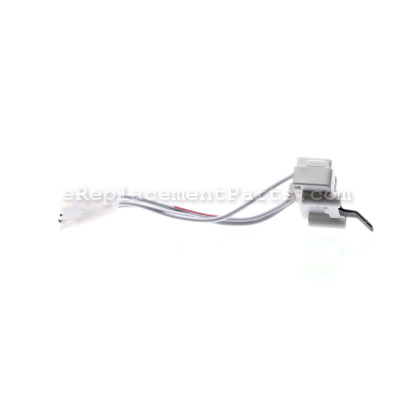
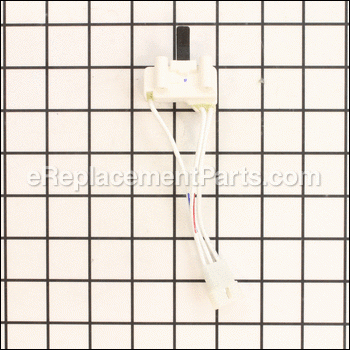
It is a genuine item that is supplied by the original equipment manufacturer. This part is made for use with Whirlpool residential dryers. The door switch acts as a sensor to allow the washer to start when the door is closed. Unfortunately, over time it may wear out, get damaged or stop working all together eventually requiring a replacement. If the dryer does not start then the door switch could be defective. Note, this high-quality plastic body assembly is sold individually. To replace it, you will need a screwdriver to take the housing apart. The switch simply connects to the unit with an attached wire harness.
Dryer Door Switch Assembly WP3406107
OEM part for: Whirlpool, Maytag Commercial, KitchenAid, Roper, Estate, Inglis, Maytag, Admiral, Amana, Crosley, Magic Chef
Part Number: WP3406107
Compatibility
This Dryer Door Switch Assembly will fit the following 1792 machines. Confirm this part works with your model, and view the detailed model diagrams and repair help we have to offer.
Whirlpool
Maytag Commercial
KitchenAid
Roper
Estate
Inglis
Maytag
Admiral
Amana
Crosley
Magic Chef
Show More Compatible ModelsThis item works with the following types of products:
- Dryer Parts
- Washer Parts
This part replaces obsolete part #: 532176303, 3406109, 3406107
Repair Videos ?
Customer Part Reviews ?
- 1
Questions & Answers ?
Our customer Service team is at the ready daily to answer your part and product questions.

Ask our Team
We have a dedicated staff with decades of collective experience in helping customers just like you purchase parts to repair their products.
Does this fit my product?Questions & Answers for Dryer Door Switch Assembly
Customer Repair Instructions ?
All our customer repair instructions are solicited directly from other customers just like you who have purchased and replaced this exact part.
Drum would not stop when door opened
Tool Type
Dryer
Difficulty
Easy
Time
Less than 15 minutes
Tools Used
Screwdriver
Parts Used
Remove 2 screws holding lint trap duct to dryer top
Release two dryer top front clips by pulling top forward
Raise front of dryer top, helper hold up
Open dryer door, remove 2 screws holding switch in position
Un-plug old switch
Install new switch, plug into harness
Lower dryer top back into position
Install 2 screws removed from dryer lint trap
Install lint trap screen
Test work by turning on dryer and opening door.
Drum should stop
Dryer wouldn't run
Tool Type
Dryer
Difficulty
Easy
Time
15-30 minutes
Tools Used
Screwdriver
Parts Used
The switch that stops the dryer when you open the door quit
Tool Type
Dryer
Difficulty
Easy
Time
Less than 15 minutes
Tools Used
Screwdriver
Parts Used
Door switch broke
Tool Type
Dryer
Difficulty
Easy
Time
15-30 minutes
Tools Used
Screwdriver, Pliers, 5in one painters tool
Parts Used
Removed two screws holding switch. Installed new switch.
Reversed steps to finish.
Door switch had broken.
Tool Type
Dryer
Difficulty
Medium
Time
30-60 minutes
Tools Used
Screwdriver, Wrench Set
Parts Used
Sincerely,
Mr.Tweedy
Dryer switch was broken/ inop dryer
Tool Type
Dryer
Difficulty
Easy
Time
Less than 15 minutes
Tools Used
Screwdriver
Parts Used
Dryer would not turn on or off when opening door
Tool Type
Dryer
Difficulty
Easy
Time
Less than 15 minutes
Tools Used
Screwdriver, Pry bar to open lid
Parts Used
2. Used pry bar to release top of dryer from base
3. Unplugged switch from inside base
4. Unscrewed faulty switch from outside
5. Reinstalled switch and plugged in
6. Closed lid and reconnected lint screen sleeve
7. Tested
Dryer door swith was broke
Tool Type
Dryer
Difficulty
Easy
Time
Less than 15 minutes
Tools Used
Screwdriver
Parts Used
2. Used screwdriver to remove the door switch
3. Replaced switch & re-assembled
Door Open shut off switch, Broken, would Not stop turning
Tool Type
Dryer
Difficulty
Easy
Time
Less than 15 minutes
Tools Used
Screwdriver, Nutdriver
Parts Used
2. Lift up control panel and top at the back enough so lip in back clears top and slide forward about 2 inches, this disengages slide lock tabs in front and top is free, slide top to side just enough to see and unplug switch assembly harness.
3. Remove 2 Phillips Head screws holding switch in place at front of machine with door open, hold switch with one hand so you don't drop it.
4 Reassemble
OEM stands for Original Equipment Manufacturer and means the part you’re buying is sourced directly from the manufacturer who made your product. At eReplacementParts, we sell only genuine OEM parts, guaranteeing the part you’re purchasing is of better design and of higher quality than aftermarket parts.
Our product descriptions are a combination of data sourced directly from the manufacturers who made your product as well as content researched and curated by our content & customer service teams. This content is edited and reviewed internally before being made public to customers.
Our customer service team are at the ready daily to answer your part and product questions. We have a dedicated staff with decades of collective experience in helping customers just like you purchase parts to repair their products.
All our part reviews are solicited directly from other customers who have purchased this exact part. While we moderate these reviews for profanity, offensive language or personally identifiable information, these reviews are posted exactly as submitted and no alterations are made by our team.
All our customer repair instructions are solicited directly from other customers just like you who have purchased and replaced this exact part. While we moderate these reviews for profanity, offensive language or personally identifiable information, these reviews are posted exactly as submitted and no alterations are made by our team.
Based on data from past customer purchasing behaviors, these parts are most commonly purchased together along with the part you are viewing. These parts may be necessary or helpful to replace to complete your current repair.
All our installation videos are created and produced in collaboration with our in-house repair technician, Mark Sodja, who has helped millions of eReplacementParts customers over the last 13 years repair their products. Mark has years of experience in selling and repairing both commercial and residential products with a specialty in gas-powered equipment.
This data is collected from customers who submitted a repair instruction after replacing this exact part. Customers can rate how easy the repair was to complete and how long it took. We aggregate this data to provide a repair rating that allows customers to quickly determine the difficulty and time needed to perform their own repair.

