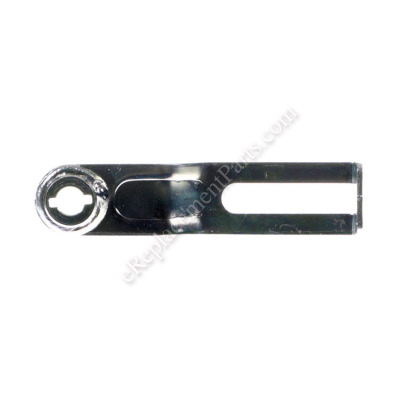
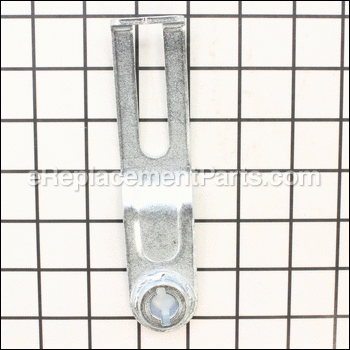
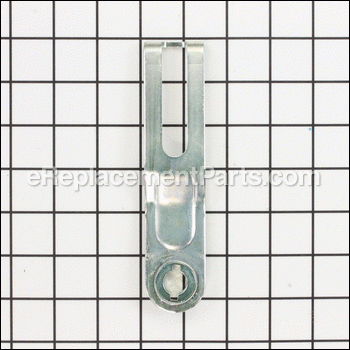
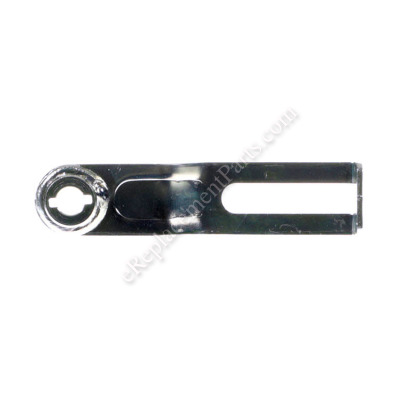
Arm, Shutter 76265-VH7-010
OEM part for: Honda
Part Number: 76265-VH7-010
7 - 12 business days
Jump To:
Frequently Purchased Together ?
Compatibility
This part will fit the following 23 machines
Honda
This item works with the following types of products:
- Lawn Mower Parts
Questions & Answers ?
Our customer Service team is at the ready daily to answer your part and product questions.

Ask our Team
We have a dedicated staff with decades of collective experience in helping customers just like you purchase parts to repair their products.
Does this fit my product?Questions & Answers for Arm, Shutter
Customer Repair Instructions ?
All our customer repair instructions are solicited directly from other customers just like you who have purchased and replaced this exact part.
The mulch/bag lever was not controlling the grass door since the bracket was rusted and broken
Tool Type
Engine
Difficulty
Hard
Time
More than 2 hours
Tools Used
Screwdriver, Power Drill, Socket set
2. Cleaned and lubricated all removed parts
3. Replacing the shutter was tricky as the bracket and roller needed to go on the arm shaft while the shutter and cover were replaced - before the bracket could be attached to the shutter itself. This made the attachment of the bracket pretty tricky, requiring the arm to be in a specific position while I attempted to replace the washer and nut on top of the bolt so they would slide on the bracket.
4. Tried to replace an old rusted bolt, but wound up having to drill it out, complicating things.
5. After putting all the parts back together, there was some adjustment needed for the shutter to move freely.
6. I took the opportunity to sharpen the blade before replacing it
Shutter arm and nut/bolt and associated parts to control shutter had rusted to point of inoperable
Tool Type
Engine
Difficulty
Medium
Time
30-60 minutes
Tools Used
Socket set, Wrench Set, Adjustable Wrench
Fairly simple. I believe everything can be accomplished with ratchet/sockets (metric) and crescent wrench. Shut off fuel, disconnect spark plug, roll mower on right side (non carburetor side so any remaining fuel doesn't leak all over). 1 - remove blade. 2 - remove six bolts (two different lengths, keep track, it matters for reassembly) that hold three plates on underside of mower; this frees the round plastic ring of the shutter. Note - do not remove the bolts that fasten the engine to the deck, only the six bolts that retain the three heavy sheet metal plates, two each. 3 - pull off old shutter arm and shutter; only necessary because it was impossible to remove the old rusted nut/bolt/grommet from the original shutter without major damage to it. 4 - loosely fit new shutter and shutter arm, and affix new square washer and carriage bolt beneath, and nut, washer, etc. on top. Do not over-tighten. 5 - test by swiveling the "Bag/Mulch" lever to ensure shutter opens and closes easily. 6 - tighten all bolts underneath and reattach blade.
OEM stands for Original Equipment Manufacturer and means the part you’re buying is sourced directly from the manufacturer who made your product. At eReplacementParts, we sell only genuine OEM parts, guaranteeing the part you’re purchasing is of better design and of higher quality than aftermarket parts.
Our product descriptions are a combination of data sourced directly from the manufacturers who made your product as well as content researched and curated by our content & customer service teams. This content is edited and reviewed internally before being made public to customers.
Our customer service team are at the ready daily to answer your part and product questions. We have a dedicated staff with decades of collective experience in helping customers just like you purchase parts to repair their products.
All our part reviews are solicited directly from other customers who have purchased this exact part. While we moderate these reviews for profanity, offensive language or personally identifiable information, these reviews are posted exactly as submitted and no alterations are made by our team.
All our customer repair instructions are solicited directly from other customers just like you who have purchased and replaced this exact part. While we moderate these reviews for profanity, offensive language or personally identifiable information, these reviews are posted exactly as submitted and no alterations are made by our team.
Based on data from past customer purchasing behaviors, these parts are most commonly purchased together along with the part you are viewing. These parts may be necessary or helpful to replace to complete your current repair.
All our installation videos are created and produced in collaboration with our in-house repair technician, Mark Sodja, who has helped millions of eReplacementParts customers over the last 13 years repair their products. Mark has years of experience in selling and repairing both commercial and residential products with a specialty in gas-powered equipment.
This data is collected from customers who submitted a repair instruction after replacing this exact part. Customers can rate how easy the repair was to complete and how long it took. We aggregate this data to provide a repair rating that allows customers to quickly determine the difficulty and time needed to perform their own repair.


