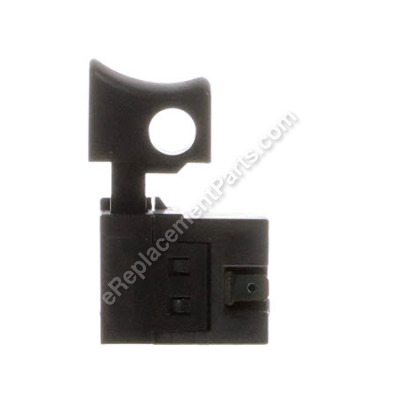
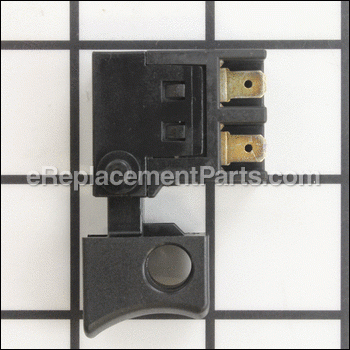
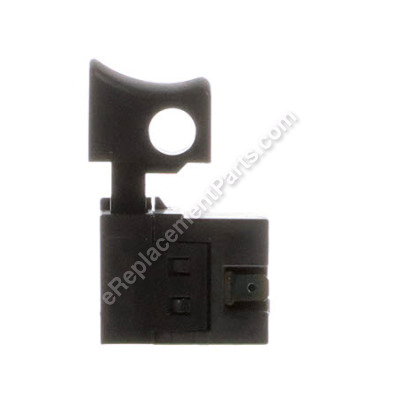
This is an OEM sourced replacement part used on Hitachi Compound Miter Saws. This switch has a Plastic Body and it is Sold Individually. Switches are a commonly replaced part in power tools, handling on/off operations. Because switches use mechanical internals, they will degrade and wear out over time, eventually requiring replacement.
To replace this switch you would need a Screwdriver.
• First make sure the tools is not plugged in
• Then you want to remove Screws used to hold two pieces of Housing Set together
• Disconnect Wires from the old Switch and remove it from the Housing
• Place the new Switch in the Housing and connect Wires to it
• Reassemble the Housing
Switch (3P Faston Type) 324424
OEM part for: Metabo HPT (Hitachi)
Part Number: 324424
7 - 12 business days
Product Description ?
- Classification: Part
- Weight: 0.01 lbs.
- Shipping: Ships Worldwide
Compatibility
This part will fit the following 10 machines
Metabo HPT (Hitachi)
This item works with the following types of products:
- Miter Saw Parts
- Saw Parts
Customer Part Reviews ?
- 1
Questions & Answers ?
Our customer Service team is at the ready daily to answer your part and product questions.

Ask our Team
We have a dedicated staff with decades of collective experience in helping customers just like you purchase parts to repair their products.
Does this fit my product?Questions & Answers for Switch (3P Faston Type)
Customer Repair Instructions ?
All our customer repair instructions are solicited directly from other customers just like you who have purchased and replaced this exact part.
The switch had been sticking on.
Tool Type
Miter Saw
Difficulty
Medium
Time
15-30 minutes
Tools Used
Screwdriver, Pliers
Parts Used
Trigger switch sticking in on position
Tool Type
Miter Saw
Difficulty
Easy
Time
Less than 15 minutes
Tools Used
Screwdriver, Pliers
Parts Used
Switch broke in on posetion
Tool Type
Miter Saw
Difficulty
Easy
Time
Less than 15 minutes
Tools Used
Screwdriver
Parts Used
Removed side plate to get to switch
Removed old switch marked down colors of wires
installed wires on new switch in same order.
installed switch into handle
replace side plate & screws.
Switch broke when my saw fell from table
Tool Type
Miter Saw
Difficulty
Easy
Time
Less than 15 minutes
Tools Used
Screwdriver, Pliers
Parts Used
My saw was knocked over
Tool Type
Miter Saw
Difficulty
Easy
Time
15-30 minutes
Tools Used
Screwdriver
I replaced with new handle
The hardest part was lining the switch and wires in place
Compound miter saw switch.
Tool Type
Miter Saw
Difficulty
Medium
Time
15-30 minutes
Tools Used
Screwdriver
Parts Used
Bad switch.
Tool Type
Miter Saw
Difficulty
Easy
Time
Less than 15 minutes
Tools Used
Screwdriver
Parts Used
2. Disconnected and removed the bad switch.
3. Replaced with the new switch.
4. Reassembled the handle housing.
Switch went bad.
Tool Type
Miter Saw
Difficulty
Easy
Time
Less than 15 minutes
Tools Used
Screwdriver, Pliers
Parts Used
switch would not always work and was getting worse
Tool Type
Miter Saw
Difficulty
Medium
Time
30-60 minutes
Tools Used
Screwdriver
Parts Used
Remove screws from handle and two screws from the body
Be careful to keep the handle together as much as possible for ease of realignment
Unplug wires from existing switch but first write down where each color wire goes
Wire connectors pull straight off with some effort you can use a pliers for better leverage
Make sure to keep the wires where they belong there is no wiggle room upon reassembly
Plug wires in and reseat new switch
Be sure wires are where they belong and realign the handle. *if you did not totally separate the handle this will be much easier. (a mistake I made)
Reattach screws, plug in the saw and you should be ready to make sawdust
The Hitachi 12" SCMS switch worn out after many years of use. To be expected and no problem.
Tool Type
Miter Saw
Difficulty
Medium
Time
30-60 minutes
Tools Used
Screwdriver, Dremel with cut off tool.
Parts Used
When the cover was removed it was a bit of a surprise. Their was no channel to route the wires. The cover had been forced shut and a wire cut almost in half. I repaired that and then tried various ways to stuff this thing back together,. It couldn't be done. So I got out my Harbor Freight knock off Dremel and created a new channel for the wires. Job finished quickly after that. This is about the 4th mod I've made to the unit. The Dust collection was terrible as most SCMS are. Easily fixed.
OEM stands for Original Equipment Manufacturer and means the part you’re buying is sourced directly from the manufacturer who made your product. At eReplacementParts, we sell only genuine OEM parts, guaranteeing the part you’re purchasing is of better design and of higher quality than aftermarket parts.
Our product descriptions are a combination of data sourced directly from the manufacturers who made your product as well as content researched and curated by our content & customer service teams. This content is edited and reviewed internally before being made public to customers.
Our customer service team are at the ready daily to answer your part and product questions. We have a dedicated staff with decades of collective experience in helping customers just like you purchase parts to repair their products.
All our part reviews are solicited directly from other customers who have purchased this exact part. While we moderate these reviews for profanity, offensive language or personally identifiable information, these reviews are posted exactly as submitted and no alterations are made by our team.
All our customer repair instructions are solicited directly from other customers just like you who have purchased and replaced this exact part. While we moderate these reviews for profanity, offensive language or personally identifiable information, these reviews are posted exactly as submitted and no alterations are made by our team.
Based on data from past customer purchasing behaviors, these parts are most commonly purchased together along with the part you are viewing. These parts may be necessary or helpful to replace to complete your current repair.
All our installation videos are created and produced in collaboration with our in-house repair technician, Mark Sodja, who has helped millions of eReplacementParts customers over the last 13 years repair their products. Mark has years of experience in selling and repairing both commercial and residential products with a specialty in gas-powered equipment.
This data is collected from customers who submitted a repair instruction after replacing this exact part. Customers can rate how easy the repair was to complete and how long it took. We aggregate this data to provide a repair rating that allows customers to quickly determine the difficulty and time needed to perform their own repair.


