

How to Replace the Blades on a Hand-Held Planer
A planer with dull blades simply doesn't get the job done. You can plane and plane the same surface again and again with nothing but frustrating results. Fortunately, replacing a planer's blades is a simple repair that you can complete in the comfort of your own home.
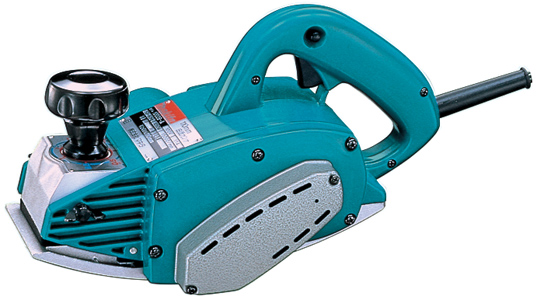
For this repair, we used a Makita hand-held planer. The steps will be similar on other models of hand-held planers, but the fasteners used to secure the blades may differ, so you will want to have a decent assortment of screwdrivers and ratchets to make sure you can loosen the fasteners on your tool.
Remember that a repair done with the wrong parts isn't a repair at all. Use our simple Makita parts finder to find the right OEM parts designed for your Makita products.
Replacing the Blades
1. Loosen the fastening bolts
Loosen the three bolts that secure the blade.

2. Remove the blade
Now you can use a screwdriver to begin sliding the blade out of its slot. Grab the blade carefully and slide it out the rest of the way.

3. Repeat the process on the reverse side
Now turn the planer's drum around to the other side and repeat the process on the second blade.

4. Install the new blade
Now you can install the new blades. Notice the blades have a notch on them that aligns with the slot on the drum. Align the notch and slide the blade into place.

Loosely tighten the outer two nuts, but don't tighten them completely yet.

5. Align the blade
Make sure the blade is centered so it won't rub against either side of the planer. Once the blade is centered you can fasten the bolts down completely.

6. Repeat the process on the reverse side
Now rotate the drum and install the new blade on the other side.

Conclusion
As you can see, replacing the blades on a hand-held planer is an easy repair you can do yourself--just remember to be careful with your fingers. In about 15 minutes you can replace the blades or flip them over to the sharp side, which will breathe new life into a tool that works at its best when the blades are as sharp as possible.
Before you begin any repair, make sure you have the right parts by using our product finder to get the right replacement parts for your repair needs.