Why Read This Article?
Finish Nailer Repair - Replacing the Driver Guide (Ridgid Part # 79004001022)
Article Breakdown
Finish Nailer Repair - Replacing the Driver Guide (Ridgid Part # 79004001022)
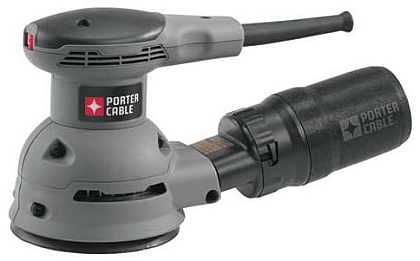 We show how to get the right replacement pad for a sander and the best way to install it on its sander using the Porter Cable 333 Random Orbit Sander as an example.
Match the Right Pad to the Sander
Backer pads can have different numbers and orientations of vacuum holes and mount holes depending on the make and model of the random orbital sander.
Accordingly, the hole configurations on backer pads must match thoseof their sanders.
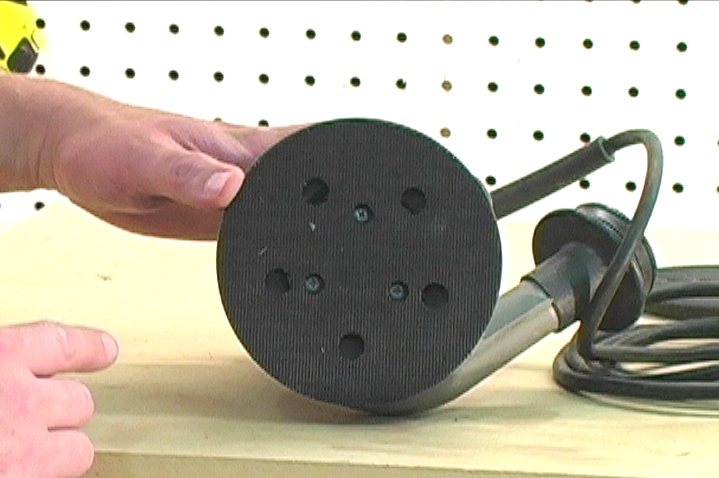 The Porter Cable 333 in our example has five vacuum holes and three mount holes. Some sanders are designed with six or eight vacuum holes, and some have four mount holes instead of three.
The easiest and most accurate way to order a new backer pad for your random orbit sander is to use the sander's model number.
Type the sander's model number in our "Model Number" search field at the top of the page, and your browser will direct you to your sander's parts page.
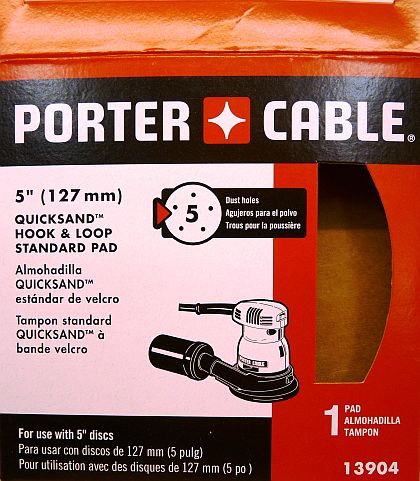
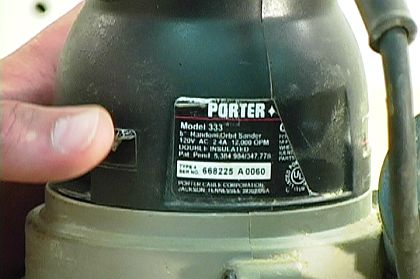 Only compatible O.E.M. backer pads will be listed on a sander's eReplacementParts.com parts page.
 [Back to top]
Sander Pad Replacement Steps
1. Unscrew the sander pad mounting screws.
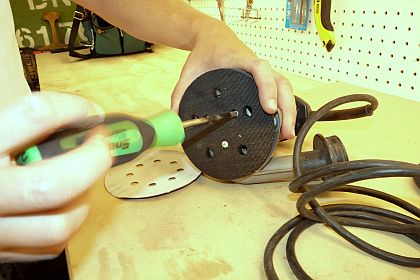 2. Remove the old pad.
Remove the mounting screws from the old backer pad as well.
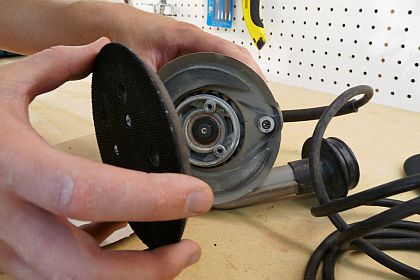 3. Install the new pad.
We find that it's much easier to first place the mounting screws inside the new backer pad's mount holes. With the screws in, align the backer pad on the sander and thread the mounting screws.
4. Tighten the mounting screws down.
It's best to first mostly tighten all the screws before giving them those last couple turns.
[Back to top]
Conclusion
Visit our Sander Parts page to find your random orbit sander backer pad by brand name, or enter your sander's model number in the search field at the top of the page.
[Back to top]
What we're about.


