Sorry, we couldn't find any existing reviews that matched. Try using some different or simpler keywords.
★★★★★
★★★★★
Worked as expected.
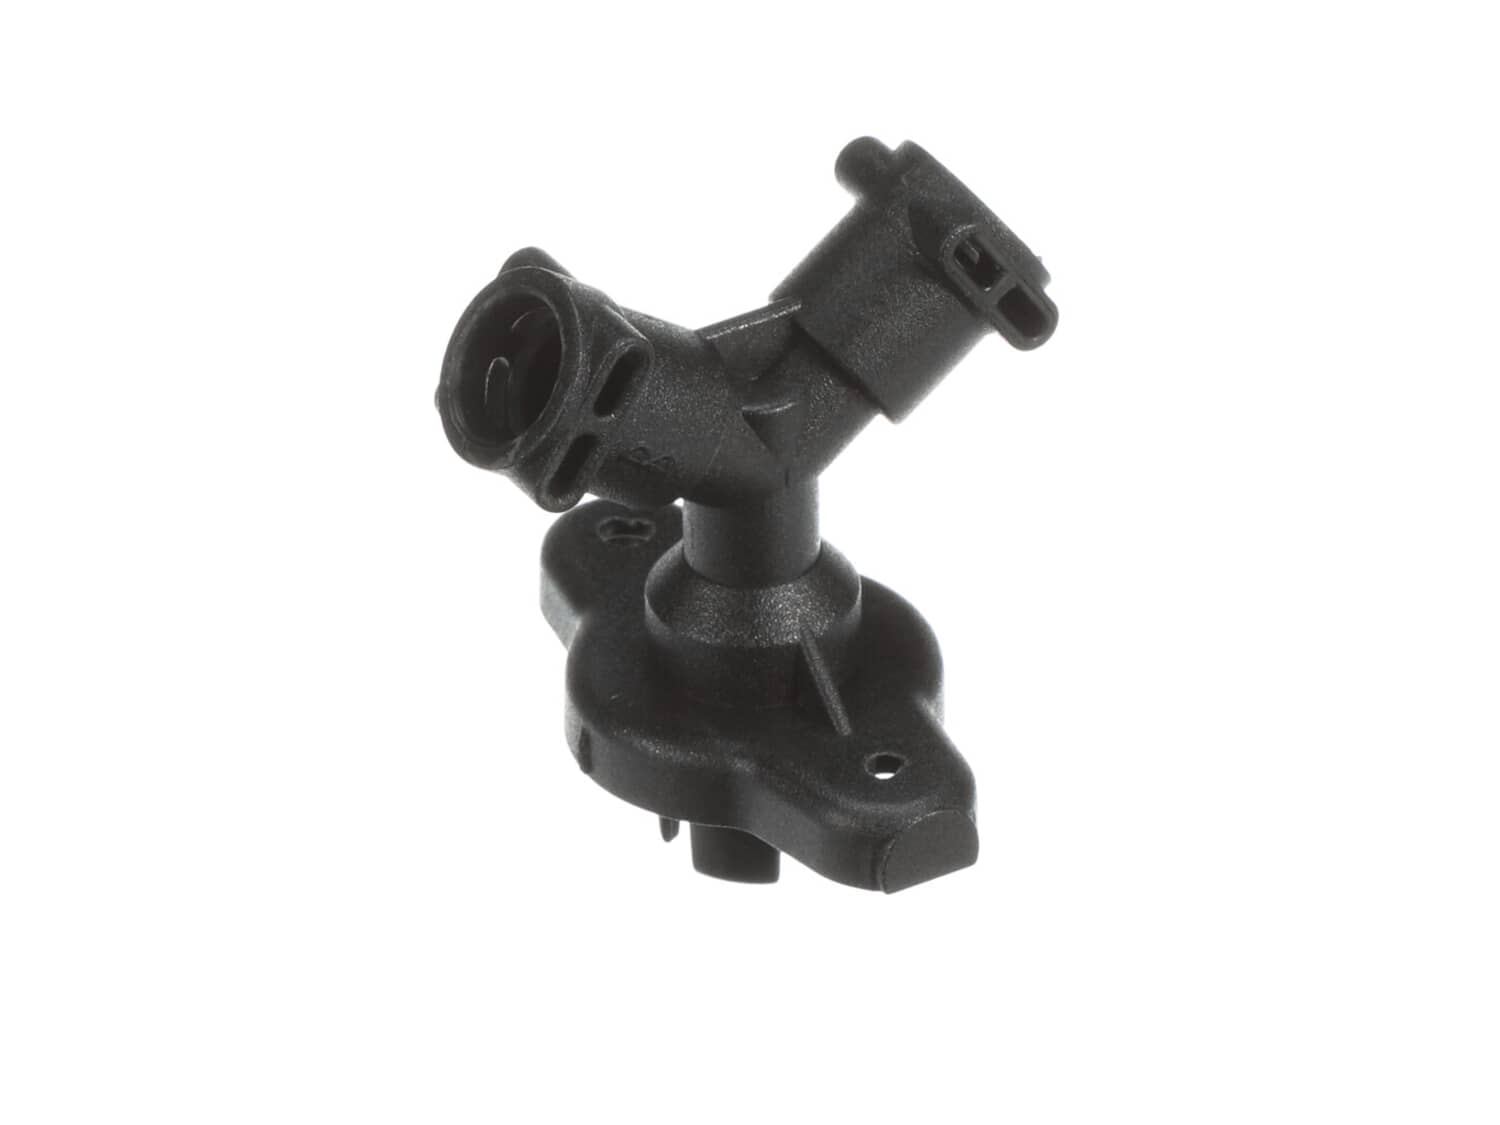
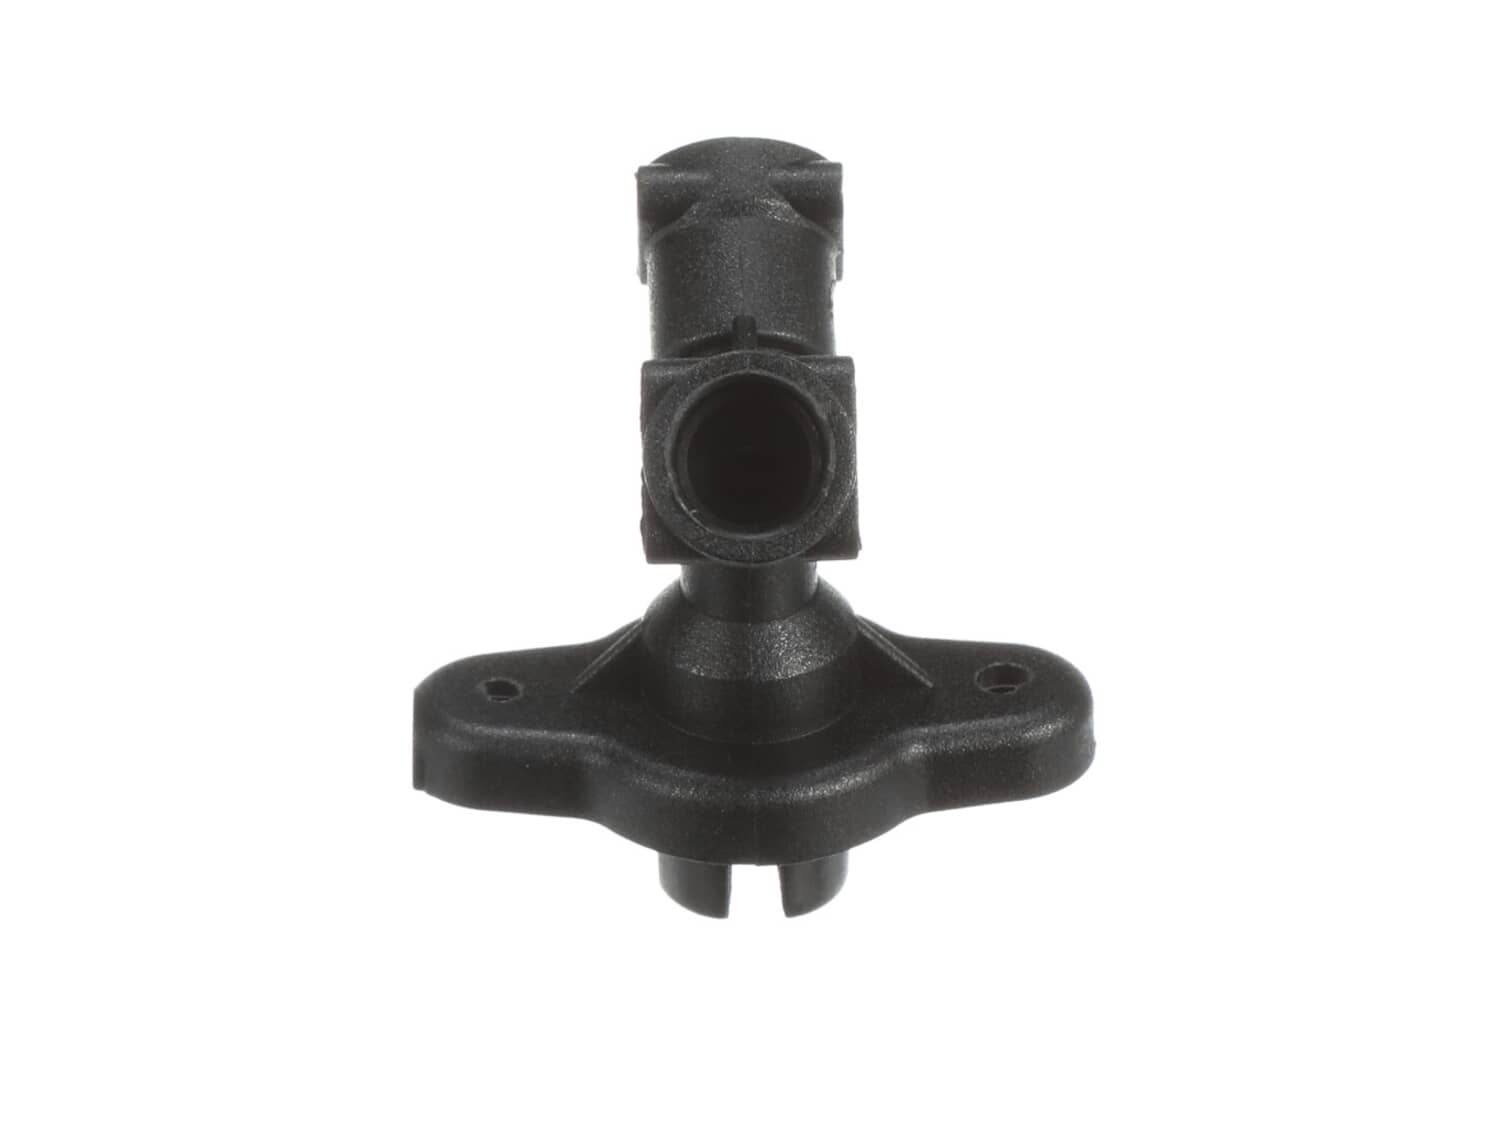
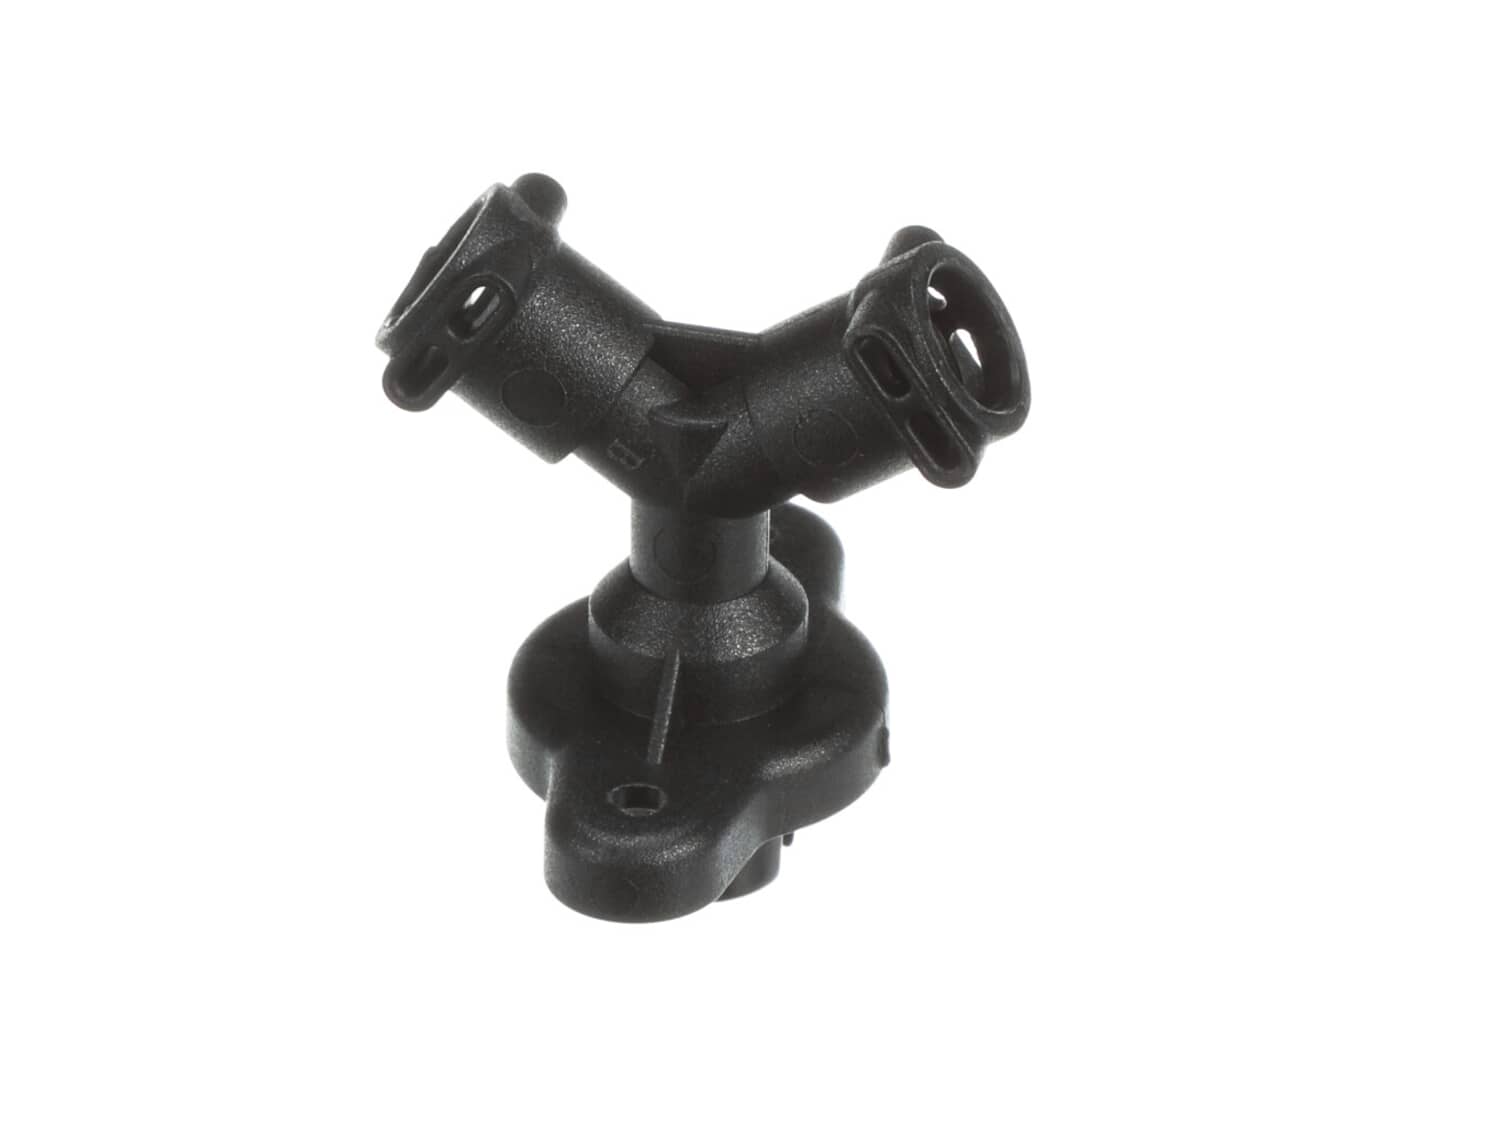
The old part started to leak at the plastic seam where it was molded. It caused water to drip down around the porta filter. This part was a perfect fit replacement. It took a little patience with tweezers to set the spring in place on the base before mounting, and to set/hold the screws in place while screwing back in. This does not come with the rubber o-rings. I was able to reuse the existing ones, but if I did it again I would order new o-rings to go with it at the same time. Very inexpensive repair for an expensive machine. Reading other reviews online, this appears to be a common problem with these machines.
Chris - March 27, 2021
Verified Purchase
★★★★★
★★★★★
Perfect
Perfect
Iglobal - May 13, 2022
Verified Purchase
★★★★★
★★★★★
Prompt service, part worked perfectly
Y’all are awesome!
Guest - April 24, 2024
Verified Purchase
★★★★★
★★★★★
Worked as intended
Part fit just fine, you should know that the internal o-rings where the lines feed in are not included with the part.
Guest - October 30, 2019
Verified Purchase
Customer Repair Instructions
All our customer repair instructions are solicited directly from other customers just like you who have purchased and replaced this exact part.
Easy
15 - 30 mins
(3 rated repairs)?
< Prev
1
Next >
Sort by:
Sorry, we couldn't find any existing installation instruction that matched.
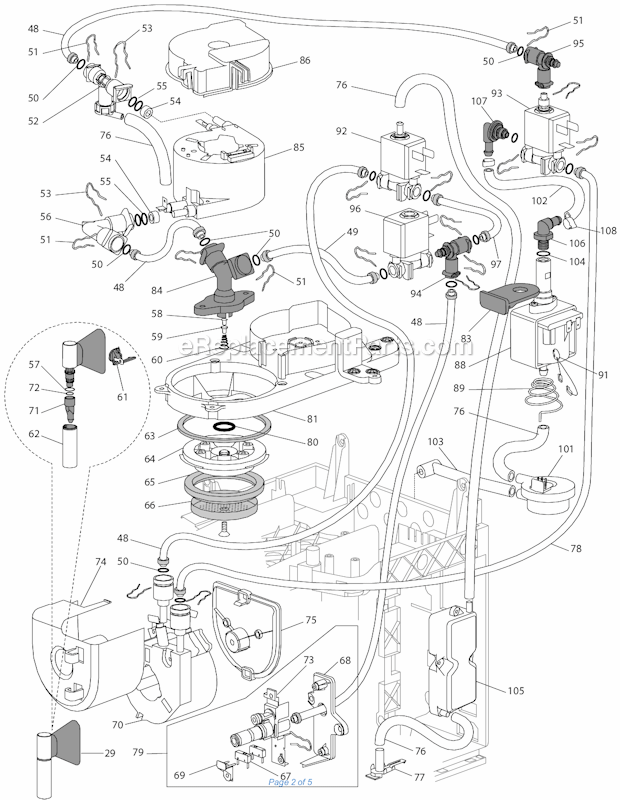
Removed the upper cover, removed hose securing clips with pliers, unscrewed mounting screws to cracked part, replaced o-rings and main coffee pressure pod gasket, replaced Cracked Y part, reassembled.
Did you find this story helpful?
Thank you for voting!
Connector broken by the mold seam and the main gasket at coffee filter is crack, on a DeLonghi EC685R.
DeLonghi EC685R with connector and filter gasket broken.
Parts used (from a model EC860):
1 x Gasket [ 537177 ]
1 x Gasket [ 5313221491 ]
1 x Connector [ 5313222031 ]
Instructions:
1. Disconnect power.
2. Remove the water tank.
3. Remove the two Phillips screw (bit #2) from chrome top of the
... Read more machine.
4. Slide a bit back and pull up at the same time, to remove this top.
5. Disengage (pull out) knob of vapor control (knob at right side).
6. Loose the two Phillips that attach electronic of vapor control, and move carefully to one side.
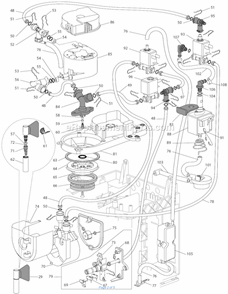
7. Then you will see the connector at the bottom, attach with two Phillips.
8. Remove Phillips and disengage the two tubings connected.
9. To disconnect each tubing, pull the safety pin and pull out the tubing. Take care of the little o-ring that supposes be attach at the tip of each tubing, but frequently keep trap on connector hole.
10. Remove connector with the red o-ring, be careful with the spring with a round plastic tip, that is located below him.
11. Return this spring to the hole, with the plastic tip looking upward. Then place the new connector with a new red o-ring.
12. Go back in steps, from step 9 to step 3. That\'s all!!!
Read less
Did you find this story helpful?
Thank you for voting!
< Prev
1
Next >
Model Cross Reference
This part works with the following models:
ERP Number: ERP12018786
Manufacturer Part Number: 5313222031
Espresso Machine
- Espresso (0132106244) Ver: Ca, Us
✖
Stock Status
This part is in stock in our warehouse and will ship out within 1 business day of the order being placed.
New stock is on the way! On order parts usually ship within 7 business days.
Item is not in stock and usually ships 10-15 business days from the time you place your order.
This item is no longer being made by the manufacturer, and cannot be added to your shopping cart.
✖
Mail-In Recycling Rebate
Some of the parts we sell are eligible for mail-in rebates since we can recycle them. We will display any applicable rebates in your shopping cart. To redeem your rebate, contact Customer Service after you have received your part.