
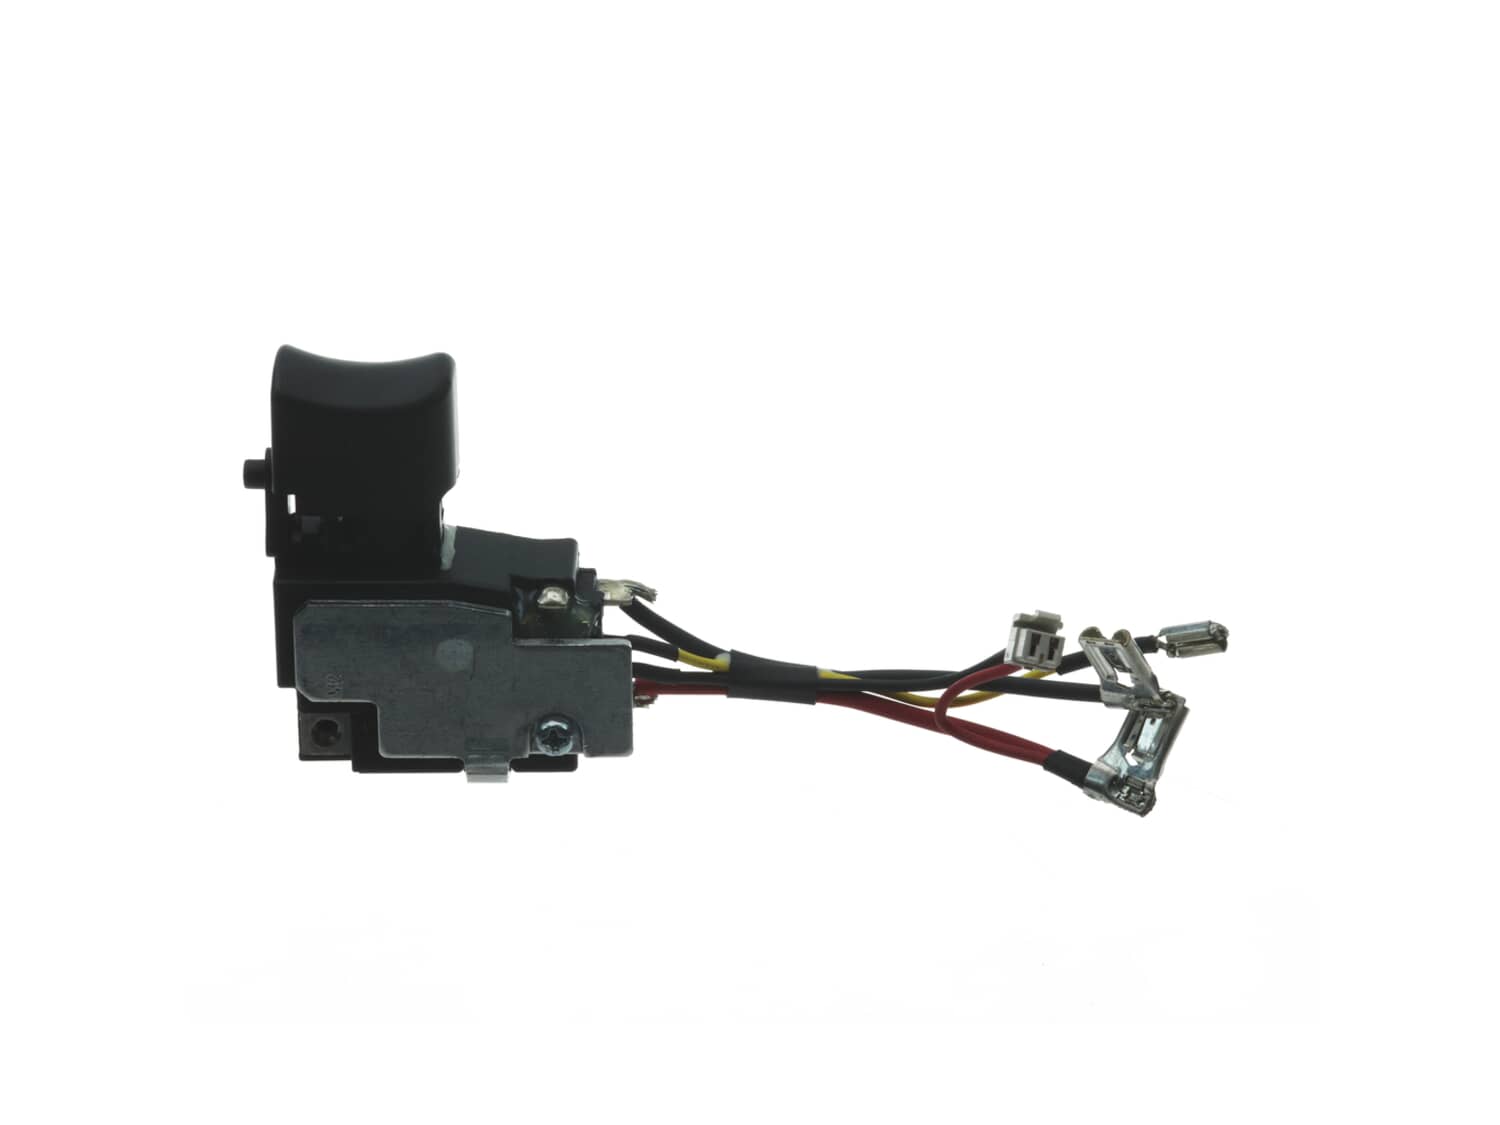
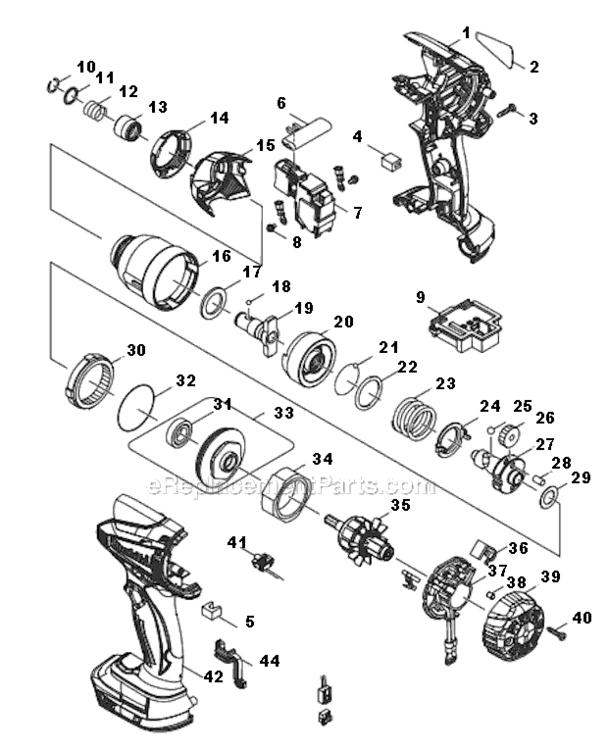
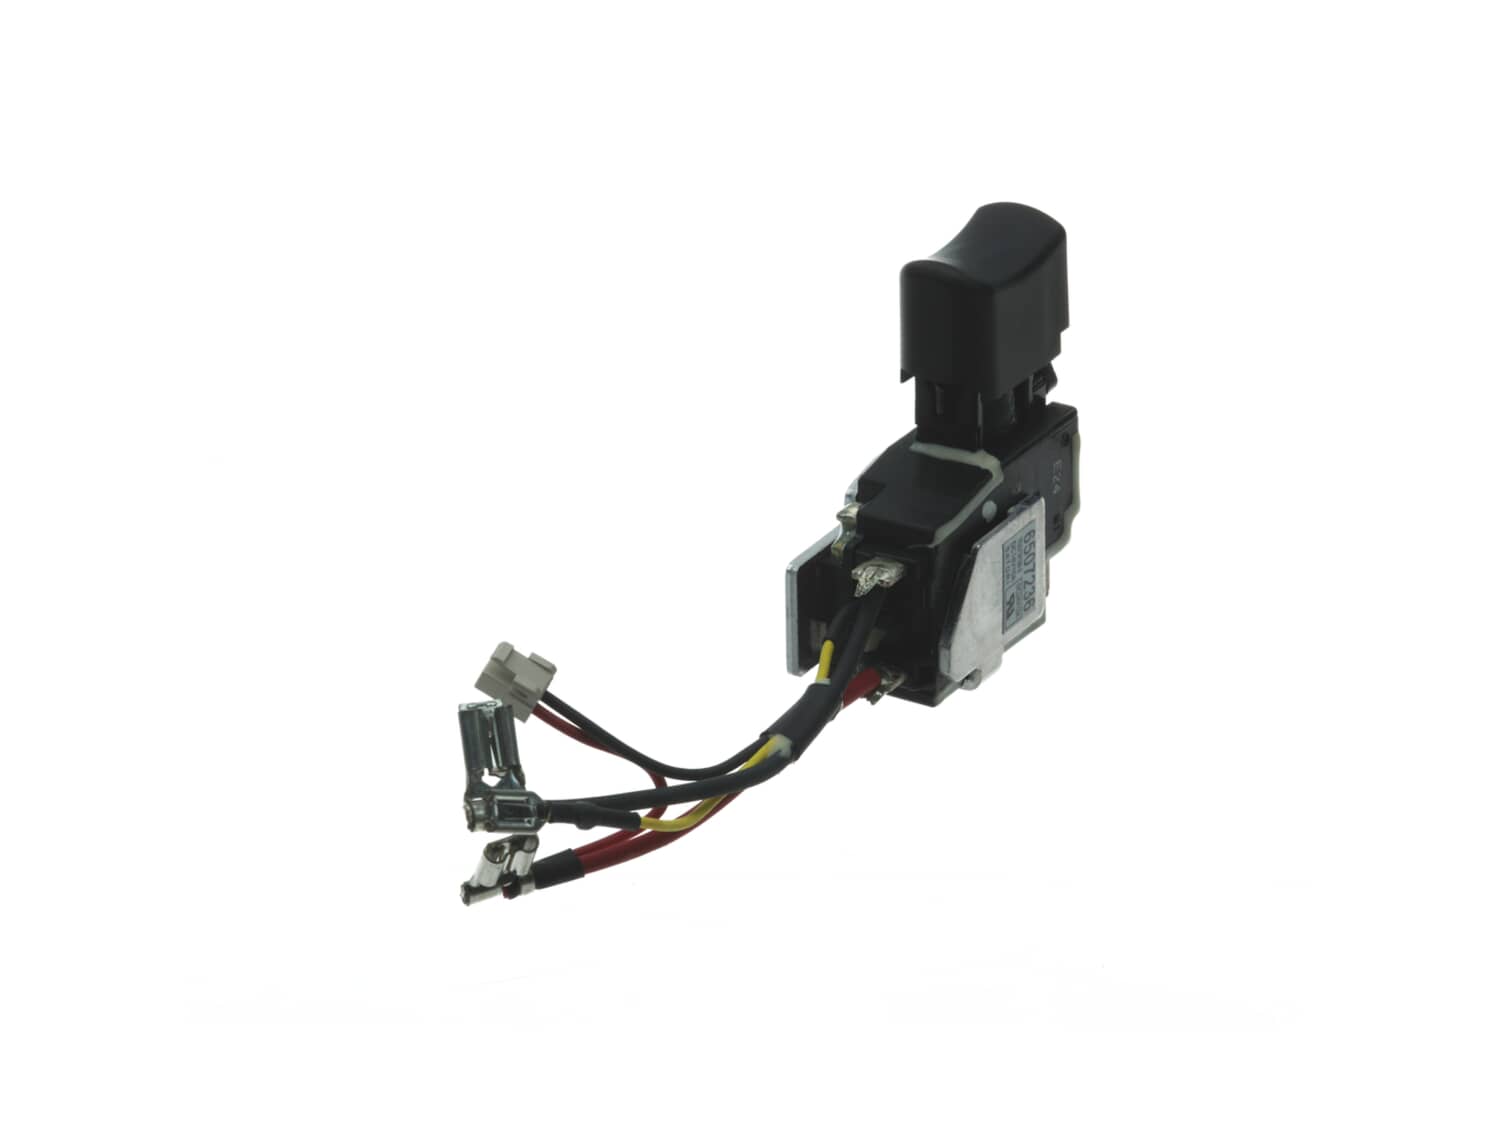
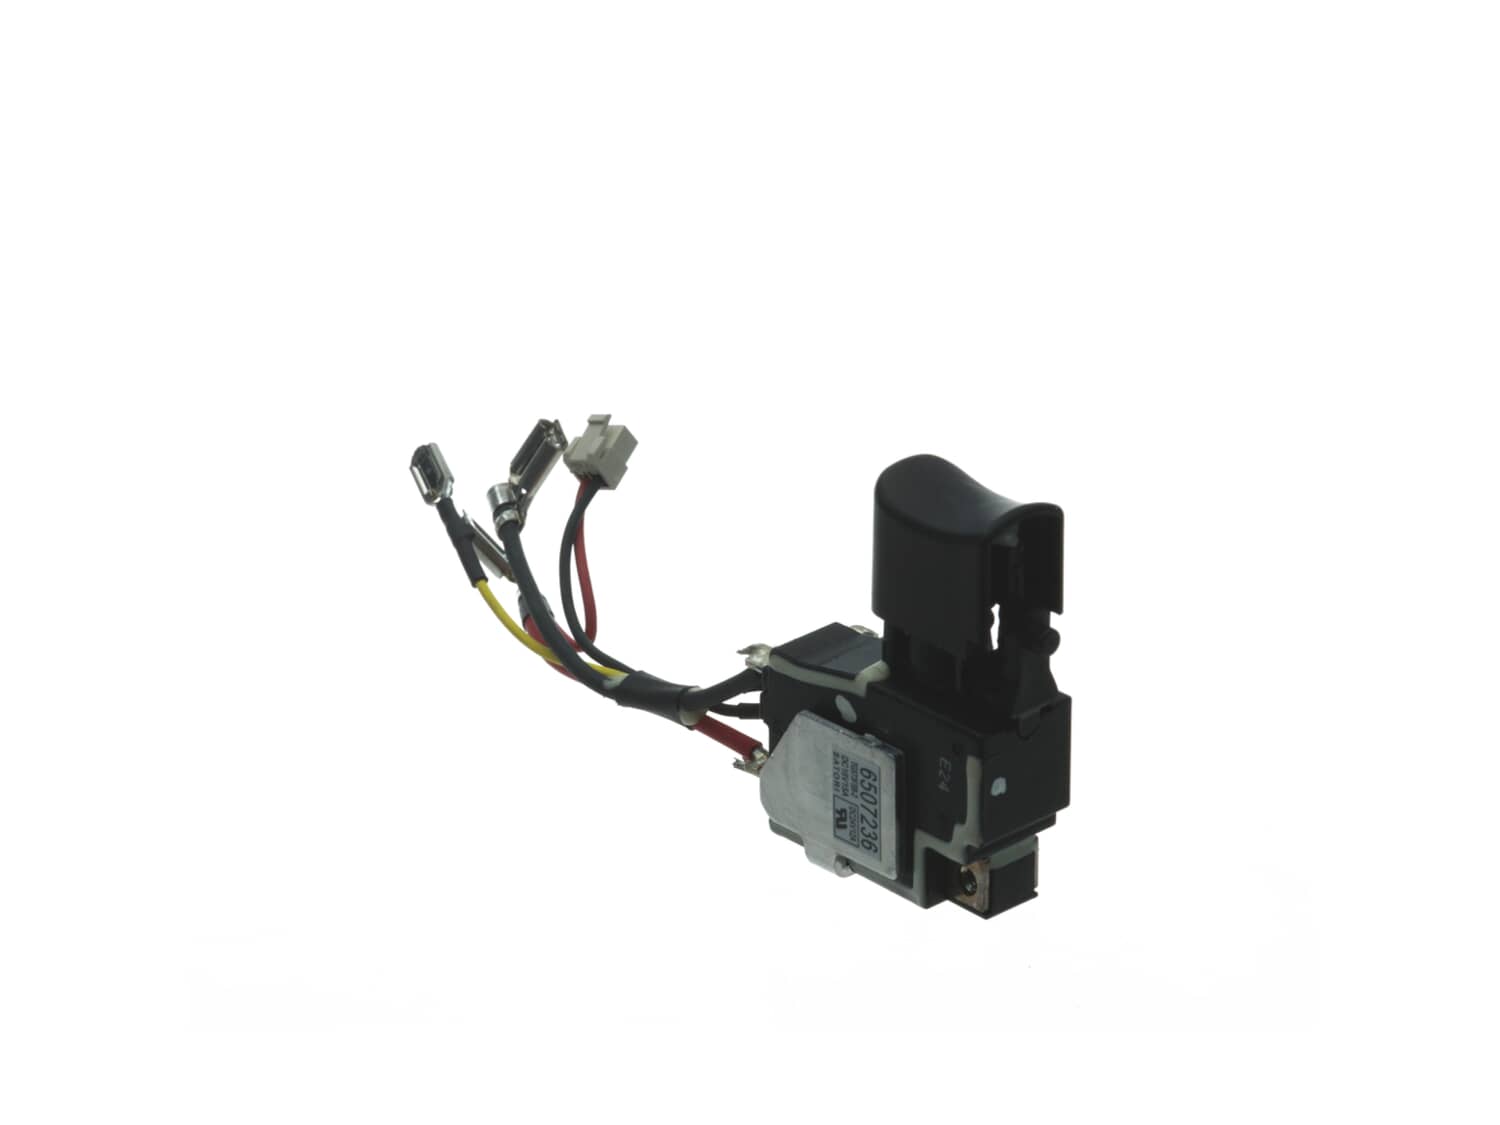
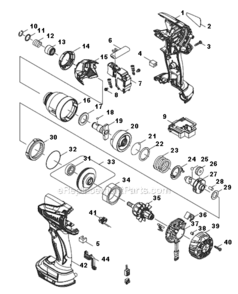



Part Location Diagram of 650723-6 Makita Trigger Switch
See part 7 in the diagram
( Grid squares measure 1x1 inch )

Trigger Switch 650723-6

Manufactured by:
Makita
ERP Number:
ERP11885063
Part Number:
650723-6
Original Equipment Manufacturer ?
  Works with your model  XDT04!
On Order

Easy 

15 - 30 mins 

(12 rated repairs) ?
  Works with your model   XDT04!

Product Description

?

This is a genuine OEM approved replacement part designed for use with your impact driver. Switches are a commonly replaced part in power tools, handling on/off operations. Because switches use mechanical internals, they will degrade and wear out over time, eventually requiring replacement.

Troubleshooting

This part works with the following brands:
  • Makita
This part works with the following products:
  • Drill
Part# 650723-6 replaces these:
650660-4,

Customer Part Reviews

?
4.9
Average Rating (out of 5):
★★★★★
★★★★★
(8 Reviews)
Click to filter by ratings:
  • 5 stars
    7
  • 4 stars
    1
  • 3 stars
    0
  • 2 stars
    0
  • 1 star
    0
  • 1
Sort by:  
Sorry, we couldn't find any existing reviews that matched. Try using some different or simpler keywords.

Questions & Answers

?

Ask our Team

We have a dedicated staff with decades of collective experience in helping customers just like you purchase parts to repair their products.

Does this fit my product?
  • 1
Sort by:  
Sorry, we couldn't find any existing answers that matched.
Try using some different or simpler keywords, or submit your new question by using the "Ask a Question" button above!
My impact drill isn't "hammering" anymore. Is this the part to replace?
Jasmine For model number LXDT04 - December 20, 2023

Hello Jasmine, Thank you for your inquiry. We would recommend checking the carbon brushes and switch and have also included a link to our article on how to troubleshoot this issue. Good luck with your repair. https://www.ereplacementparts.com/repair-center/power-tool/hammer-drill/hammer-drill-mode-is-weak-or-drills-too-slow/

eReplacementParts Team
December 20, 2023

Did this question help you?
Thank you for voting!

Customer Repair Instructions

All our customer repair instructions are solicited directly from other customers just like you who have purchased and replaced this exact part.

Easy 

15 - 30 mins 

(12 rated repairs) ?
  • 1
  • 2
Sort by:  
Sorry, we couldn't find any existing installation instruction that matched.

Intermittent trigger operation

Adam from Pella , Iowa

7 of 7 people found this instruction helpful.
Difficulty Level:
Easy
Total Repair Time:
15 - 30 mins
Tools:
Screw drivers
Parts Used:
650723-6
Remove screws and split exterior case. Make a wiring diagram of where the wires are connected. Disassemble switch wiring from battery leads. Install new switch, per wiring diagram. Put back together in opposite order worked good as new
Did you find this story helpful?
Thank you for voting!

Impact driver had vary low torque.

Eldon from Glasgow, Montana

3 of 3 people found this instruction helpful.
Difficulty Level:
Easy
Total Repair Time:
15 - 30 mins
Tools:
Screw drivers
Parts Used:
650723-6
Opened housing & checked brushes & armature. No problem found. Bypassed switch & applied power to brushes directly from the battery. Tool ran at full power & torque. Replaced switch 1 wire at a time. Tool ran normally. Reassembled in reverse order. Problem solved.
Did you find this story helpful?
Thank you for voting!

Drill would hesitate

John from Homer Glen , Illinois

3 of 3 people found this instruction helpful.
Difficulty Level:
A Bit Difficult
Total Repair Time:
15 - 30 mins
Tools:
Pliers, Screw drivers
Take off back cover. remove all screws, take a picture of the switch to make sure you have the correct wires going to the proper terminals. Remove old switch and install new one in reverse order. While I was in there I replace the worn F/R Change Lever. Also replace missing bumper and cracked hammer case cover, they just snap on.
Did you find this story helpful?
Thank you for voting!

wouldn\'t vary speed or turn on reliably

Brian from COEUR D ALENE, Idaho

1 person found this instruction helpful.
Difficulty Level:
A Bit Difficult
Total Repair Time:
15 - 30 mins
Tools:
Pliers, Screw drivers
Parts Used:
650723-6
1. removed screws
2.opened driver housing
3. used pliers to unplug wires from old making sure to note polarity
4.replaced switch in housing and realigning wires to ensure they didn\'t get pinched
5.closed housing
6.replaced screws
Did you find this story helpful?
Thank you for voting!

Impact driver switch was no longer variable speed

Marc from New City, New York

0 of 1 people found this instruction helpful.
Difficulty Level:
Easy
Total Repair Time:
15 - 30 mins
Tools:
Screw drivers
Parts Used:
650723-6
Opened the plastic case
Took pictures of the wiring routing locations
Removed the switch
Swapped the wires from the old switch to the new one
Re assembled the impact driver case
Did you find this story helpful?
Thank you for voting!

Impact driver variable speed touchy

Hollis from Colorado Springs, Colorado

0 of 1 people found this instruction helpful.
Difficulty Level:
A Bit Difficult
Total Repair Time:
15 - 30 mins
Tools:
Screw drivers
Parts Used:
650723-6
Use tape or marker to mark wire positions as you remove each wire.
Did you find this story helpful?
Thank you for voting!

intermittent trigger switch

Mike from Healdsburg, California

0 of 1 people found this instruction helpful.
Difficulty Level:
Easy
Total Repair Time:
15 - 30 mins
Tools:
Screw drivers
Parts Used:
650723-6
1. unscrewed 2 halves of impact driver body( all phillips screws, yay!).
2. removed chuck collar
3. unscrewed old trigger, slipped off blade connectors( no bare wires to connect, yay!).
4. reverse order for new trigger.
5. reverse order for body assembly(bada bing!).
Did you find this story helpful?
Thank you for voting!

Lamp would light, but driver would run.

David from Ariel, Washington

0 of 1 people found this instruction helpful.
Difficulty Level:
A Bit Difficult
Total Repair Time:
15 - 30 mins
Tools:
Pliers, Screw drivers
Parts Used:
650723-6
Opened case with Philips screwdriver.
Carefully remove both end protectors.
Remove switch with fingers and/or needle nose pliers. My fingers don\'t function as well as they once did.
Install new identical switch and reassemble.
Voila, it works good as new.

Did you find this story helpful?
Thank you for voting!

Forward - reverse switch broke

CHADWICK from LYNXVILLE, Wisconsin

0 of 1 people found this instruction helpful.
Difficulty Level:
Easy
Total Repair Time:
15 - 30 mins
Tools:
Screw drivers
Parts Used:
650723-6
1 Removed screws fro drill
2 Unplugged switch
3 Plugged new one in
4 Put screws back in drill
Did you find this story helpful?
Thank you for voting!

Loss of power and the trigger was acting up. This is for the 18v driver with the star on the battery port.

jacob from seattle, Washington

0 of 1 people found this instruction helpful.
Difficulty Level:
Easy
Total Repair Time:
Less than 15 mins
Tools:
Pliers, Screw drivers
Parts Used:
650723-6
Take it apart, remember where everything goes and put it back together with the new trigger, maybe a dozen screws and some clips you may need some needle nose for.
Did you find this story helpful?
Thank you for voting!
  • 1
  • 2

Model Cross Reference

This part works with the following models:
ERP Number: ERP11885063
Manufacturer Part Number: 650723-6
Brand Model Number Description
Makita LXDT03 Drill - Drill / Driver
Makita LXDT03Z Drill - Drill / Driver
Makita LXDT04 Impact Driver - 18V LXT Lithium-Ion Cordless Impact Driver Kit
Makita LXDT04C1 Drill - Drill / Driver
Makita LXDT04CW Impact Driver - Cordless Impact Driver
Makita LXDT04Z Drill - Drill / Driver
Makita LXDT04Z1 Drill - Drill / Driver
Makita XDT04 Drill - Drill
Makita XDT04A Drill - Drill / Driver
Makita XDT04RW Drill - Drill
Makita XDT04Z Drill - Drill