




Our customer service team are at the ready daily to answer your part and product questions. We have a dedicated staff with decades of collective experience in helping customers just like you purchase parts to repair their products.

Briggs and Stratton Engine Replacement Parts For Model 446777-0165-E1
We Sell Only Genuine Briggs and Stratton Parts
Find Briggs and Stratton 446777-0165-E1 Parts By Symptom
Engine misfires
100%
Popular Parts for Briggs and Stratton 446777-0165-E1
In Stock
$13.59
In Stock
$36.23
In Stock
$9.98
In Stock
$10.28
In Stock
$17.52
In Stock
$6.16
In Stock
$8.37
In Stock
$8.48
Search Within Model
Browse all Parts
Search by Area
Previous
Showing All Parts
Next
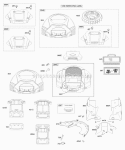
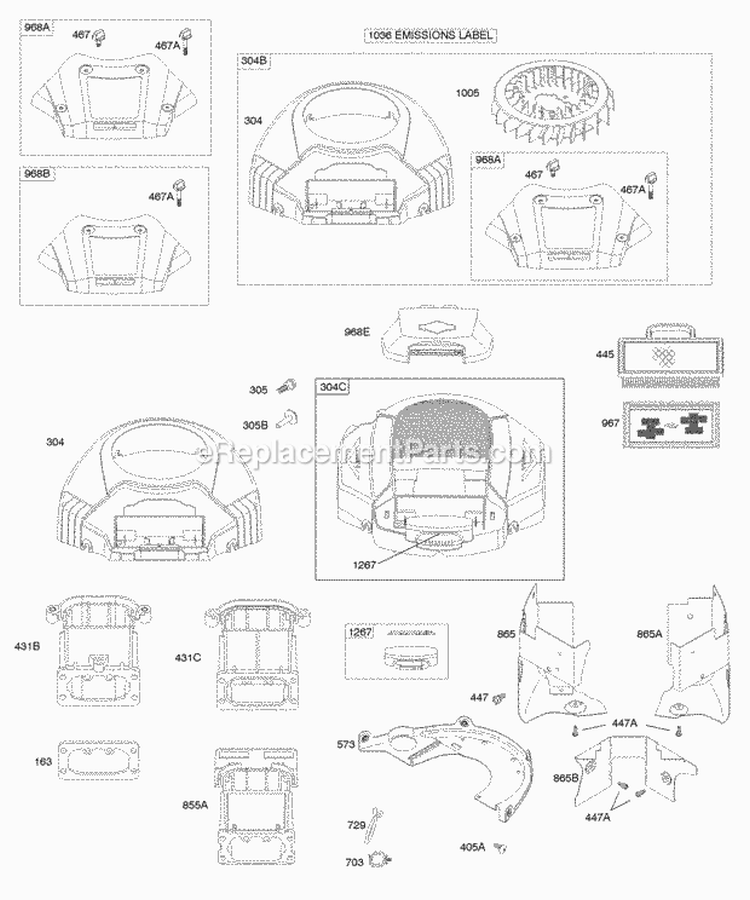
Air Cleaner Blower Housing
-
A-163
 $6.23
$6.23 -
A-304
$269.23
-
A-304B
-
A-305
$6.57
-
A-305B
$6.89
-
A-405A
$6.91
-
A-431B
-
A-431C
$67.65
-
A-445
$20.40
-
A-447
$6.16
-
A-447A
$6.19
-
A-467
$12.67
-
A-467A
$19.67
-
A-573
$84.88
-
A-703
$10.83
-
A-729
$7.57
-
A-855A
$61.22
-
A-865
$57.58
-
A-865A
$69.61
-
A-865B
$43.40
-
A-967
$8.46
-
A-968A
-
A-968B
-
A-1005
-
A-1005
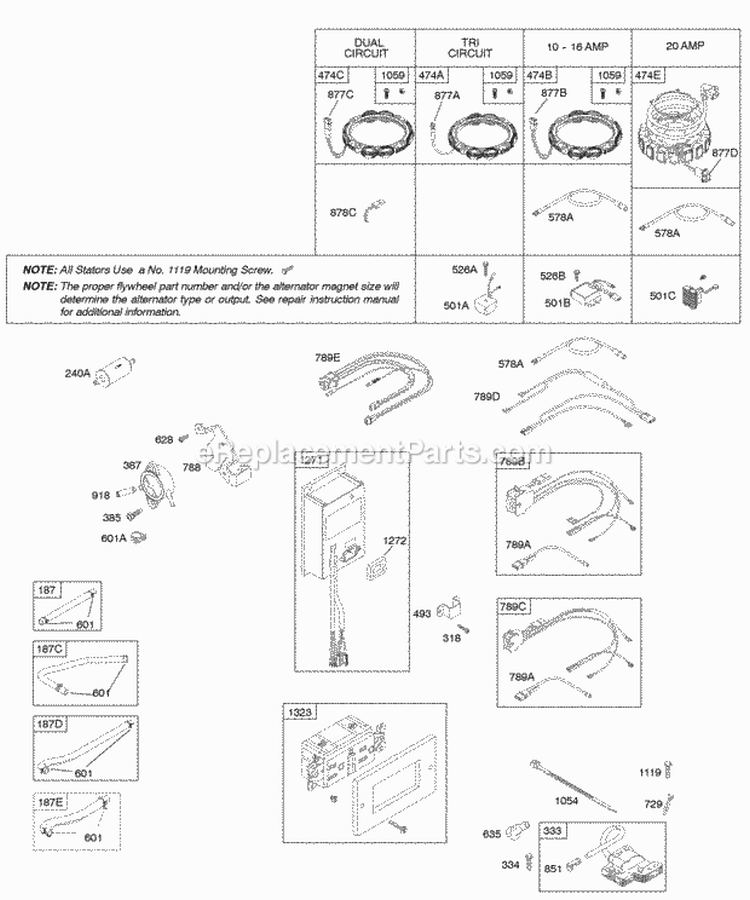
Alternator Fuel Supply Ignition
-
B-10
$6.19
-
B-20
$10.28
-
B-187
$11.26
-
B-187C
-
B-187D
$23.29
-
B-187E
$23.29
-
B-240A
$10.30
-
B-318
$6.16
-
B-333
$76.16
-
B-334
$6.45
-
B-385
$6.19
-
B-387
$36.23
-
B-474B
$138.98
-
B-493
$23.42
-
B-501B
$74.21
-
B-526B
$6.19
-
B-578A
$33.46
-
B-601
$6.23
-
B-601A
$6.16
-
B-628
$6.19
-
B-635
$6.22
-
B-729
$7.57
-
B-788
$37.20
-
B-789B
$53.61
-
B-789C
$59.80
-
B-851
$6.16
-
B-877B
-
B-878C
$52.94
-
B-918
$6.14
-
B-1054
$7.05
-
B-1059
$9.45
-
B-1119
$6.16
-
B-1272
$6.43
-
B-1323
$107.55
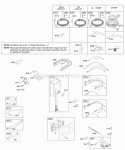
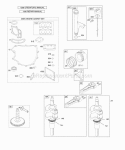
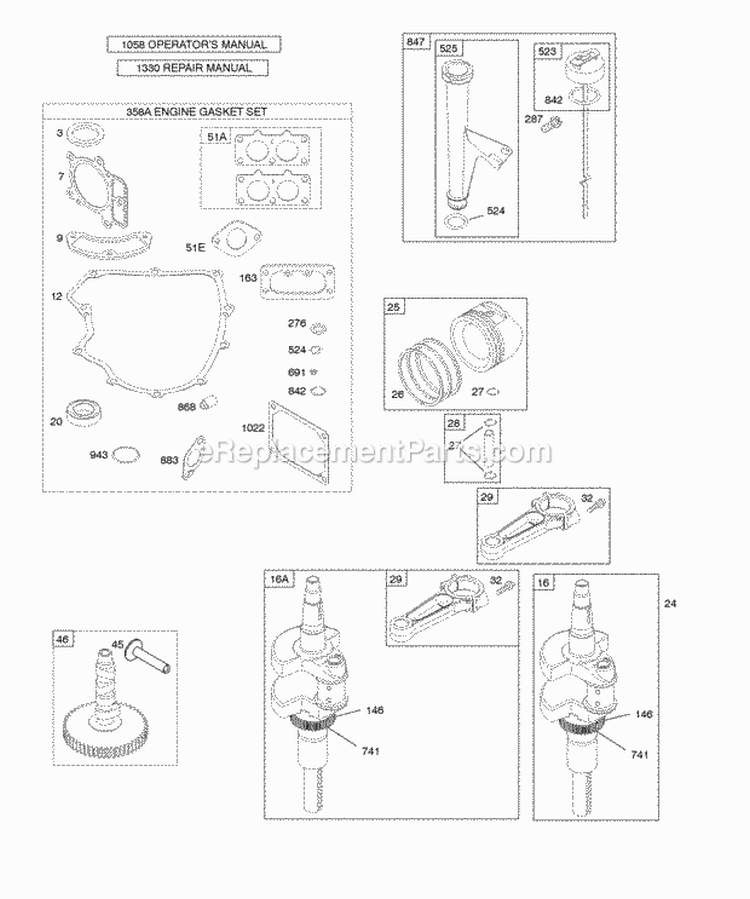
Camshaft Crankshaft Gasket Set - Engine Lubrication Piston Rings Connecting Rod
-
C-3
$8.48
-
C-7
$31.90
-
C-9
$14.00
-
C-12
$54.48
-
C-16
$481.48
-
C-16A
$481.48
-
C-20
$10.28
-
C-24
$6.16
-
C-25
$192.58
-
C-25
$229.50
-
C-26
$86.98
-
C-26
-
C-26
$102.26
-
C-26
$60.20
-
C-27
$6.48
-
C-28
$26.27
-
C-29
$29.77
-
C-32
$6.84
-
C-45
$11.43
-
C-46
$161.72
-
C-51A
$8.36
-
C-51E
$6.16
-
C-146
$6.16
-
C-163
$6.23
-
C-276
$12.35
-
C-287
$6.19
-
C-358A
$148.45
-
C-523
$30.71
-
C-524
$9.45
-
C-525
$33.00
-
C-691
$10.11
-
C-741
$24.75
-
C-842
$7.80
-
C-847
$70.43
-
C-868
$16.96
-
C-883
$6.68
-
C-943
$14.43
-
C-1022
$9.98
-
C-1058
-
C-1330
Carburetor Kit - Carburetor Overhaul
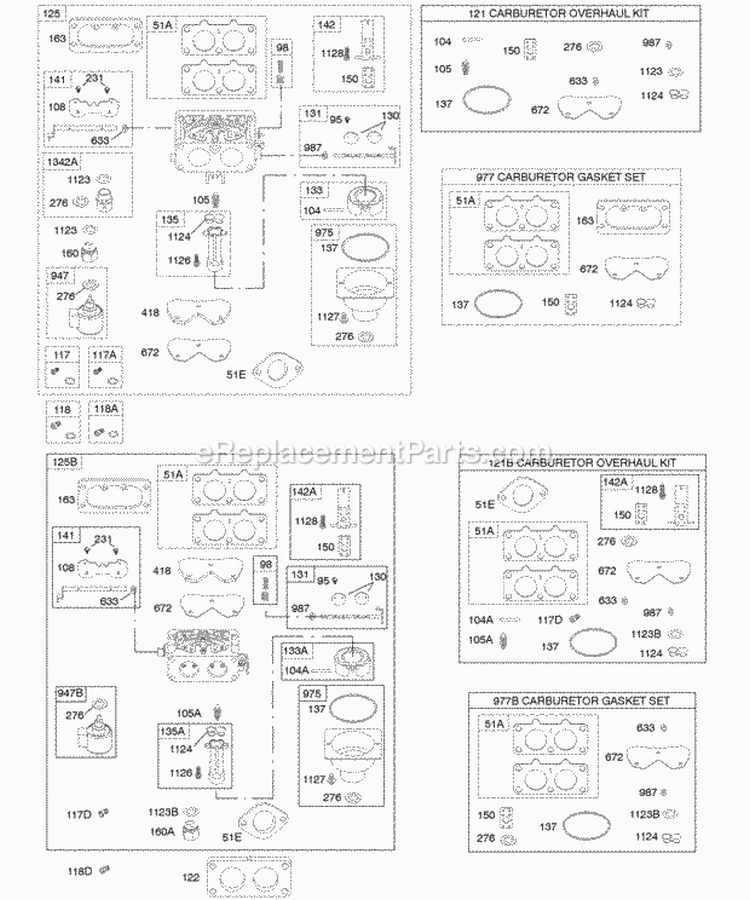
-
D-51A
$8.36
-
D-51E
$6.16
-
D-95
$9.20
-
D-98
$22.94
-
D-104
$12.41
-
D-104A
$12.41
-
D-105
$19.75
-
D-105A
$20.08
-
D-108
$15.50
-
D-117
$29.90
-
D-117A
$29.90
-
D-117D
$38.76
-
D-118
$30.50
-
D-118A
$25.17
-
D-118D
$38.56
-
D-121
$108.66
-
D-121B
$108.66
-
D-122
$18.15
-
D-125
$226.95
-
D-130
$14.24
-
D-131
$76.59
-
D-133
$40.40
-
D-133A
$40.40
-
D-135
$53.83
-
D-135A
-
D-137
$9.22
-
D-141
$63.72
-
D-142
$53.92
-
D-142A
$54.62
-
D-150
$9.68
-
D-160
$17.15
-
D-160A
$45.83
-
D-163
$6.23
-
D-231
$9.20
-
D-276
$12.35
-
D-418
$23.54
-
D-633
$11.72
-
D-672
$19.71
-
D-947
$247.15
-
D-947B
$226.95
-
D-975
-
D-977
$108.66
-
D-977B
$108.66
-
D-987
$11.22
-
D-1123
$12.50
-
D-1123B
$15.13
-
D-1124
$12.39
-
D-1126
$6.80
-
D-1127
$7.80
-
D-1128
$6.80
-
D-1342A
$22.06
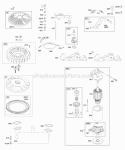
Controls Electric Starter Exhaust System Flywheel Governor Spring
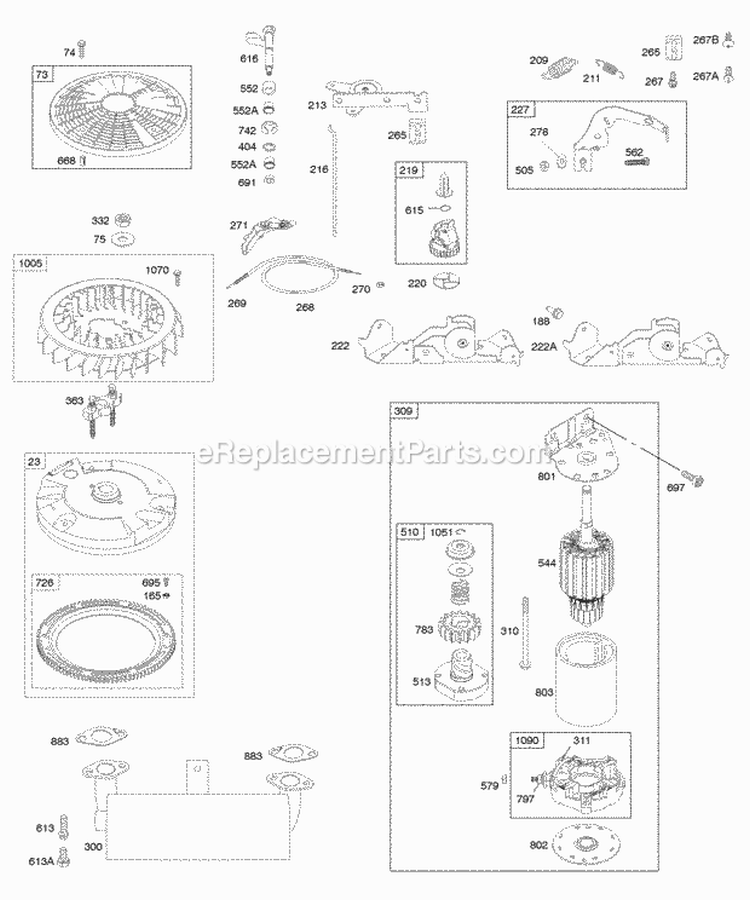
-
E-23
$319.23
-
E-73
$66.39
-
E-74
$6.16
-
E-75
$14.91
-
E-165
$6.16
-
E-188
$6.19
-
E-209
$22.27
-
E-211
$8.61
-
E-213
$16.52
-
E-216
$14.02
-
E-219
$43.72
-
E-220
-
E-222
$83.95
-
E-227
$37.26
-
E-265
$6.57
-
E-267
$6.89
-
E-267A
$6.16
-
E-267B
$6.91
-
E-268
-
E-269
-
E-270
$19.85
-
E-271
$58.54
-
E-278
$37.26
-
E-309
$160.60
-
E-310
-
E-311
$34.05
-
E-332
$7.61
-
E-363
$40.23
-
E-404
$5.95
-
E-505
$9.41
-
E-510
-
E-513
$29.06
-
E-552
$14.04
-
E-552A
$11.37
-
E-562
$7.00
-
E-579
$9.41
-
E-615
$7.93
-
E-616
$30.60
-
E-668
$12.02
-
E-691
$10.11
-
E-695
$6.89
-
E-697
$6.89
-
E-726
$96.86
-
E-742
$6.68
-
E-783
$8.37
-
E-797
$7.61
-
E-801
$115.05
-
E-802
$35.46
-
E-883
$6.68
-
E-1005
-
E-1005
-
E-1051
$7.67
-
E-1070
$6.89
-
E-1090
$36.71
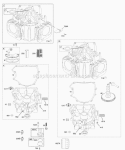
Cylinder Engine Sump
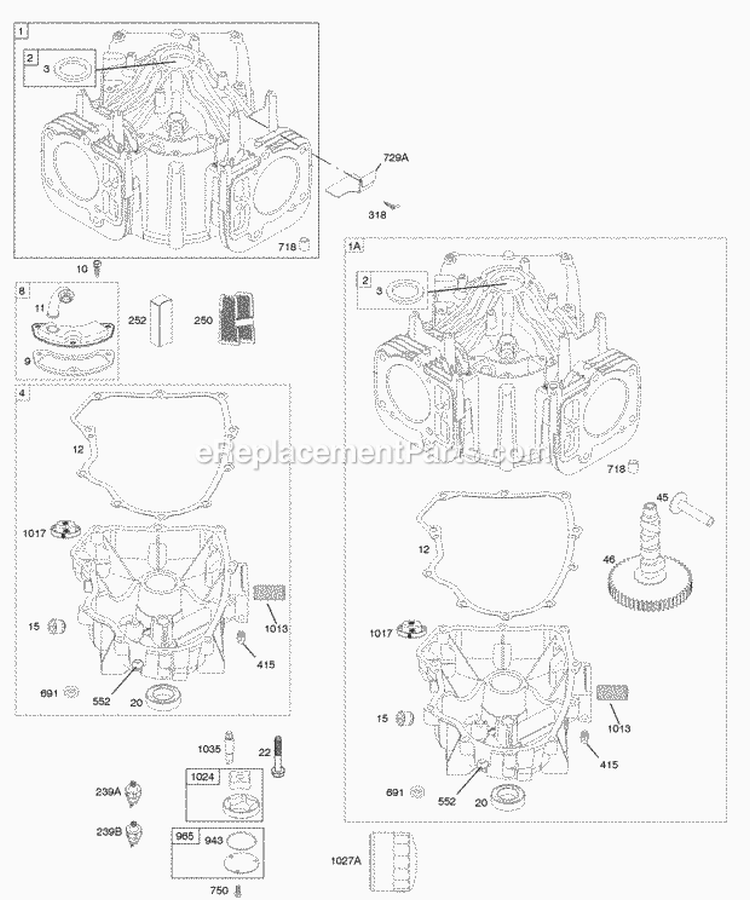
-
G-1
$481.48
-
G-2
$29.85
-
G-3
$8.48
-
G-4
$196.34
-
G-4
$370.75
-
G-8
-
G-9
$14.00
-
G-10
$6.19
-
G-11
-
G-12
$54.48
-
G-15
$9.89
-
G-20
$10.28
-
G-22
$9.61
-
G-45
$11.43
-
G-46
$161.72
-
G-250
$11.96
-
G-252
-
G-318
$6.16
-
G-415
$9.52
-
G-552
$14.04
-
G-691
$10.11
-
G-718
$10.24
-
G-750
$43.73
-
G-943
$14.43
-
G-965
$19.27
-
G-1013
$12.07
-
G-1017
-
G-1024
$53.92
-
G-1027A
$17.52
-
G-1035
$53.92
Cylinder Head Gasket Set - Valve Intake Manifold Valves
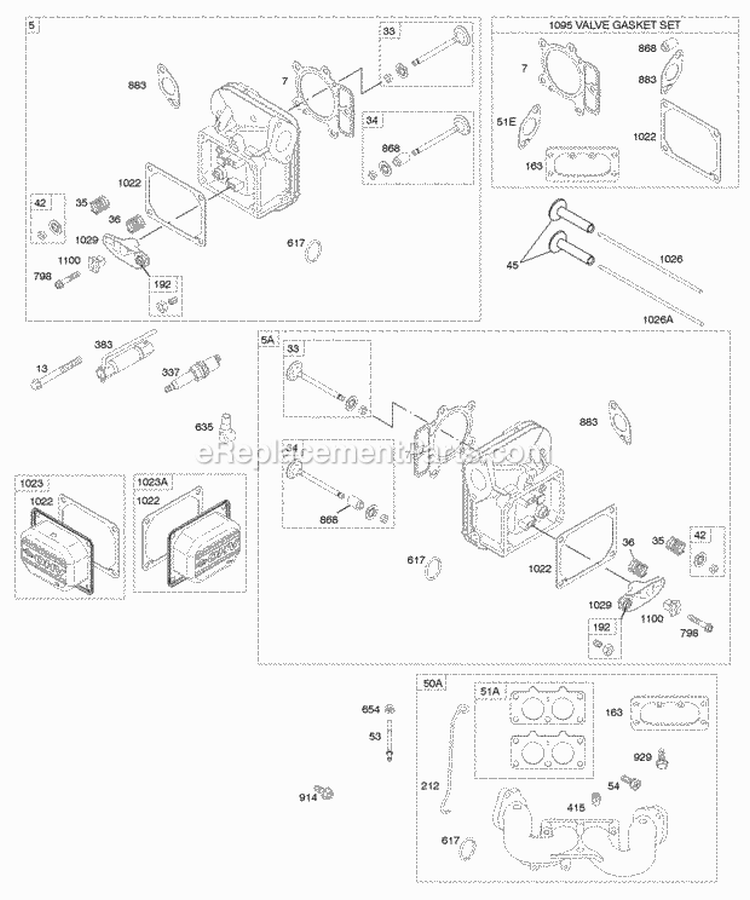
-
F-5
$281.33
-
F-5A
$249.15
-
F-7
$31.90
-
F-13
$8.07
-
F-33
$2.99
-
F-34
$54.98
-
F-35
$9.05
-
F-36
$9.05
-
F-42
$10.43
-
F-45
$11.43
-
F-50A
$182.23
-
F-51A
$8.36
-
F-51E
$6.16
-
F-53
$11.63
-
F-54
$5.98
-
F-163
$6.23
-
F-192
$17.46
-
F-212
$13.78
-
F-337
$6.61
-
F-337
$6.61
-
F-383
$9.89
-
F-415
$9.52
-
F-617
$6.16
-
F-635
$6.22
-
F-654
$6.26
-
F-798
$6.28
-
F-868
$16.96
-
F-883
$6.68
-
F-914
$7.18
-
F-929
$6.16
-
F-1022
$9.98
-
F-1023
-
F-1023A
$26.54
-
F-1026
$13.59
-
F-1026A
-
F-1029
$21.58
-
F-1095
$91.50
-
F-1100
$10.87
✖
✖