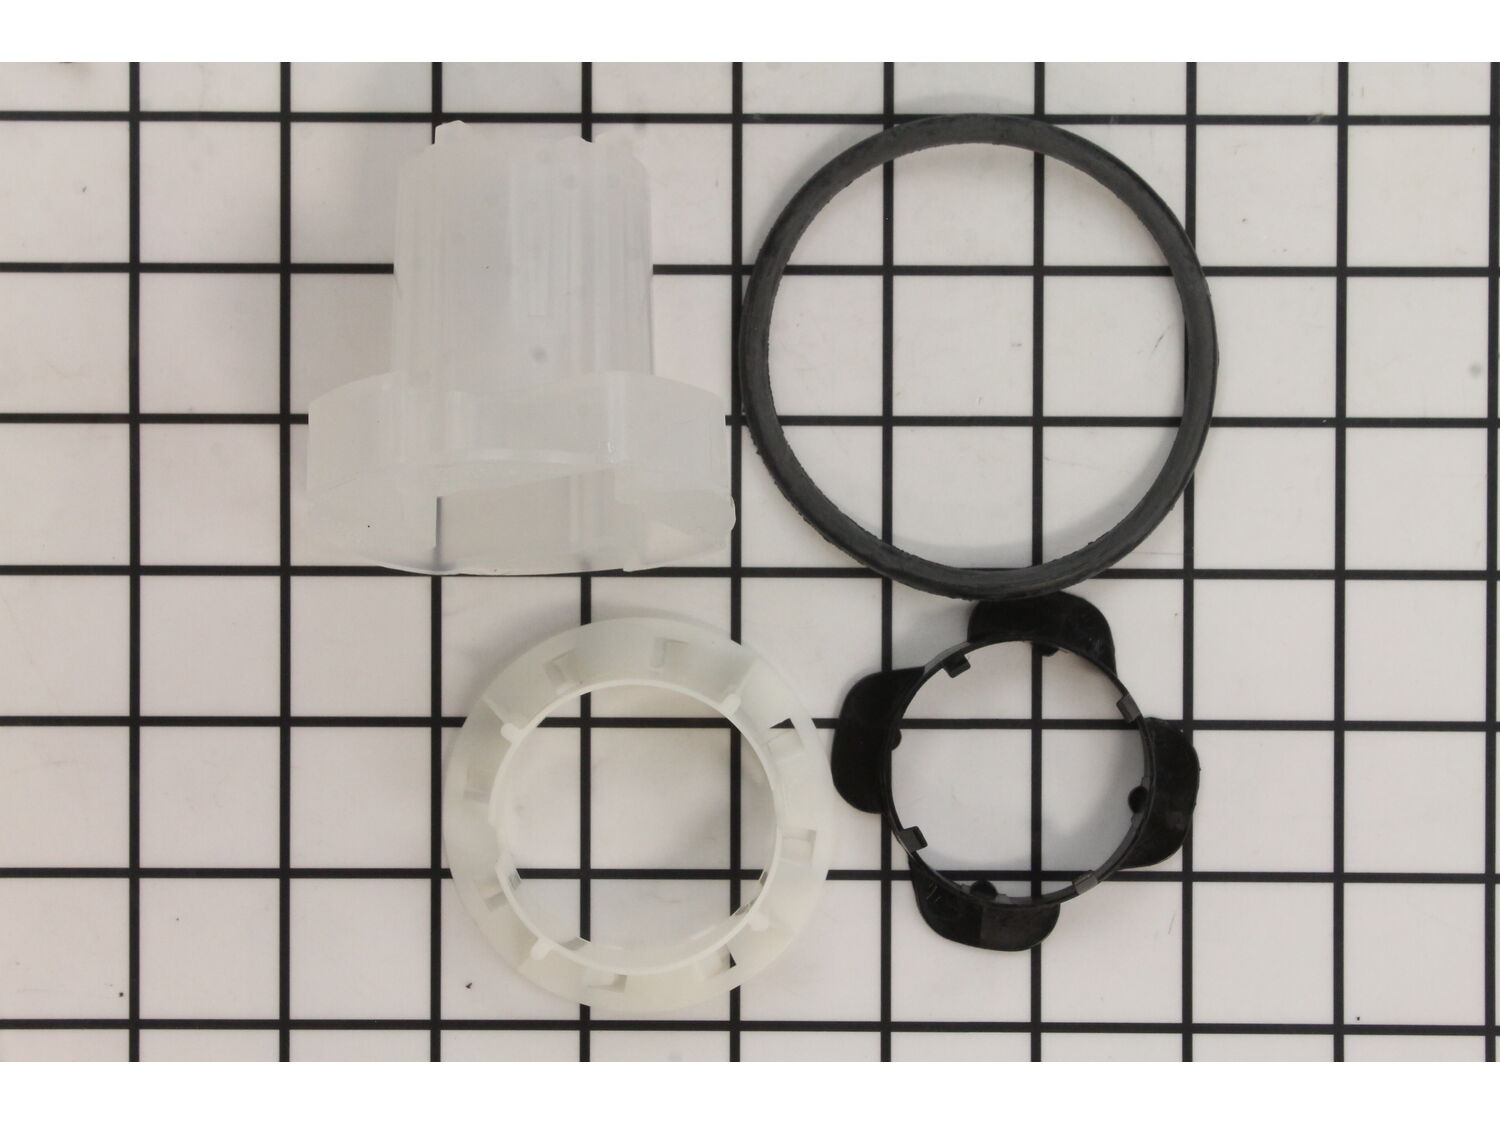
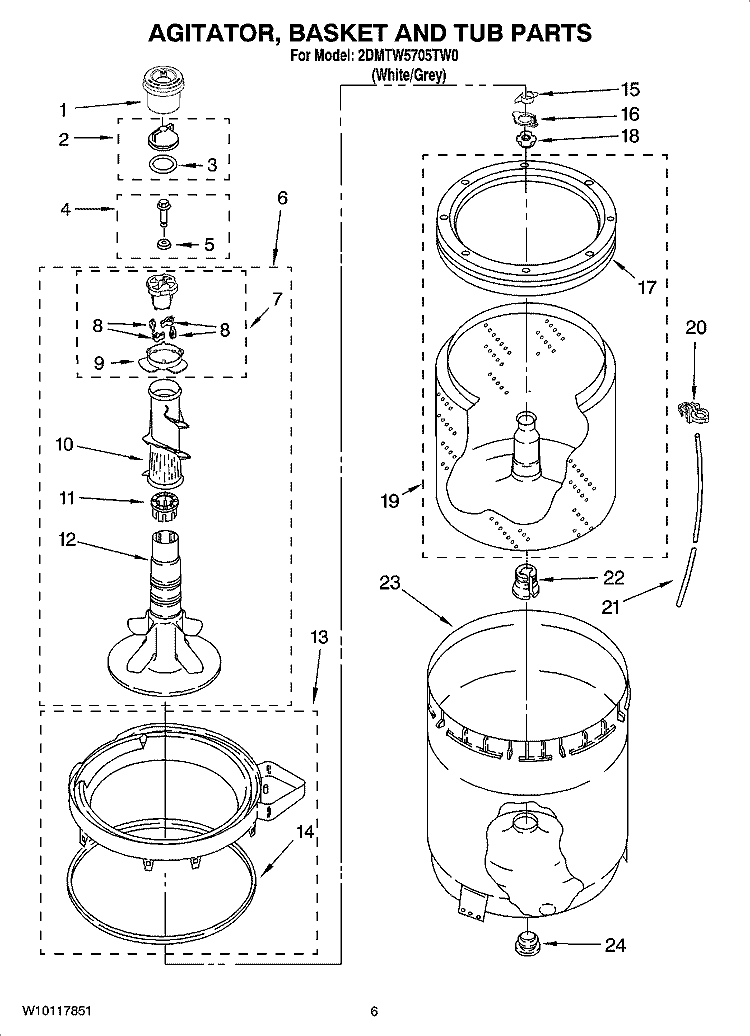
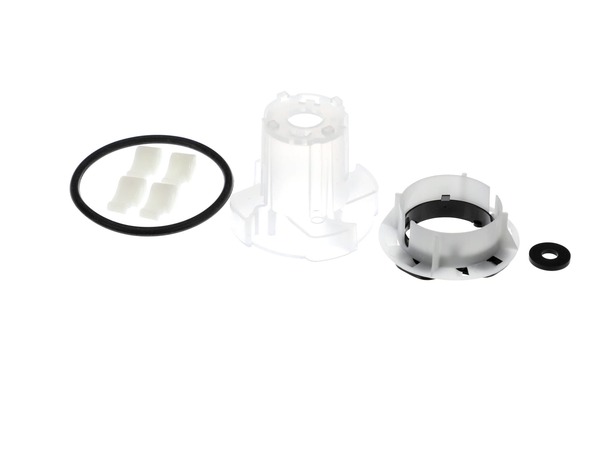
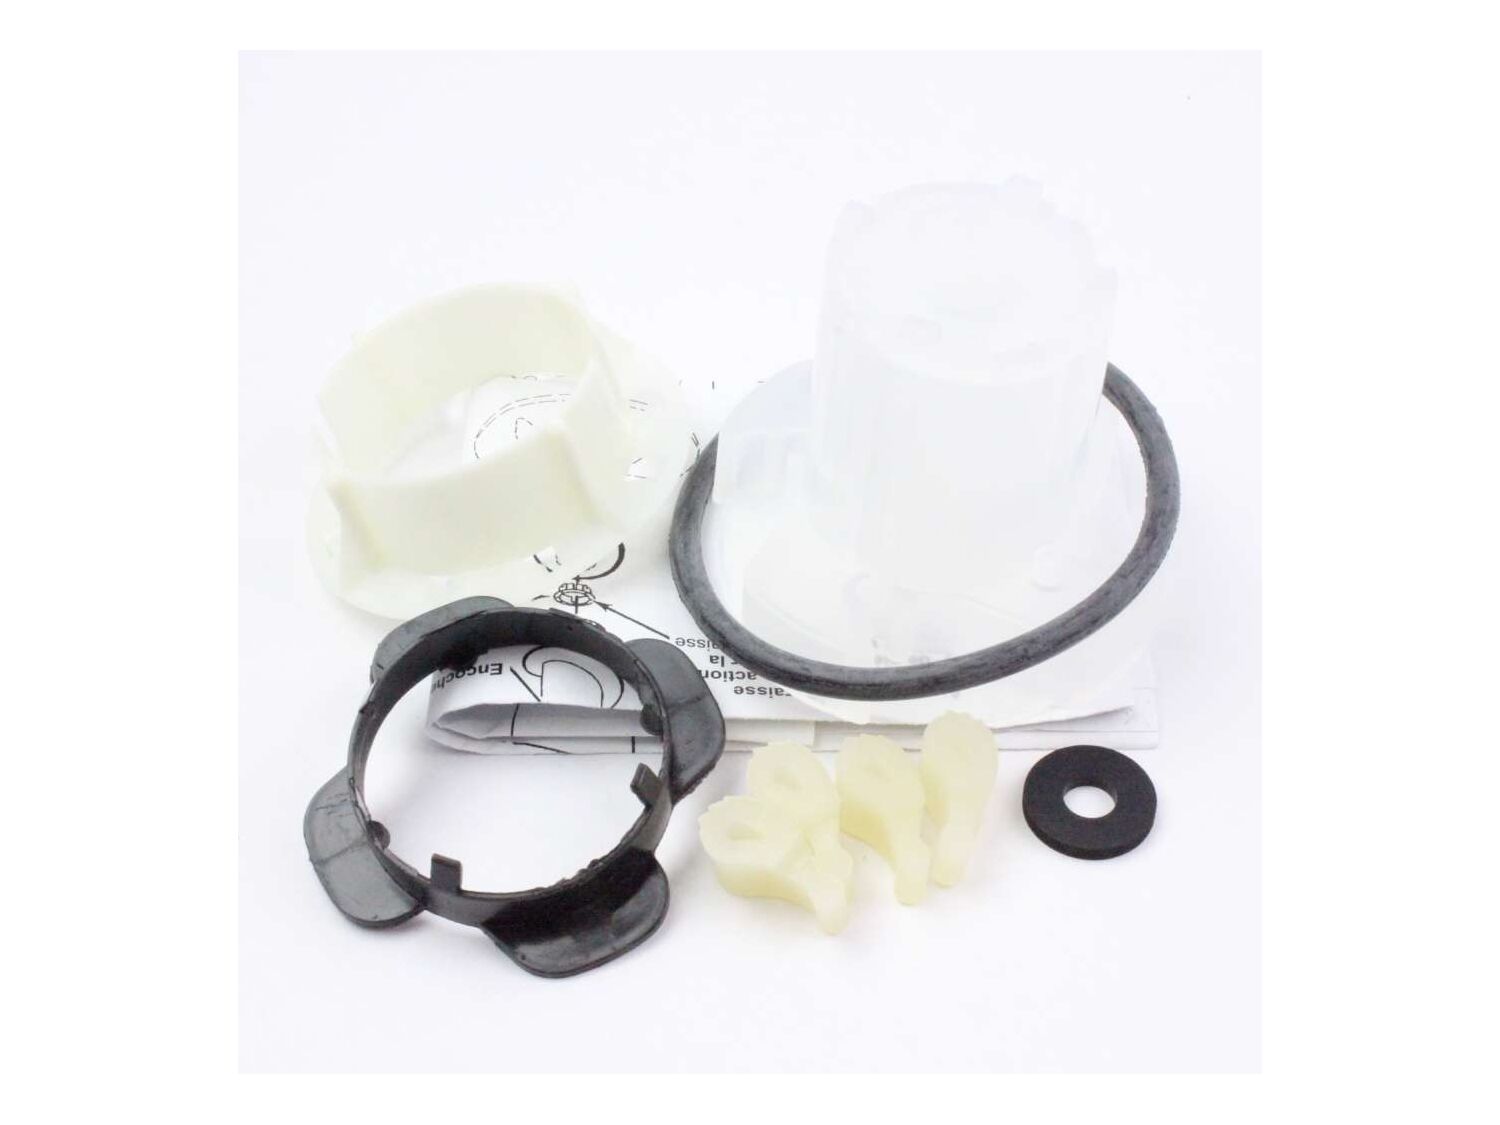
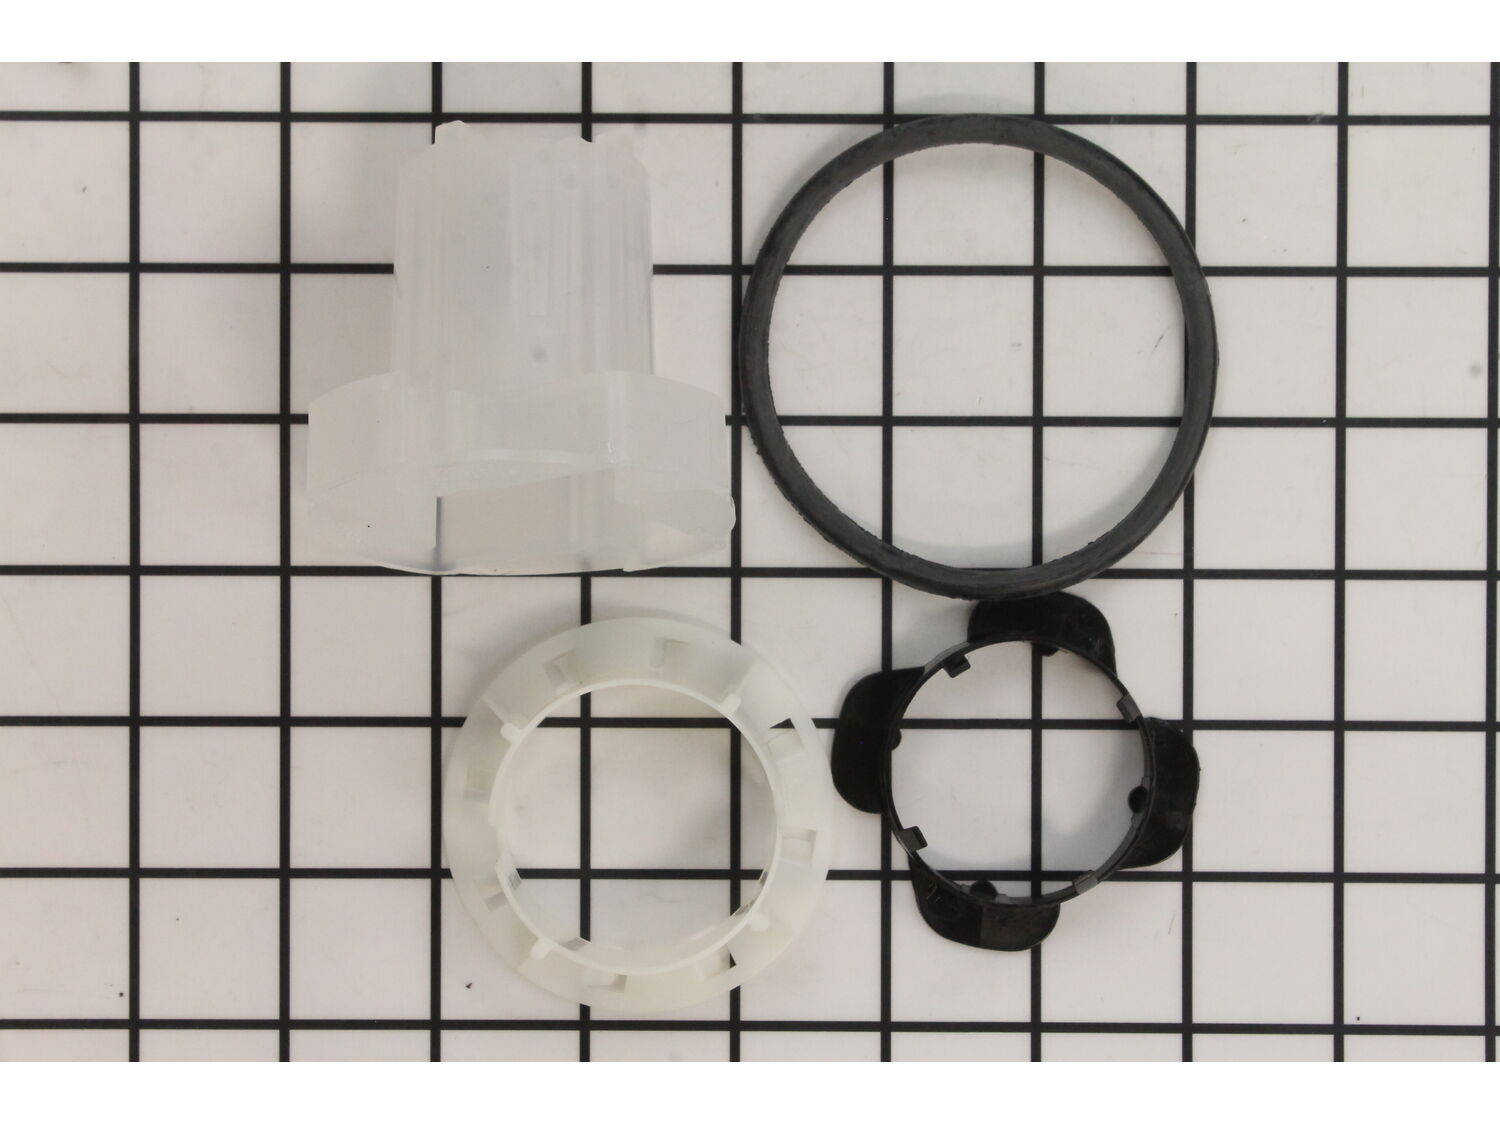
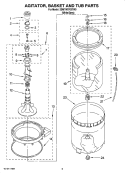
The agitator kit is most commonly used if the top part of the agitator is not moving correctly but the bottom is. This kit now includes all pieces shown in photo plus the thrust spacer, inner cap seal, and washer. You may need agitator grease for repair.
Sorry, we couldn't find any existing reviews that matched. Try using some different or simpler keywords.
★★★★★
★★★★★
Thank you
Your website mentioned my exact issue I was having with my washing machine and what parts I needed to repair it. I purchased the parts from you and everything fit and worked perfectly!
Guest - November 14, 2021
Verified Purchase
★★★★★
★★★★★
shiped fast
easy fix fit perfect works great
Ronald - March 8, 2022
Verified Purchase
★★★★★
★★★★★
Couldn't have worked out better
Parts were exactly what I needed. REAL easy repair. Thanks.
Guest - June 28, 2022
Verified Purchase
★★★★★
★★★★★
Better parts
Glad I got the parts from you guys and not my local vendor the parts were better than the ones I had replaced them with the last time things broke
Duncan - December 24, 2024
Verified Purchase
Customer Repair Instructions
All our customer repair instructions are solicited directly from other customers just like you who have purchased and replaced this exact part.
Easy
Less than 15 mins
(8 rated repairs)?
< Prev
1
Next >
Sort by:
Sorry, we couldn't find any existing installation instruction that matched.
1. Unscrew the cap on top of agitator
2. Pull out plug.
3. Loosen bolt with socket.
4. Lift out the entire agitator.
5. Remove broken agitator and replace.
6. Reassemble
1. removed the upper cap and o-ring.
2. using a 7/16 socket and extension, removed the bolt securing the agitator assembly to the drive shaft.
3. removed all broken parts, installed new parts from supplied kit.
4. reinstalled the agitator assembly and bolt. Replaced cap with new o-ring.
5. job complete.
Did you find this story helpful?
Thank you for voting!
< Prev
1
Next >
✖
Stock Status
This part is in stock in our warehouse and will ship out within 1 business day of the order being placed.
New stock is on the way! On order parts usually ship within 7 business days.
Item is not in stock and usually ships 10-15 business days from the time you place your order.
This item is no longer being made by the manufacturer, and cannot be added to your shopping cart.
✖
Mail-In Recycling Rebate
Some of the parts we sell are eligible for mail-in rebates since we can recycle them. We will display any applicable rebates in your shopping cart. To redeem your rebate, contact Customer Service after you have received your part.