- This part is in stock in our warehouse and will ship out within 1 business day of the order being placed.
- New stock is on the way! On order parts usually ship within 7 business days.
- Item is not in stock and usually ships 10-15 business days from the time you place your order.
- This item is no longer being made by the manufacturer, and cannot be added to your shopping cart.
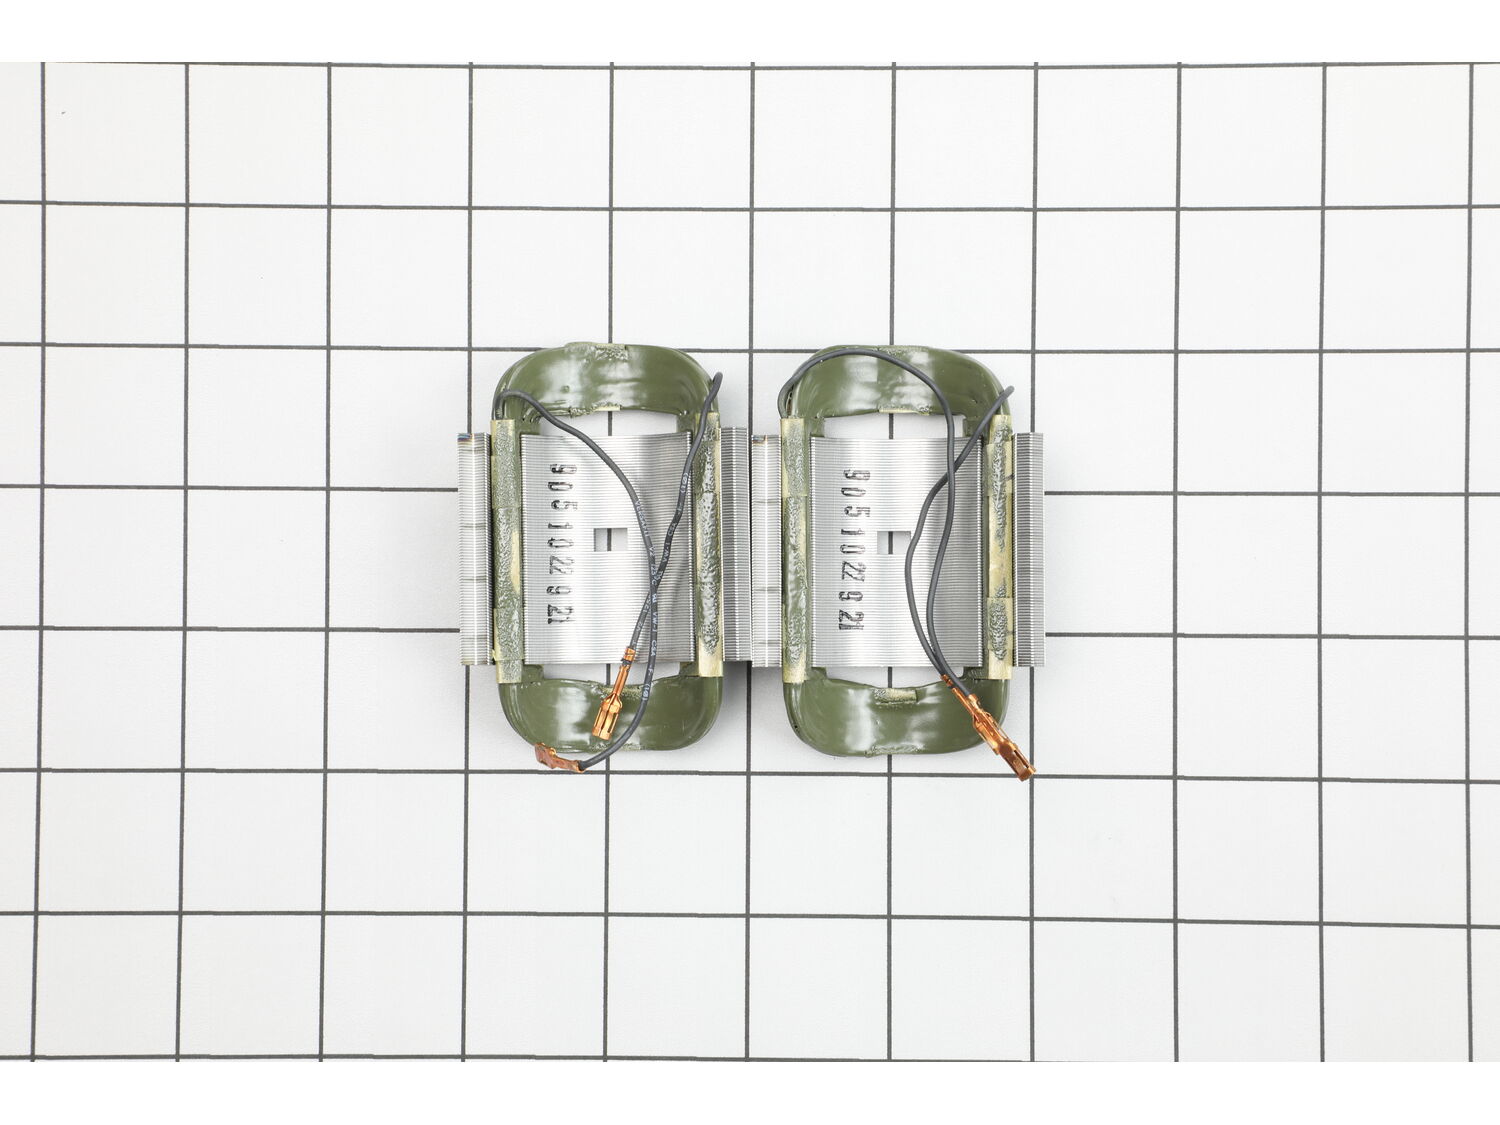
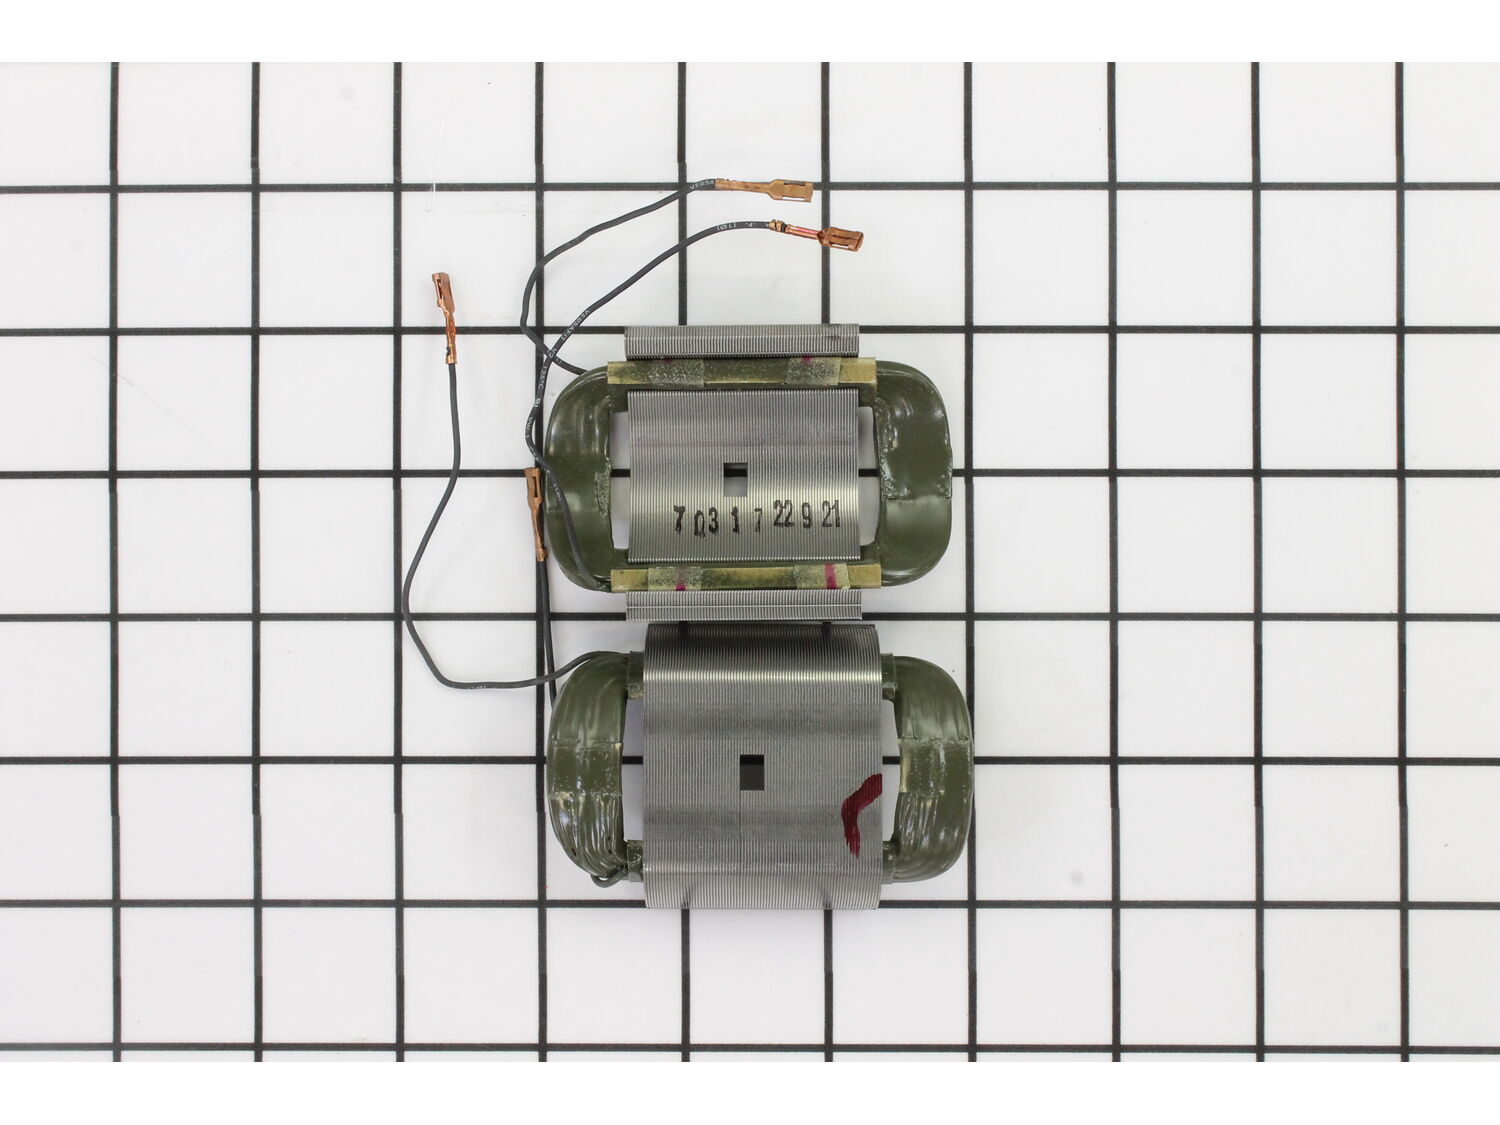
Field 110v 2610013921
- Manufactured by:
- Dremel
- ERP Number:
- ERP10259997
- Part Number:
- 2610013921
$43.12
In Stock
Delivers in 3-5 Business Days!
Does this part fit my model?
Need help finding your model number?Troubleshooting
This part works with the following brands:
- Dremel
- Bosch
This part works with the following products:
- Multi-Tool
Part# 2610013921 replaces these:
2610013921,
Customer Repair Instructions
All our customer repair instructions are solicited directly from other customers just like you who have purchased and replaced this exact part.
- < Prev
- 1
- Next >
Sort by:
Sorry, we couldn't find any existing installation instruction that matched.
Dremel MM20 Multi-Tool- Would not run
Paul from Nashville, Tennessee
1 person
found this instruction helpful.
- Difficulty Level:
- Easy
- Total Repair Time:
- 30 - 60 mins
- Parts Used:
- 2610013921
Disassembled tool and tested components. Found open circuit in motor field coil. Ordered new set from ereplacementparts.com. Installed new field coils and reassembled tool. Tested, and works like a charm! Have ordered parts from ereplacementparts for several years now. Convenient and easy to use website makes it easy to order parts. And t
... Read more
hey are shipped right to the house. No hassles or driving all over town looking for parts. Great place to get parts.
Read less
Did you find this story helpful?
Thank you for voting!
Wire to magnet field broke
David from Sellersburg, Indiana
0 of 1 people
found this instruction helpful.
- Difficulty Level:
- A Bit Difficult
- Total Repair Time:
- 15 - 30 mins
- Tools:
- Nutdriver, Pliers, Screw drivers
- Parts Used:
- 2610013921
Remove front of saw and pull out magnetic fields together. Put in new fields hook up to spades and reassemble front.
Did you find this story helpful?
Thank you for voting!
Dremel Multi Max MM20 Stopped Working
Michael from Theodore, Alabama
0 of 1 people
found this instruction helpful.
- Difficulty Level:
- A Bit Difficult
- Total Repair Time:
- 15 - 30 mins
- Tools:
- Pliers, Screw drivers
- Parts Used:
- 2610013921
1) Removed the bottom plate by unscrewing three (3) screws and setting aside.
2) Removed side plastic plates by sliding up and out, which exposes the wiring and rotors fully.
3) Removed front end piece and motor winding by unscrewing four (4) screws and set aside.
4) Removed front end plastic ring that keeps the Field 11 ... Read more 0V sections in place by unscrewing single screw and set aside.
5) Disconnected four (4) wires plugged into switched . Prior to unplugging I took a picture on my phone to insure the new wires were plugged in correctly. The photo also showed how each wire was routed in the unit.
6) Gently slid the old Field 110V unit (two pieces) out and slid the replacement unit in, which fit perfectly, making sure the four (4) wires were inserted in the same spaces as the previous wires.
7) Rerouted the wires and plugged them into the switch.
8) Put the front plastic ring in and secured it with the same screw.
9) Inserted the motor winding and front end of the unit and secured it with the four (4) screws.
10) Reset the two plastic side piece panels by sliding them into place.
11) Replaced the bottom plate and secured with the three (3) screws.
12) Plugged in the unit, turned it on and it runs great.
2) Removed side plastic plates by sliding up and out, which exposes the wiring and rotors fully.
3) Removed front end piece and motor winding by unscrewing four (4) screws and set aside.
4) Removed front end plastic ring that keeps the Field 11 ... Read more 0V sections in place by unscrewing single screw and set aside.
5) Disconnected four (4) wires plugged into switched . Prior to unplugging I took a picture on my phone to insure the new wires were plugged in correctly. The photo also showed how each wire was routed in the unit.
6) Gently slid the old Field 110V unit (two pieces) out and slid the replacement unit in, which fit perfectly, making sure the four (4) wires were inserted in the same spaces as the previous wires.
7) Rerouted the wires and plugged them into the switch.
8) Put the front plastic ring in and secured it with the same screw.
9) Inserted the motor winding and front end of the unit and secured it with the four (4) screws.
10) Reset the two plastic side piece panels by sliding them into place.
11) Replaced the bottom plate and secured with the three (3) screws.
12) Plugged in the unit, turned it on and it runs great.
Read less
Did you find this story helpful?
Thank you for voting!
Copper wire broken from magnet field
David from Fletcher, North Carolina
0 of 1 people
found this instruction helpful.
- Difficulty Level:
- A Bit Difficult
- Total Repair Time:
- 15 - 30 mins
- Parts Used:
- 2610013921
I took the multi tool apart and found that the copper wire was broken. Ordered the replacement part one replacement. Took less than 30 minutes to put back together. Works like new.
Did you find this story helpful?
Thank you for voting!
- < Prev
- 1
- Next >
Model Cross Reference
This part works with the following models:
ERP Number: ERP10259997
Manufacturer Part Number: 2610013921
| Brand | Model Number | Description |
|---|---|---|
| Dremel | MM20 | Multi-Tool - (F01300) Multi-Max Tool |
| Dremel | MM20120V | Multi-Tool - Multipurpose Tool |
| Dremel | MM30 | Multi-Tool - (F01300) Multi-Max Tool |
| Dremel | MM30120V | Multi-Tool - Multipurpose Tool |
| Dremel | MM40 | Multi-Tool - Multi-Max Oscillating Tool |
| Dremel | MM45 | Multi-Tool - (F01300) Multi-Max Tool |
| Dremel | MM45120V | Multi-Tool - Multipurpose Tool |
| Dremel | MM45120V30AH | Hammer Drill - Rotary Tool |
| Dremel | MS20127V | Multi-Tool - Multipurpose Tool |
✖
Mail-In Recycling Rebate
Some of the parts we sell are eligible for mail-in rebates since we can recycle them. We will display any applicable rebates in your shopping cart. To redeem your rebate, contact Customer Service after you have received your part.
✖