1. Removed disc/shield guard.
2. Removed 4 screws with torx bit holding flange to the gear housing.
3. Removed gear/clutch assembly from housing.
4. Removed nut holding bevel gear and clutch making sure to note placement of all the washers.
5. Removed 4 torx screws holding gear housing to motor housing.
6. Re
... Read moremoved nut holding pinion gear to motor shaft. Note: I removed the armeture by taking apart the two halves of the motor case and hanging the brush springs to take pressure off brushes for easier removal making sure to note any washers.
7. Put new pinion on armeture and tightened nut. (Put small dab of blue locktite on threads)
8. Put armeture back in making sure to release springs back onto motor brushes. Then gear housing to motor housing.
9. Put bevel gear and washers back on shaft in proper order after cleaning up the housing of old grease first.
10. Greased bevel gear and small bearing in housing.
11. Put bevel gear/flange assembly into housing tightening 4 torx screws evenly then making sure everything turned freely with no binding. (Small dab blue locktite on these 4 screws)
12. Plugged in to test.
13. Replaced shield guard then disc.
14. Plugged in again to test again. Worked so ready to go.
1. Remove disc guard.
2. Remove four screws holding \"safety clutch assembly\".
3. Remove safety clutch assembly (retained by four Torx screws)
4. Remove nut retaining ring gear. (Hold shaft in vise etc. taking care not to damage threads.)
5. Remove nut retaining pinion gear to armature. I wedged the pinion gear ag
... Read moreainst the housing with a medium common screwdriver and turned the nut with an open-end wrench.
6. Remove pinion gear.
7. Remove gear housing (retained by four Torx screws).
8. Clean out old grease and chips from housing.
9. Reinstall gear housing.
10. Reassemble grinder. Reassembly is the reverse of disassembly and easy even for someone new to the task. Generously lubricate gears with wheel bearing grease.(Most angle grinders are insufficiently lubed from the factory. I\'ve repaired many when I ran a tool room.)
Note: If armature falls free of the brushes, remove covers, withdraw brushes by gently pulling springs out of the way, reinsert armature and reassemble grinder, then return brushes to original position and reinstall covers. A small hook for the brush springs is easily made from a wire paper clip.
Note:
This is a good time to inspect and clean the commutator and inspect brushes replacing if needed. I use a Cratex rubberized abrasive but a strip of fine grit sand paper or emery cloth works well too. (Place tape on the back of sand paper to keep it from breaking and you can use it like emery cloth.)
Read less
Did you find this story helpful?
Thank you for voting!
< Prev
1
Next >
Model Cross Reference
This part works with the following models:
ERP Number: ERP10416132
Manufacturer Part Number: 316030170
This part is in stock in our warehouse and will ship out within 1 business day of the order being placed.
New stock is on the way! On order parts usually ship within 7 business days.
Item is not in stock and usually ships 10-15 business days from the time you place your order.
This item is no longer being made by the manufacturer, and cannot be added to your shopping cart.
✖
Mail-In Recycling Rebate
Some of the parts we sell are eligible for mail-in rebates since we can recycle them. We will display any applicable rebates in your shopping cart. To redeem your rebate, contact Customer Service after you have received your part.
✖
[{"position":0,"name":"Home","title":"Home","url":"/"},{"position":1,"name":"Transmission or Clutch","title":"Transmission or Clutch","url":"/parts/power-tool/angle-grinder/transmissions-and-clutches/"},{"position":2,"name":"316030170","title":"316030170","url":""}]



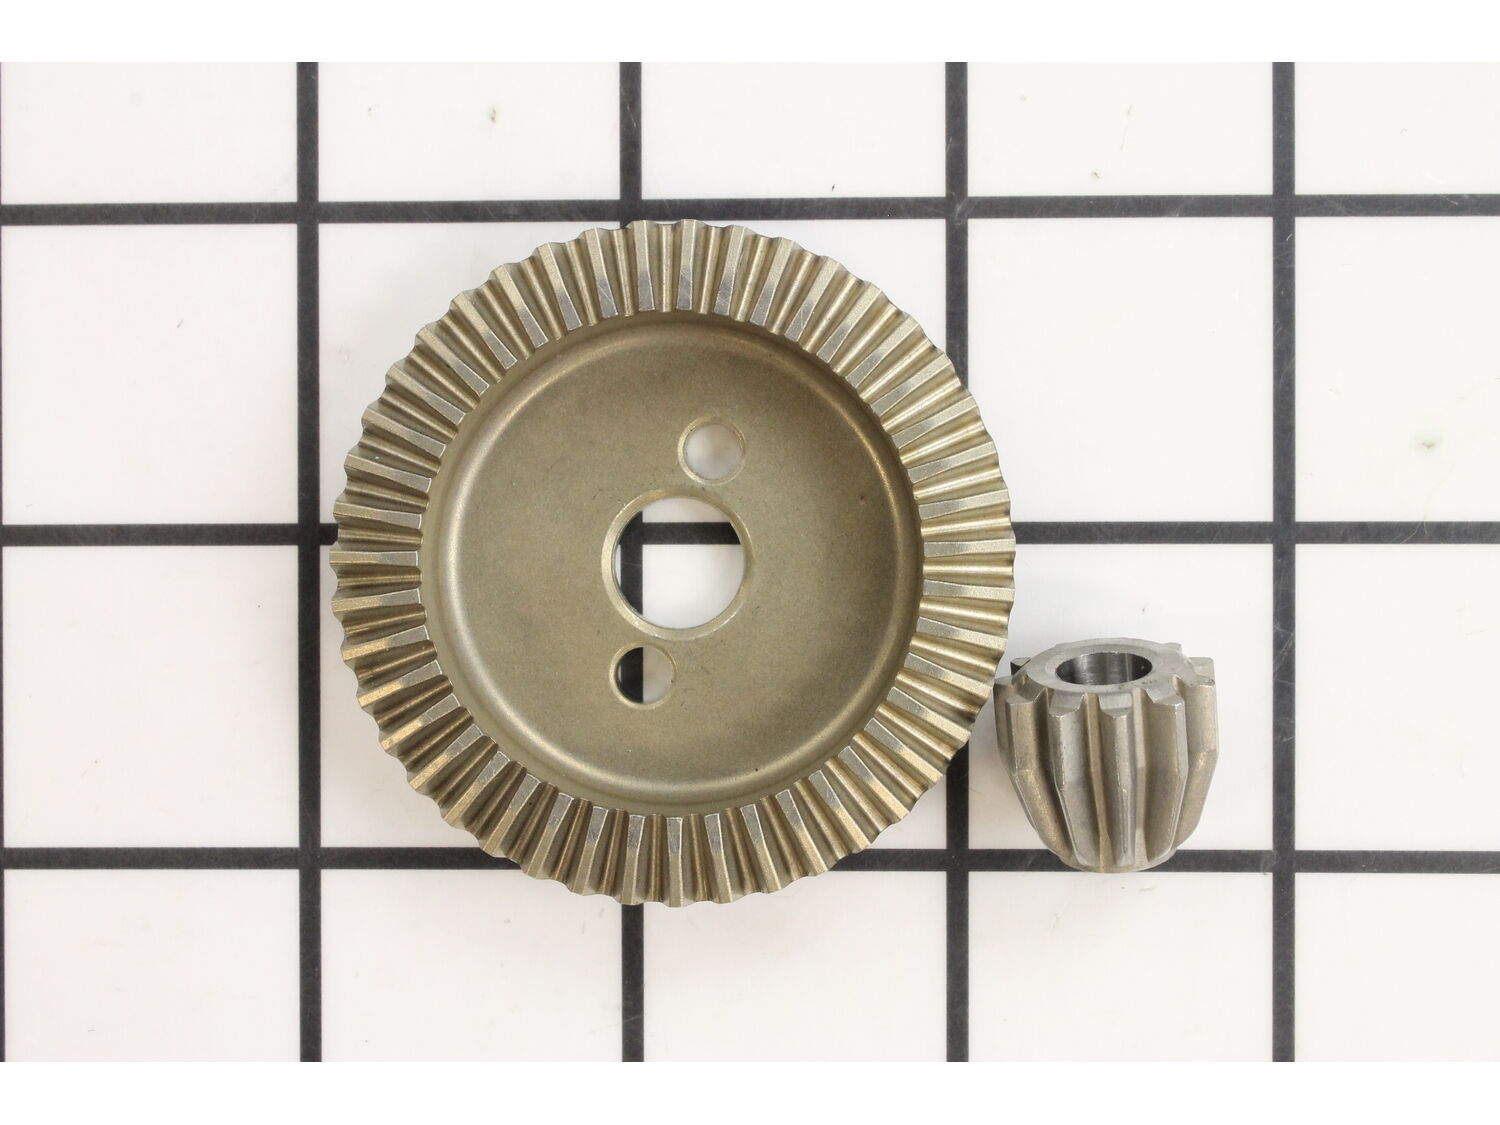
_WW_1.gif "Part Location Diagram of 316030170 Metabo Bevel Gear")
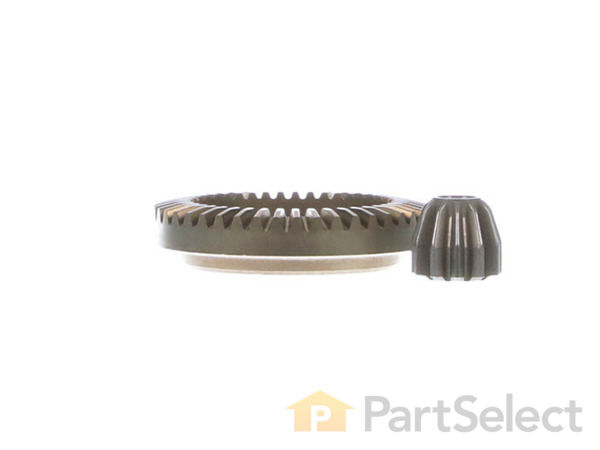
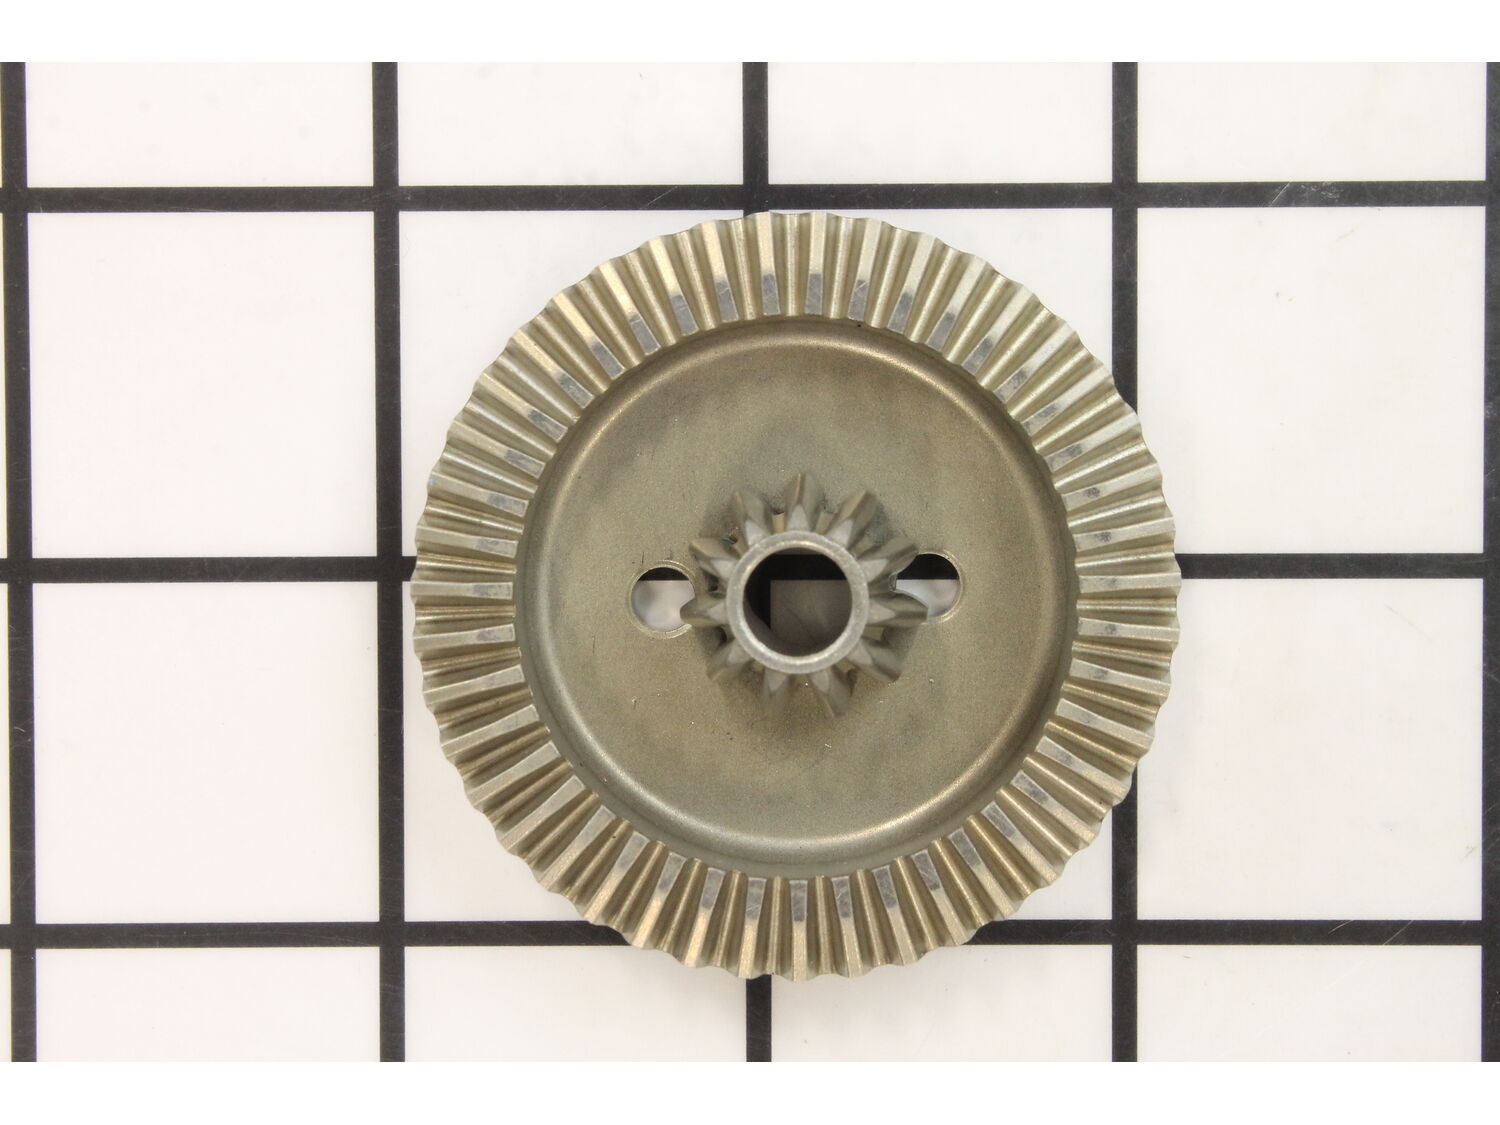
_WW_1.gif "Part Location Diagram of 316030170 Metabo Bevel Gear")