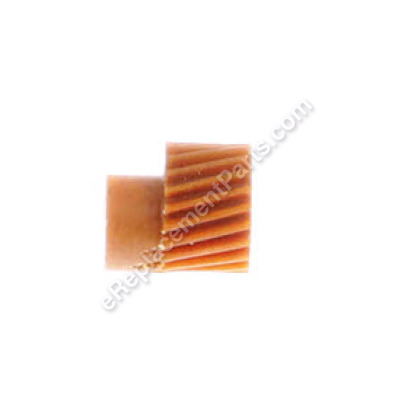
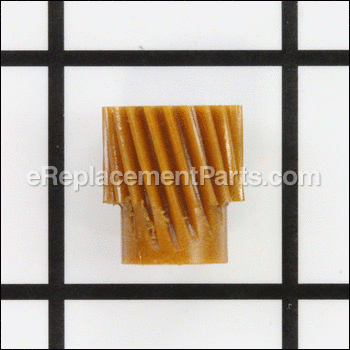
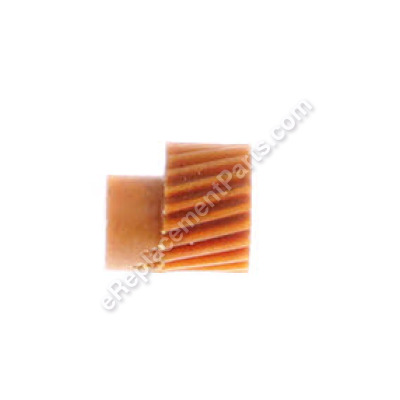
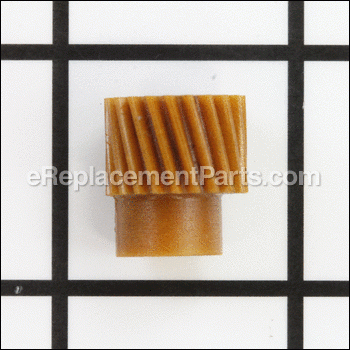
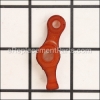
This part comes directly from Oster Pro. This Gear is used in many models of Oster Pro clippers. This Part is made from nylon. This part meshes with the worm on the Armature to help drive the Lever (part number 044946-005-000). This part needs to be replaced when it has a substantial amount of wear or when it has been torn through. This part is commonly purchased with the Link (045515-000-000) and Clipper Grease (076300-105-005).
Gear 58908000000
OEM part for: Oster Pro
Part Number: 58908000000
Jump To:
Frequently Purchased Together ?
Compatibility
This part will fit the following 4 machines
Oster Pro
This item works with the following types of products:
- Hair Clipper Parts
Questions & Answers ?
Our customer Service team is at the ready daily to answer your part and product questions.

Ask our Team
We have a dedicated staff with decades of collective experience in helping customers just like you purchase parts to repair their products.
Does this fit my product?Questions & Answers for Gear
Customer Repair Instructions ?
All our customer repair instructions are solicited directly from other customers just like you who have purchased and replaced this exact part.
Reamed out sprocket gear on single-speed Oster A5 hair clipper
Tool Type
Hair Clipper
Difficulty
Easy
Time
30-60 minutes
Tools Used
Screwdriver, Pliers
Parts Used
1. Unplugged clipper from electrical outlet. Removed the two phillips screws holding black-colored plastic retaining plate at clipper end.
2. Removed metal retaining plate underneath, noting orientation of hole lower left.
3. Used bent nose pliers to pull orange-colored plastic blade control arm up and out.
4. Used bent nose pliers to pull metal gear collar up and out.
5. Pulled orange-colored sprocket gear up and out and discarded.
6. Inserted new sprocket gear (eReplacement Part E6-604.1), noting orientation to teeth on drive shaft underneath.
7. Put retaining metal collar on over new sprocket gear.
8.Put orange-colored blade control arm back in place.
9. Put the metal plate back on with hole at lower left over the sprocket gear collar.
10. Re-attached plastic retaining plate over the metal plate and tightened the two phillips screws.
11. Added a blade, plugged clipper into the electrical outlet and flipped toggle switch. Success! Works great.
Oster Classic 76 motor noisy
Tool Type
Hair Clipper
Difficulty
Medium
Time
1-2 hours
Tools Used
Screwdriver, Pliers
Disassembled clippers
Found motor end bushings worn, gears worn causing noise.
Purchased all bearings, seals, and gears.
Greased/oiled and reassembled, retested, that's one happy barber!
Please note, if the motor field does not come out of the housing easily, it will need to be pulled out using a small gear puller or other homemade puller tool.
OEM stands for Original Equipment Manufacturer and means the part you’re buying is sourced directly from the manufacturer who made your product. At eReplacementParts, we sell only genuine OEM parts, guaranteeing the part you’re purchasing is of better design and of higher quality than aftermarket parts.
Our product descriptions are a combination of data sourced directly from the manufacturers who made your product as well as content researched and curated by our content & customer service teams. This content is edited and reviewed internally before being made public to customers.
Our customer service team are at the ready daily to answer your part and product questions. We have a dedicated staff with decades of collective experience in helping customers just like you purchase parts to repair their products.
All our part reviews are solicited directly from other customers who have purchased this exact part. While we moderate these reviews for profanity, offensive language or personally identifiable information, these reviews are posted exactly as submitted and no alterations are made by our team.
All our customer repair instructions are solicited directly from other customers just like you who have purchased and replaced this exact part. While we moderate these reviews for profanity, offensive language or personally identifiable information, these reviews are posted exactly as submitted and no alterations are made by our team.
Based on data from past customer purchasing behaviors, these parts are most commonly purchased together along with the part you are viewing. These parts may be necessary or helpful to replace to complete your current repair.
All our installation videos are created and produced in collaboration with our in-house repair technician, Mark Sodja, who has helped millions of eReplacementParts customers over the last 13 years repair their products. Mark has years of experience in selling and repairing both commercial and residential products with a specialty in gas-powered equipment.
This data is collected from customers who submitted a repair instruction after replacing this exact part. Customers can rate how easy the repair was to complete and how long it took. We aggregate this data to provide a repair rating that allows customers to quickly determine the difficulty and time needed to perform their own repair.

