


How to Change The Wheels on a Bench Grinder
In this article, we’ll be tackling a question commonly submitted on our YouTube channel about bench grinders. People want to know “how do you get the wheels off these things?!” It’s actually not as difficult as it may seem! We’ll share a list of the tools you will need and the step-by-step instructions. Follow along with our video, and keep reading below. Before you get started, be sure that your bench grinder is powered down and unplugged – safety first!

Things You’ll Need
- Philips screwdriver
- Wrench set
- Lubricating oil
- Wooden shim/wedge
- Replacement wheels
Remove the Covers
The first step is to remove the two covers on both sides of the grinder. There will be a couple of screws around the outside holding the covers in place. These screws are all identical, so you don’t need to worry about which order they’re removed and replaced in. Once the screws are removed, the covers will pull right off and can be set aside. The plastic eye protection shields should also be removed so that they aren’t damaged while working on the grinder. There are an additional two screws holding each shield in place. Once removed, they can also be set aside to be reinstalled later.

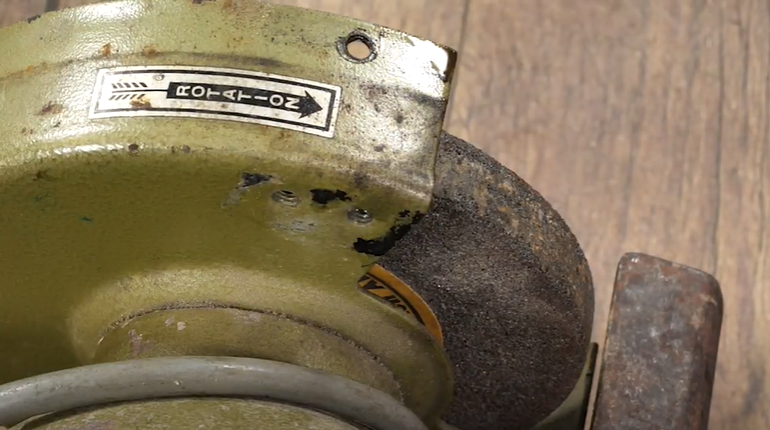
Determine Turning Directions
With any equipment that has moving parts, whether it’s a table saw, circular saw, or bench grinder, there is a general rule for turning direction. Look at the direction the blade turns (or in this case, the grinding wheel), and that will be the direction to turn the nut in order to loosen it. On our bench grinder, both wheels turn in a downward direction, which will mean that one nut will be left threaded, while the other side will be right threaded.
Remove the Nuts
We will first start with the nut on the right side. When removing that nut, the left-hand one should be securely held using another wrench to keep the wheel from spinning. Using the wrench in your right hand, push down in the direction of the rotation to loosen it up. Once it has been loosened, give the shaft a spray with lubricating oil and replace the nut. Repeat this process on the opposite side. Once the left side has been lubricated, the nut does not need to be put back in place. We now need to actually remove the right-side nut, and to do this we will use a wooden wedge to jam the wheel. This keeps it from rotating while we work on removing the nut. Since the nut had previously had its bond broken and was lubricated, it shouldn’t need much force to remove it.

Replace the Wheels
With the nuts removed, the grinding wheels will easily pop right off. Depending on your setup, there may be plates or spacers behind the wheels. They can be removed or reused depending on your spacing needs. Before installing new wheels, double-check the maximum speed and ensure that the wheel is appropriate for your grinder. Putting the grinder back together will be the opposite of taking it apart; add the wheels, rethread the nuts, attach the protective shields, then secure the wheel covers.

With any moving part, they will eventually wear down and need to be replaced. If you need replacement parts for any of your power tools, find them quickly by searching for your model number. Be sure to follow our YouTube channel so you stay up to date on all our repair content.

WRITTEN BY
EREPLACE CONTENT TEAM
Comprised of creative, experienced video producers, writers, and graphic designers, the eReplacementParts.com Content Team is focused on using their diverse knowledge base to create high-quality informative content to achieve our simple mission: Help the world fix things. Whether it be through tips, guides, or hacks, we ensure that every piece of content includes only expert knowledge, to guarantee that you can do the job right the first time!