How to Build a DIY Garden Box
Whether you are looking to grow your own vegetables or add some visual appeal to your yard, a DIY raised garden bed is a great way to do it. We’ve put together a very easy and affordable guide on how to make a DIY raised garden bed for under $75. For this project, we built a rectangular garden box that is six feet long and three feet wide. Let’s get started!
Materials Needed
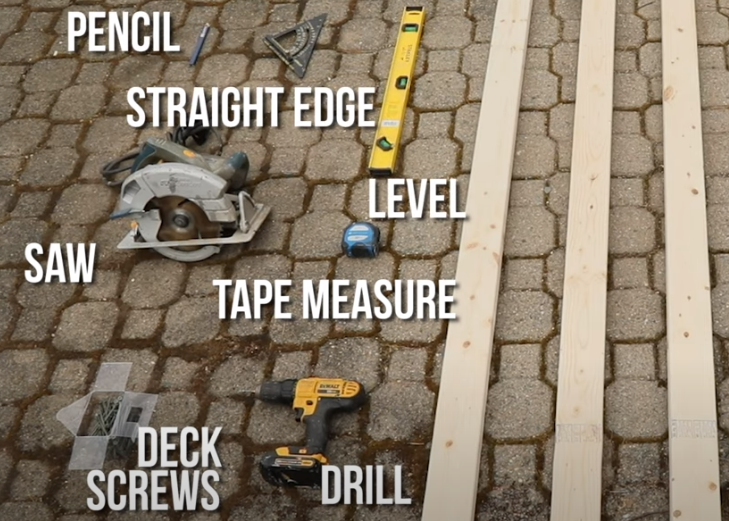
- 3 2-inch by 10-inch by 8-foot boards (these will be cut to size and fastened together)
- 3 2-inch by 4-inch by 8-foot boards (optional)
- Drill
- Deck screws
- Saw
- Tape Measure
- Level
- Straight edge
- Pencil
Steps for Making a DIY Garden Box
Step 1: Find a Spot and Measure
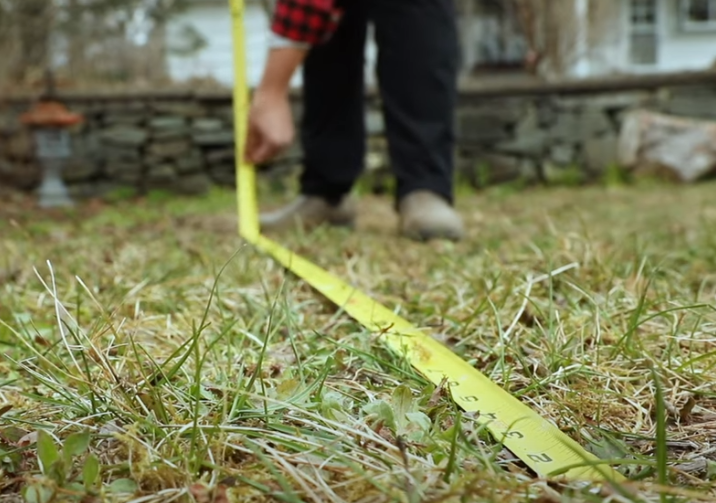
Find a suitable spot in your yard that gets a lot of sunlight throughout the day. Measure to make sure the size of the garden is a good fit for the space.
Step 2: Cut 2-inch x 10-inch Boards to Size
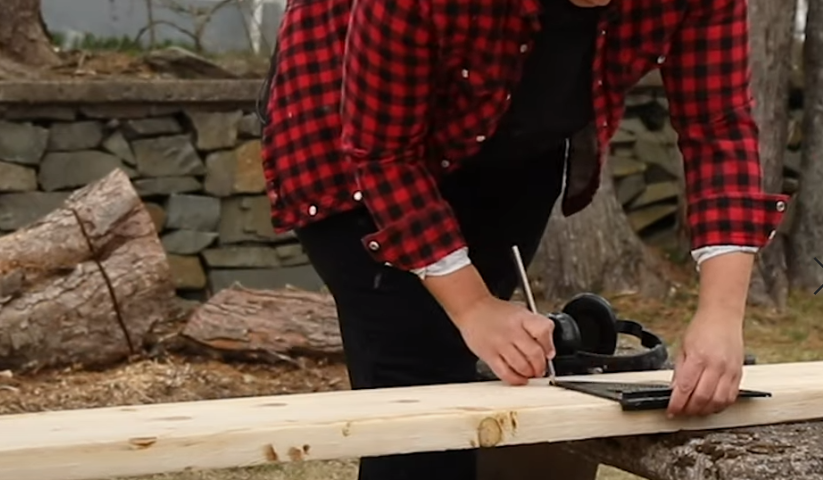
You’ll need 2 6-foot lengths and 2 3-foot lengths. Grab one of the boards and measure to 6 feet, mark it with a pencil, and use the straight edge to draw a cutting guide.
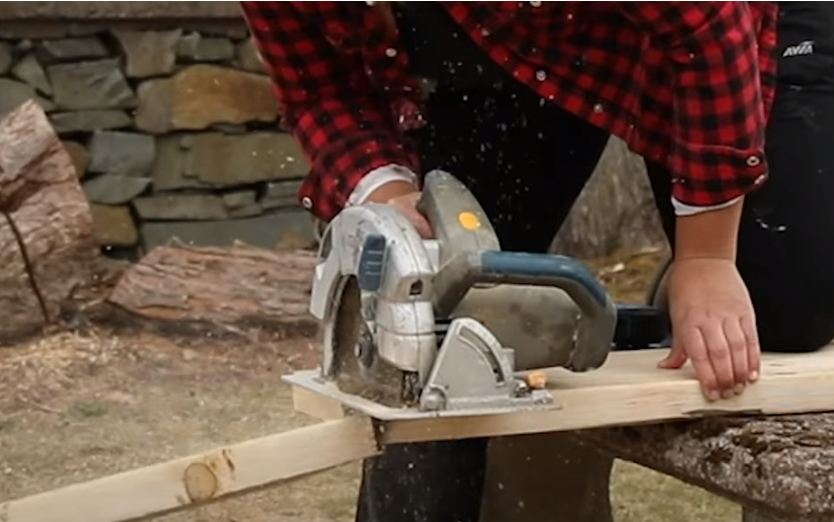
Cut along the guideline. Repeat these steps for the other 6-foot long board. Now cut your 2 3-foot long boards to size using the same process. Discard the scrap cut-offs.
Step 3: Fasten Boards Together
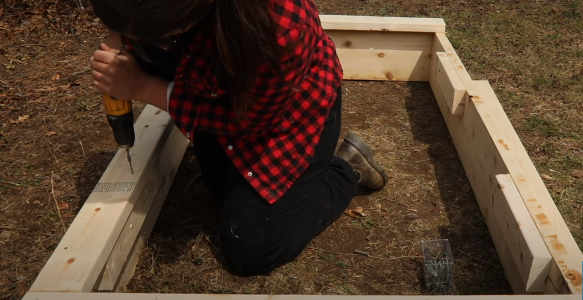
Lay all four cut boards in place and use your drill and deck screws to fasten your 6-foot and 3-foot links together to form the garden bed frame.
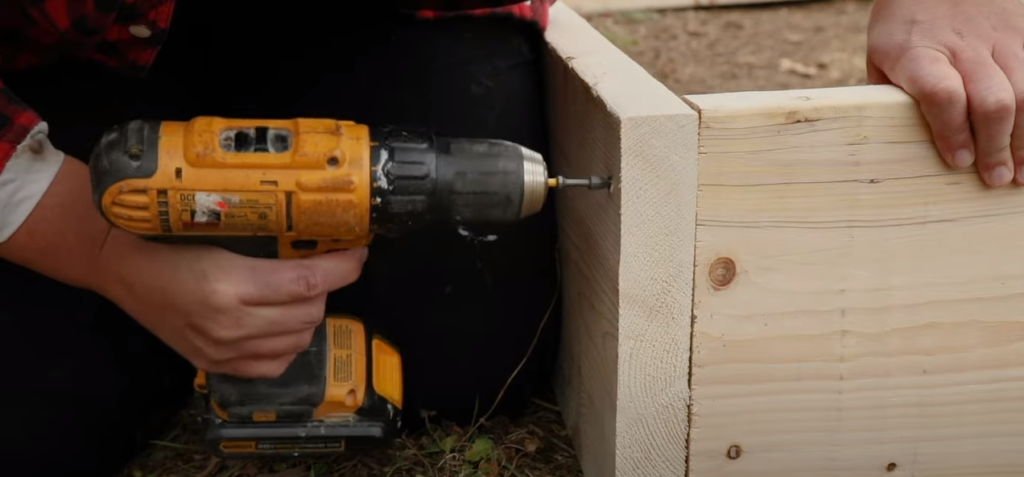
The 3-foot lengths should be fastened between the 6-foot lengths, and 4 screws should be used for each corner of the garden bed. We used deck screws for this project because they do not rust, and you wouldn’t want rust getting into your garden soil.
If you are happy with this super basic garden bed frame, you can stop building now, and your material costs will be less than $40. If you would like to go a step further, continue to step 4.
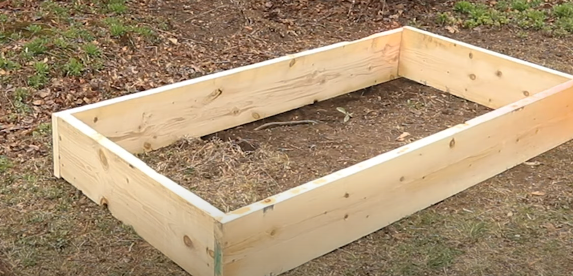
Step 4: Cut 2-inch x 4-inch x 8-foot to Size
Adding a ledge all around the garden box gives you the option to sit and reach into the garden more comfortably. This is where the optional 2-inch by 4-inch by 8-foot’s come into play.
For the width of the garden bed ledge, you will need to measure from the outside to the outside of the frame you’ve built. This gives added support for when you sit on them.

Grab one of your 2-inch by 4-inch by 8-foots and cut 2 pieces to that same measurement, following the same process you used for the 2-inch by 10-inch (measure, mark, draw a guide line, and cut).
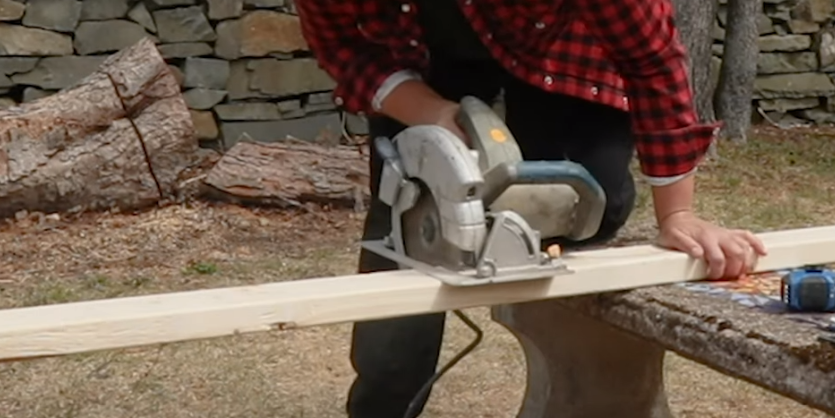
Put the 2-inch by 4-inch ledges in place and secure them with 3-4 deck screws.

Now it’s time to measure for the ledges that will run the length of the garden bed. You’ll need to measure from the inside of the ledges you’ve just installed and cut your two remaining 2-inch by 4-inch by 8-foots to size.
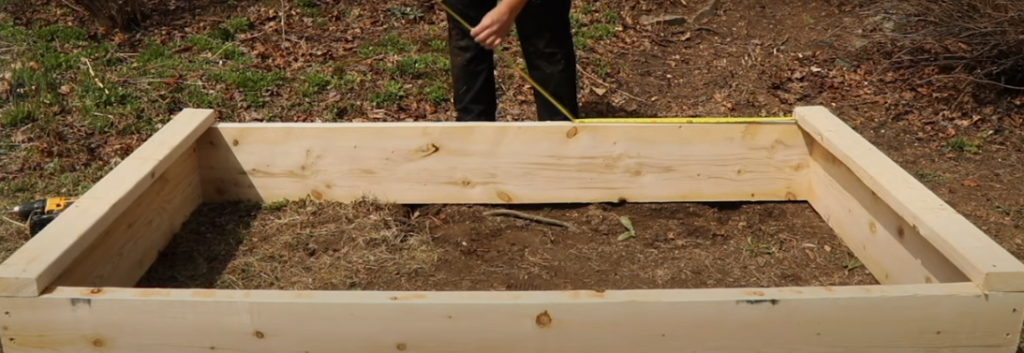
Step 5: Install Ledge Supports
Save your cut-offs this time, they are not scrap. We will attach these cut-offs to the inside of the garden bed using 2 deck screws for each. This will add support and structural integrity to our longer ledges.
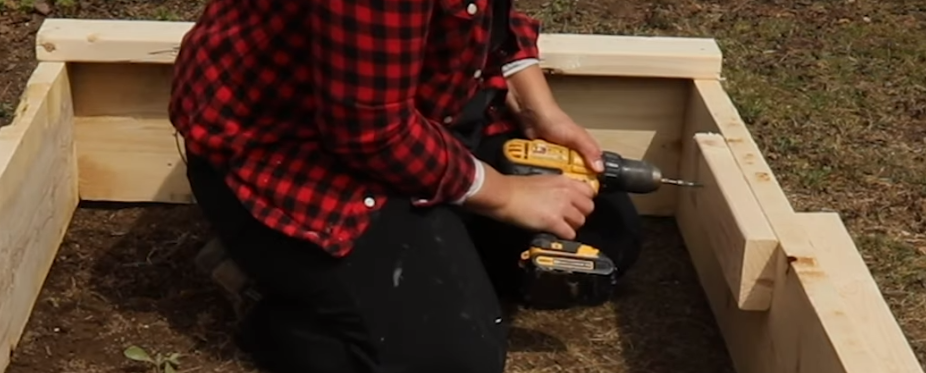
Place the cut-offs length-wise and secure them with the deck screws.
Step 6: Level Your Garden Bed
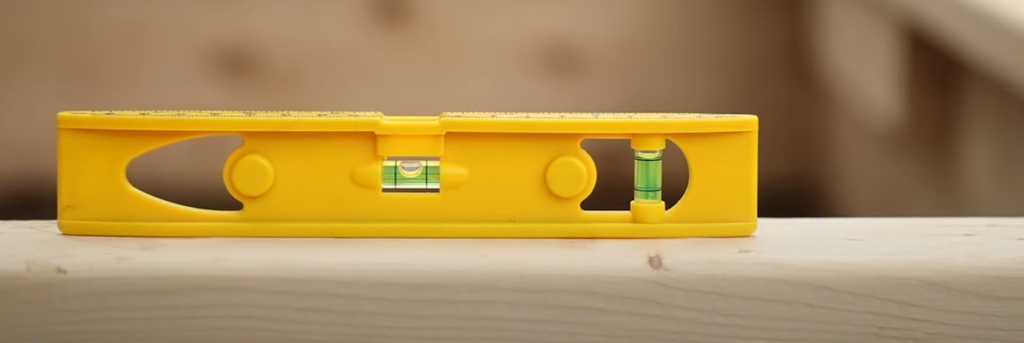
You will now want to use a level to ensure the garden bed is balanced before pouring your soil.
We used regular SPF lumber to keep costs down, but you can use pressure-treated wood if you want it to last longer outdoors and don’t mind paying a little bit more. There is some debate about whether the chemicals from the pressure-treated wood will make their way into the veggies you grow, so you may want to do your research before you decide. Untreated lumber will rot over time, but that process would typically take 5-7 years before you need to think about replacing it.
Now that your DIY garden bed is complete, it’s time to start planting! We hope this garden bed brings you lots of veggies and joy all summer long!


