Get Your Grill Ready for Summer
After a long, cold winter of sitting in storage, your grill could use some TLC before you fire it up for the season. If your gas grill is covered in food and grease, it’s time to give it a good cleaning! Keeping your grill clean will help it last longer and keep your food tasting delicious. Before grilling season officially kicks off, it is also the perfect opportunity to check that all the hard-working parts of your grill are in good shape and functioning as they should. Some parts may be better off getting replaced if a deep clean just isn’t cutting it. We’ll give you a step-by-step guide on how to inspect your grill, deep clean each part, and help you determine if they need replacing. Continue reading below and be sure to check out each video for more tips.
Inspect
Even if you properly prepared your grill to be stored for the winter, it is still important to give it a good look over when you bring it out for the summer. Trapped moisture may have caused rust, or critters may have made themselves at home. Check the frame and base for signs of rust or corrosion, then look over the body of the grill. Unfortunately, if these parts are showing signs of corrosion, you’re better off just replacing the entire grill. If they look good however, all the other parts can easily be cleaned or replaced!
Take a look at the igniter next to make sure it is not cracked or corroded, and ensure it is working properly. Next, we’ll check the hose and regulator for the propone tank. We want to make sure there are no signs of deterioration, cracking or damage. The venturi tubes extend from the burner to the control valve, and you’ll want to also check for any corrosion (are you getting the theme yet?) or blockages. If there is any debris in these tubes, it will impact the performance of your burners. This can result in a no or low-flame situation, which no one wants while grilling!
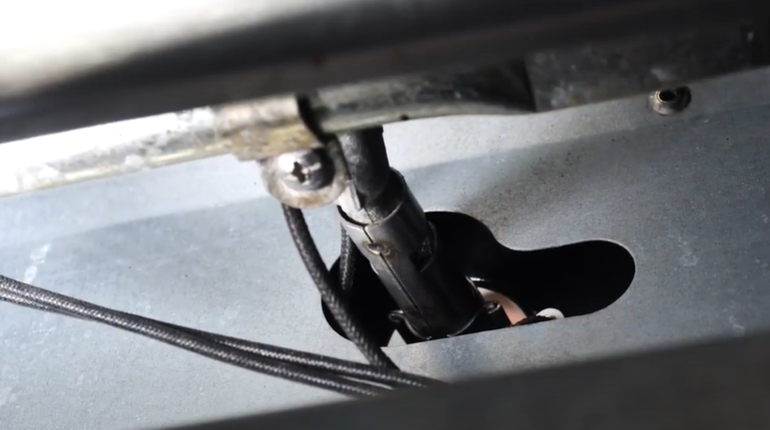
The following parts you should inspect for rust or corrosion. If they’re fine you can move on to deep cleaning them. Otherwise start making a list for replacement parts. Grates, racks, heat tents, burners – all areas you should keep clean for optimal grilling performance over the summer.
Clean
What You’ll Need to Clean Your Grill:
- Large container of hot soapy water
- Grill brush
- Grill spatula (or flat-edge tool for scraping)
- Sponge
- Aluminum foil
- Garden house
- Restaurant-grade degreasing spray
- Empty container for catching debris underneath the drip pan opening
If you’ve already been using your grill, make sure it has had plenty of time to cool off from cooking before you begin your deep clean. Follow our steps below and your grill will be sparkling clean in no time!
Steps for Cleaning Your Grill:
1. Remove the propane tank or gas line from the grill
2. Remove the grease tray and empty its contents into a resealable bag for disposal (Do NOT pour the grease down your drain!). Consider replacing the grease tray if necessary.
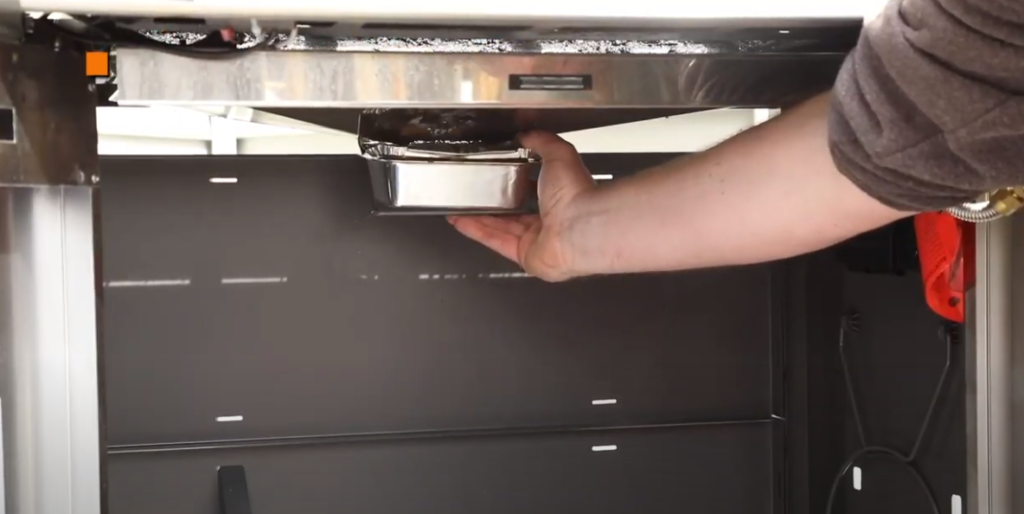
3. Remove all the grill grates and place in the large container of hot soapy water.
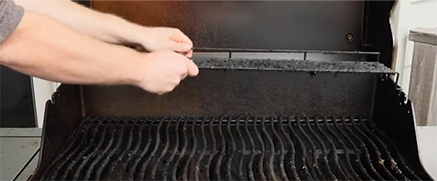
4. Remove all the heat tents and place in the same container (the heat tents are also something to consider replacing if necessary, as they suffer a lot of wear and tear from food drippings being burnt on).
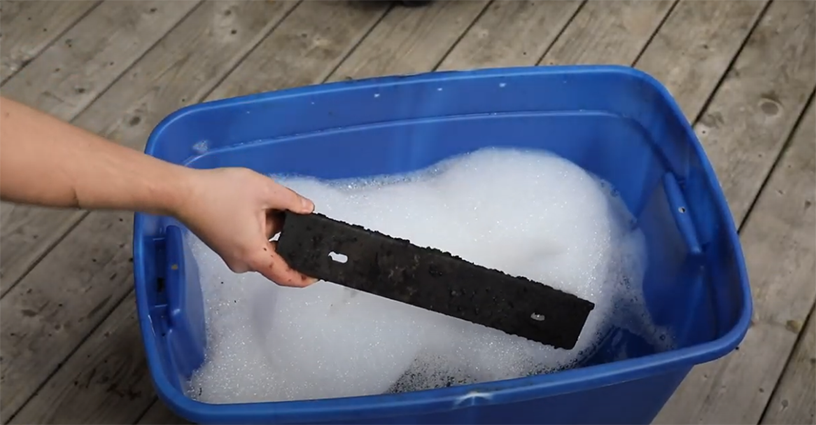
5. Wrap all the heating elements with aluminum foil. This will prevent them from getting clogged with debris as you clean.

6. Clean the underside of your grill hood with hot, soapy water. You can use a grill brush, but just be mindful that it can scratch the surface, which you may not mind underneath the hood. You can also use the coarse foam pad to scrub it clean (this may also leave minor scratching on the surface).
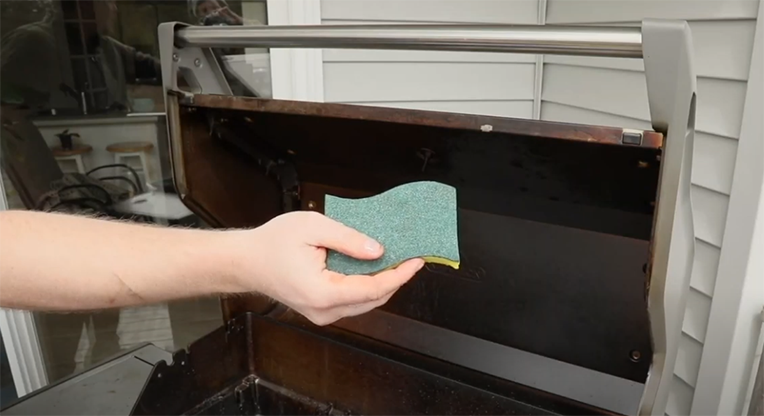
7. For a deeper clean, use your restaurant-grade degreaser to spray the surface underneath the hood, and scrub the remaining residue.
8. Now it’s time to tackle the inside of the grill! Start by spraying your degreasing spray all over the interior part of the grill.
9. Use your spatula or other flat-edge tool to scrape all the built-up food debris from the drip pan and grill walls, pushing it down into the drip pan opening and into a container.
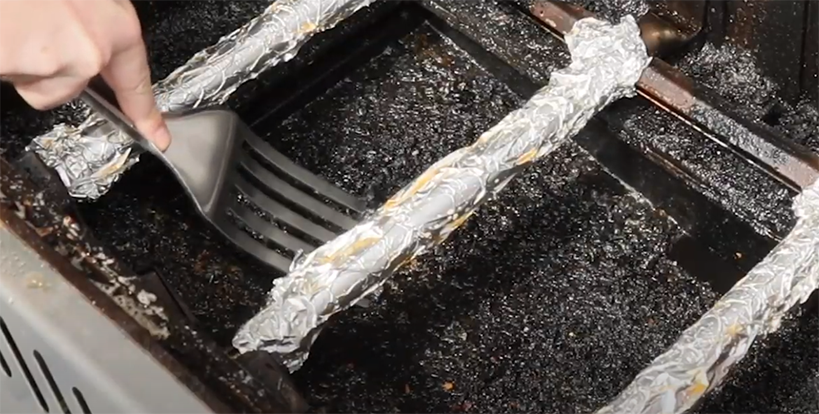
10. Use a grill brush for the interior walls, and something small like a butter knife to get around the tighter spaces.
11. If your model has a removeable drip pan, take it out to scrape it, and soak in soapy water.
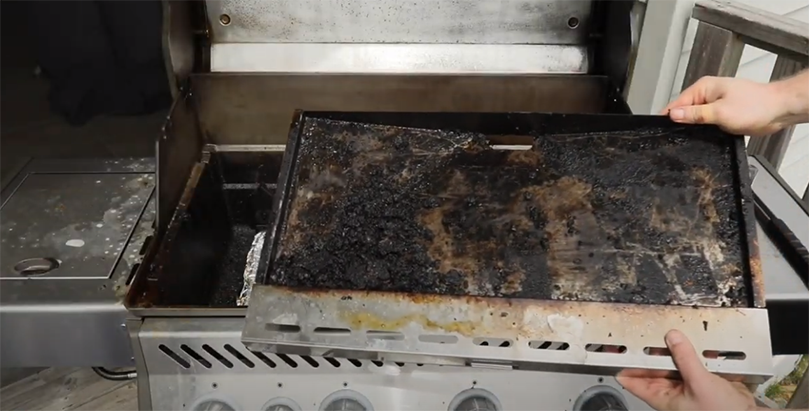
12. Once the interior cleaning is done, remove the aluminum foil from the heating elements.
13. Use your wire brush to scrub the heating elements clean.
14. Now that the grill tents and grates have had a chance to soak, give them a good scrub with your grill brush.

15. Now that your heat tents and grates have been scrubbed clean, rinse them off using your garden hose.
16. Before reassembling, give the exterior of the grill a clean with warm soapy water, along with all cabinets and doors. If the handles or hood do not come out as clean as desired, these are also parts that can be easily replaced.
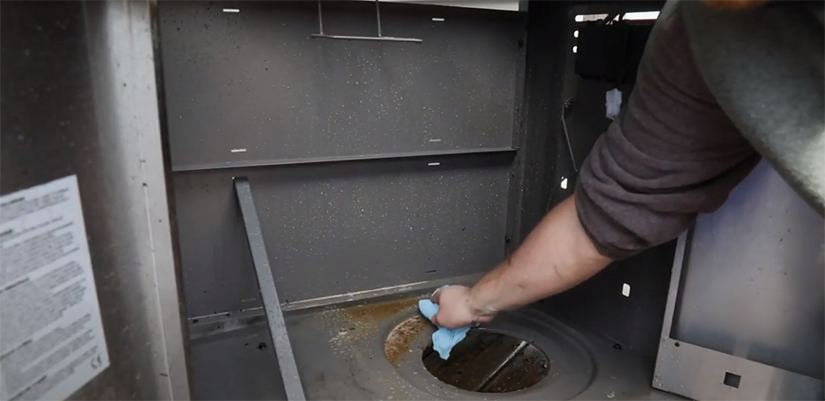
17. Reassemble all the heat tents and grates, and propane tank.
18. Fire up the grill for about 10 minutes to burn off any cleaning residue.
Replace
There are some parts of your grill that may not have passed the inspection or came out sparkling after the cleaning steps. If these parts have corrosion or are just way too dirty (no judgement from us, we’ve been there!) then it’s time to replace them. Getting new parts such as heat tents, heating elements, drip pans, handles, and racks, will keep your grill looking good and running smoothly.
The Grease Tray
There are a few common wear parts on your grill that are sometimes best to just replace altogether, one of these being the grease tray. This is an often-neglected part, so it can become tarnished pretty quickly. If cleaning it with warm soapy water just isn’t cutting it, replacing it is quick and easy.
The Heat Tents
Heat tents are another common wear part on your grill that are also a very easy part to replace. Old and dirty heat tents won’t cook your food as efficiently and they can cause flare-ups that will scorch your meal.
In the end, your grill may not look perfectly clean, but this will surely make a HUGE improvement. Now you can celebrate your hard work with a home cooked meal on the grill!


