Drywall Plugs and Anchors 101
When you’re looking to hang something from the drywall in your home, particularly heavier items, it’s important to make sure it’s being installed correctly. How do you know what type of screw or anchor to use? How do you prevent drywall (or whatever you’re hanging) from getting damaged? You’ll need to know a little bit about the different types of drywall plugs and anchors, to help you determine what you’ll need. This will give you confidence that whatever you’re hanging or supporting on the wall will stay perfectly in place! For a more up-close look at these drywall plugs and anchors, check out our video below where Dave demonstrates how they look behind the wall!
Determine the Weight Rating
When deciding on what kind of connecter you’ll need, the first thing you will need to confirm is how much weight it will be holding up. If you’re holding up a TV, you will need to assess the weight of the TV. This weight will also determine how many connectors you’ll need. The package should say how much weight each connector can sustain, so you will need the right number of connectors according to the weight of your item.
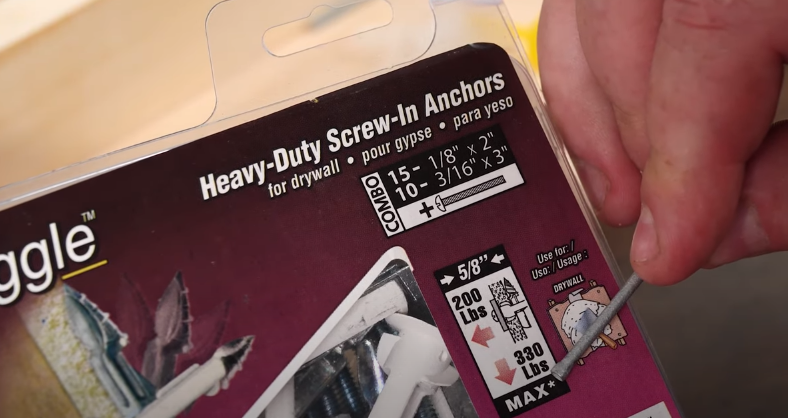
Drywall Plugs
Once you have determined the weight you are working with, you will need to determine the style of plug you’d like. There are numerous types of styles, for example, a push-in (for one-time use), split push-in, toggle-types, and the list goes on. For the most part, they are all very similar with just minor differences. When installing your plug, you will need to select the proper drill bit. The package will tell you what size of drill bit it requires.
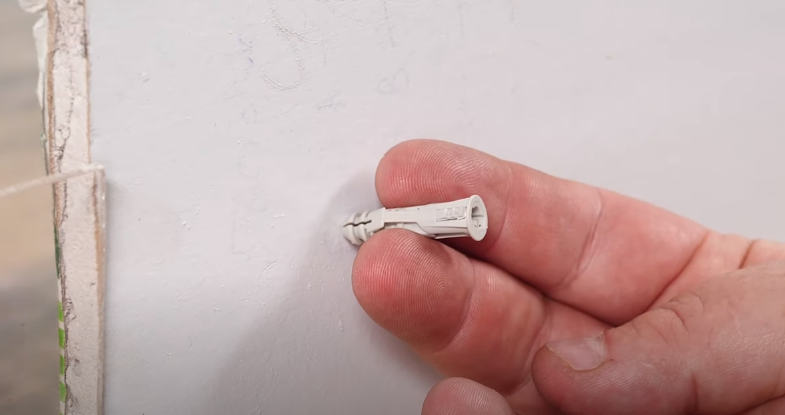
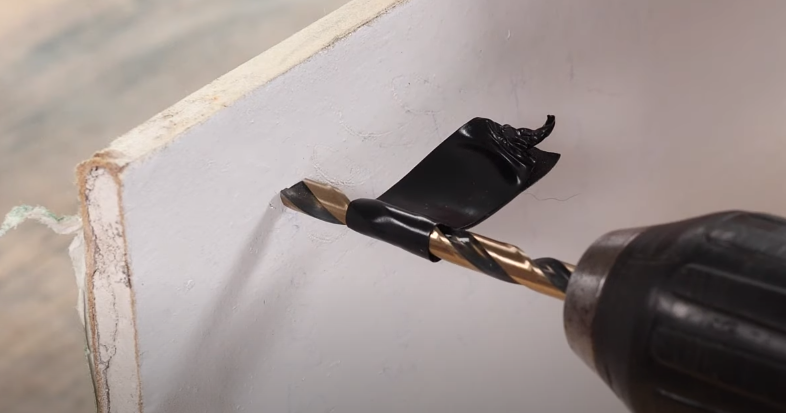
Before you begin drilling, place a piece of flagging tape to pre-determine the depth in which you would like to drill into the wall. You do not want to drill too deep; you’ll need just enough depth to make it through the drywall plus a little bit extra. Drill your hole, stopping where the tape is marked on the drill. Take your plug and place it into the hole. You will need to give it a gentle tap with a hammer to get it securely into place.
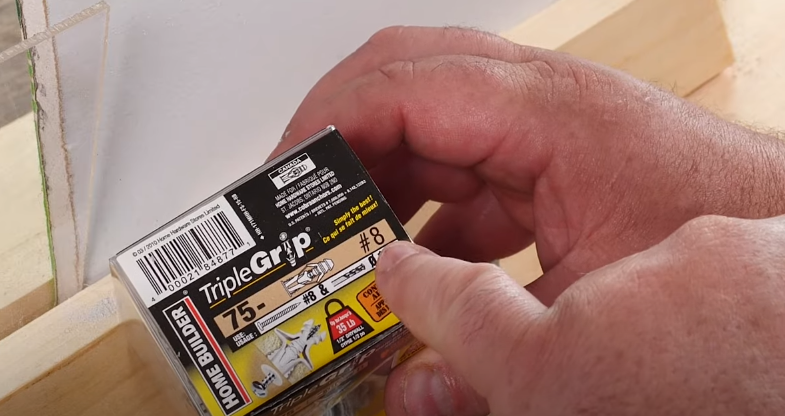
Once your plug is hammered into place, you will need to check the box that the plug came in to determine the size screw you will need. The plug we used as an example in the video is compatible with a size 8 screw, which refers to the diameter of the screw itself (not the length). Take your screwdriver and tighten the screw into the plug. As the screw goes into the plug, it will start expanding and locking it into the drywall.
We also did this same process with a different style of plug, which is very similar but is a split style. This is another type of push-in plug, and you will do the same process once again. Check the box to determine the size drill you will need, tap it into place by hand, and then tap it into place with a hammer. Take the screw and tighten it into place by hand, and then finish tightening it with your drill.
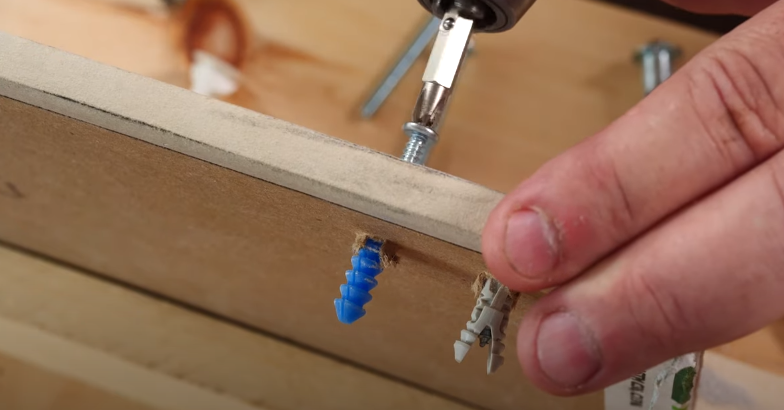
Self-Drilling Anchor
Another type we tested out was a self-drilling style, which can come in a plastic or metal version. The metal version is a little more expensive, but it can be reused over and over. You will need a larger Phillips bit, and you will place it directly into the plug. Place it where it needs to go, and start screwing it into your wall until it is nice and flush. This particular style reduces the risk of drilling into any kind of electrical or piping (or anything behind it). For this type, some will work with wood screws, some with bolts, it depends on the style. Tighten the screw into place until it is at the correct distance for your project.
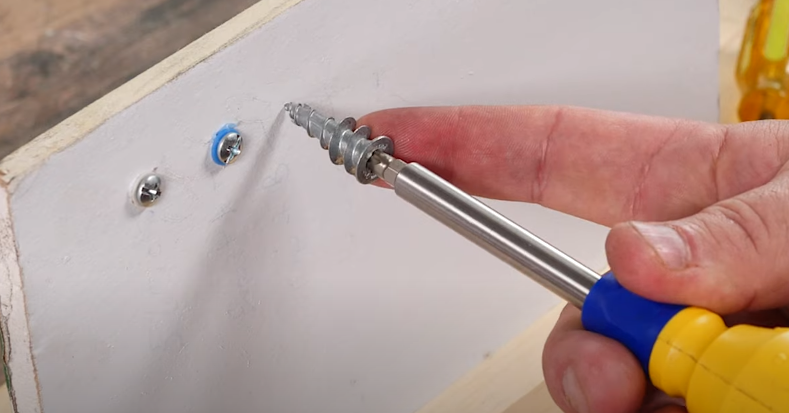
Self-Drilling Toggle Anchor
Another common style is a similar self-drilling plug, but it comes with a toggle. These get self-drilled through the wall. Once it gets drilled in and locked in place, place the screw in until it makes contact with the toggle, which then pushes the toggle out, to provide a strong lock.
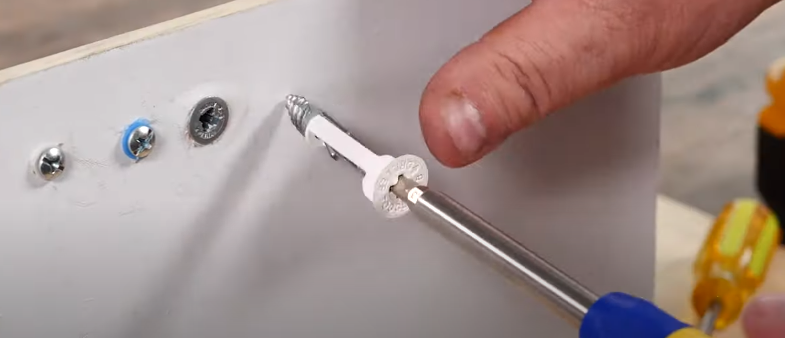
Self-Drilling Modern Toggle Anchor
For this type, start by removing the plastic, and then this toggle becomes your drilling head. Drill your hole and then remove the bit from the drill and place the locking zip back into place. Push the entire anchor into the wall and then it will lock itself into place. Slide the small plastic piece down the plastic zipper until it is flush with the hole. Place your screw into the hole until it is locked onto the toggle on the back, and then pull the plastic zip to tighten. The plastic zip can then be cut off, or in some cases, it is pre-scored and will just break off.
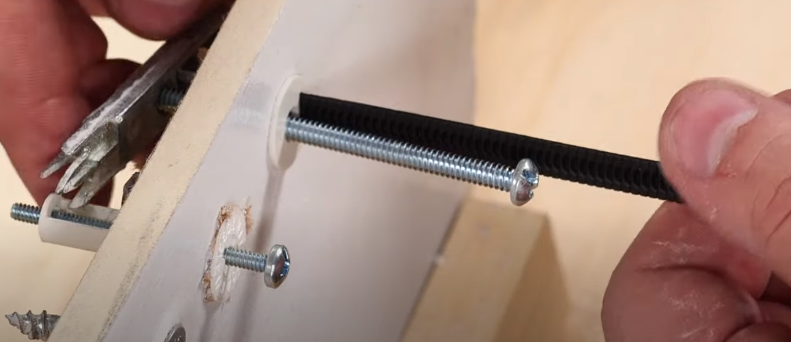
We hope that seeing some of these plugs up close, and by getting a sneak-peak at what is happening behind the wall will, will help you in selecting the correct one for your own project. For more tool tips and tricks, check out our YouTube channel.


