Whether you're a woodworker with years of experience under your belt or a newbie looking to hone your craft, you've experienced the unpleasant task of sanding. Due to the tedious nature of sanding, it's easy to rush the process and make bad decisions -- but it doesn't have to be that way.
A quality sanding job can be completed in less than an hour by using the correct equipment and understanding how each step is bringing you closer to the finished product. Avoid making the mistakes discussed in this article and you'll be well on your way to a beautiful finish.
 Photo by MAURO CATEB via Flickr
No Dust Control
We don't expect everyone to have a professional ventilation system installed in their woodshop, but we do encourage you to be mindful of the amount of dust that sanding creates. Not only will sanding dirty your shop, it becomes a serious health problem if you're inhaling the dust on a frequent basis.
Take your projects outside or to a well ventilated area when sanding. Make sure to use a lint-free tack cloth and/or air compressor to clean the sanding dust from the surface of the wood before moving to the next sanding coat. Cleaning the wood before moving to a higher grit helps prevent additional scratches from forming.
Choosing The Wrong Grade of Sandpaper
Always choose the grit of sandpaper based on what you're trying to accomplish. As a rule of thumb, you'll want to move from a low-grit sandpaper to a high-grit one to ensure the smoothest finish possible.
Photo by Steve Snodgrass via Flickr
40-60 Grit - Coarse
- Removes major dings, scratches and dents.
80-120 Grit - Medium
- Smooth the wood surface and removes smaller blemishes.
150-180 Grit - Fine
- Final smoothing step before staining
Post-Stain Sanding:
220-240 Grit - Very Fine
- Use after coats of wood finish or stain.
280-320 Grit - Extra Fine
- Removes spots and marks between coats of wood finish.
360-600 Grit - Super Fine
- Often times done with wet sandpaper, gives you the final finish.
Progressing through the grits is the surefire method for a clean and easy sanding process.
Sanding Too Much
If you've created a divot in your wood from trying to smooth out a trouble area, you've probably sanded too much. It's important to remember that sanding is a process that may take many different rounds to complete. So don't try to hit a home run on the first pitch.
You'll know you're ready to move to the next grit of sandpaper when you no longer see scratches from the previous grit. Use some water or rubbing alcohol to clean the surface, then look at the surface of the wood from different angles in a well-lighted area. Do you still see imperfections? If so, keep sanding with the current grit 'til they're gone.
Don't be fooled into thinking you can skip over a grit of sandpaper. This will cause more imperfections and may require you to start the sanding process over again.
Quick Tip: Use a nylon sock to check if you're ready to move to the next grit. Place it on your hand and run it along the surface of the wood. If it's catching on rough spots, keep sanding with the current grit until the sock easily glides over the wood.
Stain Won't Cover Up a Bad Sanding Job
Don't fool yourself into thinking a dark stain will cover up any mistakes you make while sanding -- this isn't true. Sure, a stain can help mask certain flaws in the wood, but it can't change the smoothness or the overall appearance of the wood. Often-times it even enhances rough areas.
Photo by Wilson-Fam via Flickr
Our in-house tool guru Mark Sodja emphasized this point by saying, "A finished project is only as good as the time put into it."
If you're finding yourself having a difficult time sanding evenly, try using an electric sander. They take the stress off your arms and allow you to effortlessly target specific areas on your wood. And we've got the Porter Cable sander parts and all the other big brands to keep you sanding year-round.
Conclusion
Keep in mind that different types of wood may require slightly altering your sanding process. For example, softwood (Pine, Spruce) is best sanded with a higher grit of sandpaper.
It's not always the skill of the woodworker that creates a beautiful woodworking project, but rather the time and dedication put into the project. By avoiding the common mistakes discussed in this article, your next project is sure to dazzle.


 Photo by MAURO CATEB via Flickr
 Photo by Steve Snodgrass via Flickr
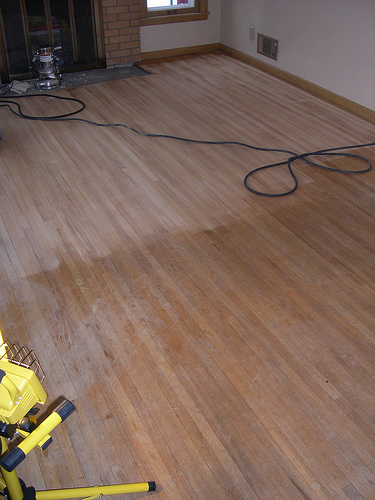 Photo by Wilson-Fam via Flickr