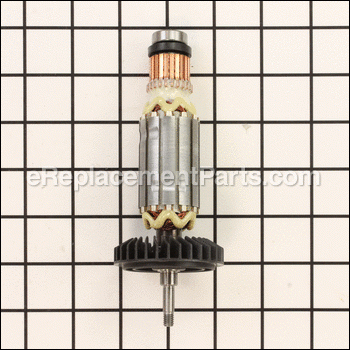
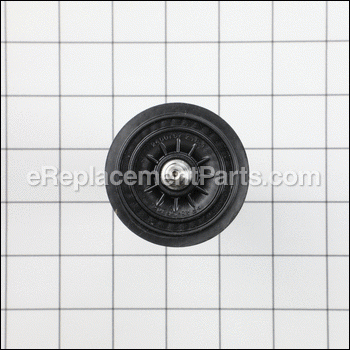
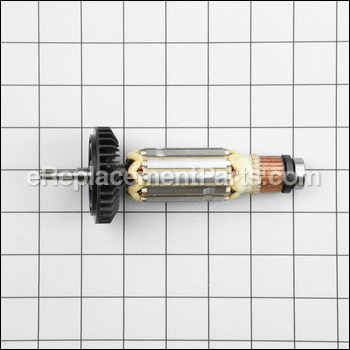
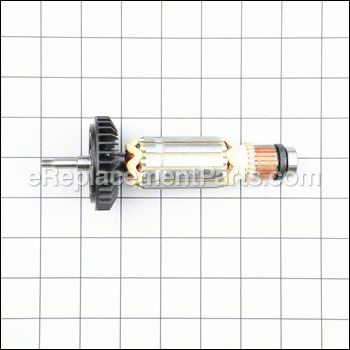
This is a genuine OEM approved replacement armature assembly which is specially designed for use with Makita angle grinders. The armature is the center component of an electric motor, over time it may wear out and begin to fail eventually requiring a replacement. This high-quality assembly is sold individually, please note it includes one durable metal armature, the plastic fan and the armature bearing.
Armature Assembly 115v 515616-3
OEM part for: Makita
Part Number: 515616-3
Jump To:
Frequently Purchased Together ?
Compatibility
This part will fit the following 6 machines
Makita
This item works with the following types of products:
- Grinder Parts
Customer Part Reviews ?
- 1
Questions & Answers ?
Our customer Service team is at the ready daily to answer your part and product questions.

Ask our Team
We have a dedicated staff with decades of collective experience in helping customers just like you purchase parts to repair their products.
Does this fit my product?Questions & Answers for Armature Assembly 115v
Customer Repair Instructions ?
All our customer repair instructions are solicited directly from other customers just like you who have purchased and replaced this exact part.
After running the grinder too long, the motor ran slowly and noisy, heated up quickly.
Tool Type
Grinder
Difficulty
Easy
Time
Less than 15 minutes
Tools Used
Screwdriver, 10 mm box wrench
Parts Used
2. Removed 4 screws from the gear box and remove gear box.
3. Removed or relieved the spring tension on the brushes to allow the armature to be removed.
4. Pulled the armature and the bearing plate from the front of the grinder.
5. Removed the nut holding the gear on the front of the armature and pulled the gear from the old armature (hand should be sufficient to pull) Support bearing and bearing plate and gently tap armature from the plate.
6. Pressed the new armature into the bearing.
7. Make sure that the fan does not hit the bearing plate.
8. Remove rubber cover from the rear bearing on the old armature and installed on the new armature. If rubber cover is not on old armature bearing, insert screw driver through brush opening and pop the rubber cover out of the housing. This will require removal of the brush carrier with two Phillips screws.
9. Push the gear onto armature shaft and reinstall and tighten the nut (10mm wrench)
10. Install the new armature into the housing (make sure brushes remain out) and reinstall the gear box with the 4 screws.
11. Reinstall the rear housing and the retaining screw.
Grinder would run, but overheated, and developed no power
Tool Type
Grinder
Difficulty
Easy
Time
15-30 minutes
Tools Used
Screwdriver
Parts Used
The tool was making a horrible noise and far to many sparks from the brush area/
Tool Type
Grinder
Difficulty
Easy
Time
Less than 15 minutes
Tools Used
Screwdriver
2. Removed body cover.
3. Released springs on brushes and disconnected wiring from harness and brushes.
4. Removed Armature Assembly
5. Removed Field
6. reassembled in reverse order from above.
Smoking and keeping noise
Tool Type
Grinder
Difficulty
Easy
Time
Less than 15 minutes
Tools Used
Screwdriver, Pliers
Brushes wore out, unit smoking heavily
Tool Type
Grinder
Difficulty
Medium
Time
30-60 minutes
Tools Used
Screwdriver, Pliers, O-ring hook
2. Disassemble all screws to remove cover and output gear assembly.
3. With needle nose pliers carefully remove carbon brush set slip on connector. Place pressure spring to one side allowing removal of brush.
4. Pull armature out. If rubber retaining gasket remains in unit and doesn't come out with the armature and attached to the bearing, take a gasket hook removal tool and remove the grommet being careful not to damage it.
5. Place the grommet on the end bearing.
6. Insert the armature assembly with grommet into the grinder body placing the grommet into the socket inside the grinder body.
7. Attached carbon bushings into their respective positions.
8. Place pressure springs back into their correct original positions.
9. Reassemble grinder body in the reverse sequence.
10. Plug grinder in. Turn on and test.
OEM stands for Original Equipment Manufacturer and means the part you’re buying is sourced directly from the manufacturer who made your product. At eReplacementParts, we sell only genuine OEM parts, guaranteeing the part you’re purchasing is of better design and of higher quality than aftermarket parts.
Our product descriptions are a combination of data sourced directly from the manufacturers who made your product as well as content researched and curated by our content & customer service teams. This content is edited and reviewed internally before being made public to customers.
Our customer service team are at the ready daily to answer your part and product questions. We have a dedicated staff with decades of collective experience in helping customers just like you purchase parts to repair their products.
All our part reviews are solicited directly from other customers who have purchased this exact part. While we moderate these reviews for profanity, offensive language or personally identifiable information, these reviews are posted exactly as submitted and no alterations are made by our team.
All our customer repair instructions are solicited directly from other customers just like you who have purchased and replaced this exact part. While we moderate these reviews for profanity, offensive language or personally identifiable information, these reviews are posted exactly as submitted and no alterations are made by our team.
Based on data from past customer purchasing behaviors, these parts are most commonly purchased together along with the part you are viewing. These parts may be necessary or helpful to replace to complete your current repair.
All our installation videos are created and produced in collaboration with our in-house repair technician, Mark Sodja, who has helped millions of eReplacementParts customers over the last 13 years repair their products. Mark has years of experience in selling and repairing both commercial and residential products with a specialty in gas-powered equipment.
This data is collected from customers who submitted a repair instruction after replacing this exact part. Customers can rate how easy the repair was to complete and how long it took. We aggregate this data to provide a repair rating that allows customers to quickly determine the difficulty and time needed to perform their own repair.

