
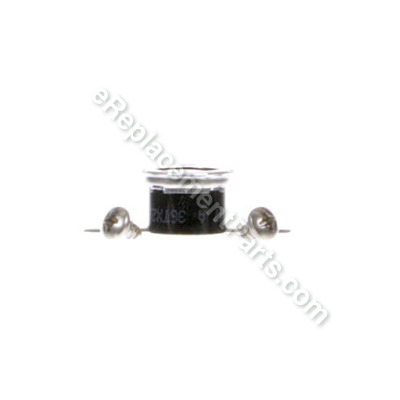

Nt Srv Asm Thermo Kit-mod 9905 S1179A000
Part Number: S1179A000
Ships within 1 business day
*This part replaces obsolete part #: 1179A000.
Product Information
Frequently Purchased With

Compatibility
This part is compatible with the following machines:
the 10 compatible machines
Products Compatibility
This item works with the following types of products:
- • Heater
Questions & Answers for Nt Srv Asm Thermo Kit-mod 9905
No questions have been asked yet
Repair Instructions: Submitted by Customers Like You
2 of 2 people found this instruction helpful
Tool Type:
Heater
Parts Used:
Repair Difficulty:
Easy
Time Spent Repairing:
Less than 15 minutes
Tools Used:
Screwdriver, Pliers
heater kept clicking off
Guessed what issue was and went to website to confirm that thermostat was likely problem. Ordered and installed new part. Repair: Shut circuit breaker, remove cover, remove thermostat attachment screws and electrical connections, install new thermostat and electrical connection, turn on breaker, test heater, replace cover. Needed needle nose pliers to detach tight electrical connection.
Did you find this story helpful?
Thanks for voting and helping fellow customers!
1 of 1 people found this instruction helpful
Tool Type:
Heater
Parts Used:
Repair Difficulty:
Medium
Time Spent Repairing:
30-60 minutes
Tools Used:
Screwdriver, Pliers
Neither the heating element nor the blower were working.
Open the light cover.
Remove the glass lens for safe keeping and to reduce weight.
Remove two screws holding the cover and light fixture.
Unplug the light fixture and set it and the cover aside.
Unplug the heater assembly and back out partially two screws.
Remove the heater assembly.
Remove two screws holding the thermo coupler to the assembly and unplug the two electric connectors.
Install the new thermo coupler and test at a convenient outlet prior to reinstall.
Reinstall in reverse order. Once the heater assembly is reinstalled and plugged in test for vibrations.
Complete reinstall.
Did you find this story helpful?
Thanks for voting and helping fellow customers!
1 of 1 people found this instruction helpful
Tool Type:
Heater
Parts Used:
Repair Difficulty:
Easy
Time Spent Repairing:
15-30 minutes
Tools Used:
Screwdriver
Heat sensor was faulty
Removed 2 screws and the wires . Installed the new sensor wit the two screws and connected the wires.
Did you find this story helpful?
Thanks for voting and helping fellow customers!
Tool Type:
Heater
Parts Used:
Repair Difficulty:
Easy
Time Spent Repairing:
Less than 15 minutes
Tools Used:
Screwdriver
Nutone Heat-A-Vent Light heater stopped working.
First, I made sure the electric breaker was turned off to the fixture.
Removed the ceiling finish grill, lens and light bulb to expose the inside of the unit.
Removed two sheet metal screws that hold the bottom of the heater/fan assembly and slid it out of the two top clips.
Unclipped the wire connectors on the thermo protector, unscrewed and replaced with the new one, reconnect the wire clips, and done.
Reinstall the ceiling grill.
Did you find this story helpful?
Thanks for voting and helping fellow customers!
Tool Type:
Heater
Parts Used:
Repair Difficulty:
Easy
Time Spent Repairing:
Less than 15 minutes
Tools Used:
Screwdriver
Heater would shut off
Shut off the power, remove 2 wires, remove the 2 screws, and replace.
Did you find this story helpful?
Thanks for voting and helping fellow customers!
Reviews
1 Reviews
Average Rating (out of 5):
Click to filter by ratings:
5 stars
1
4 stars
0
3 stars
0
2 stars
0
1 stars
0
< PREV
- 1
Just like OEM part
Works fine-looks almost identical to the OEM part
Guest -
November 14, 2019
Verified Purchase
Verified Purchase
eReplacementParts Team
< PREV
- 1
Product Information