


Why Read This Article?
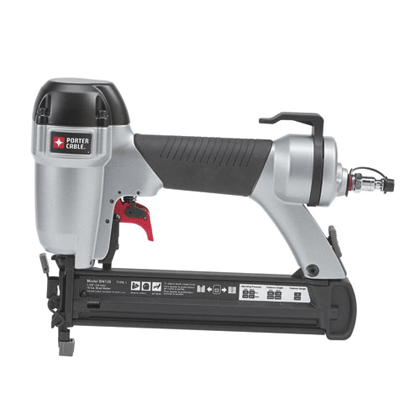
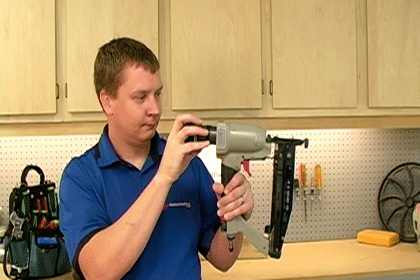
Finish Nailer Repair - Replacing the Driver Guide (Ridgid Part # 79004001022)
Article Breakdown
Finish Nailer Repair - Replacing the Driver Guide (Ridgid Part # 79004001022)
Video
Tools & Materials
- Allen wrenches (variously sized)--which are usually included with the maintenance kit.
- Box cutters--to remove a stuck gasket.
 Remember to use eReplacementParts.com's easy Porter Cable part finder to find the right maintenance kit for your Porter Cable nail gun.
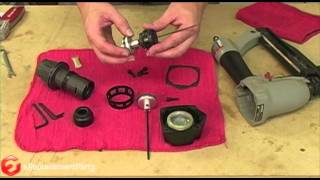
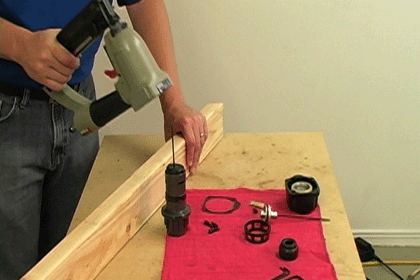
Removing the Piston and Driver Assembly
Remember to use eReplacementParts.com's easy Porter Cable part finder to find the right maintenance kit for your Porter Cable nail gun.
Removing the Piston and Driver Assembly
The best way to access the piston and driver assembly is through the top of the nail gun.
1. Remove the nail gun head
Remove the four screws that secure the nail gun head. Then remove the head.
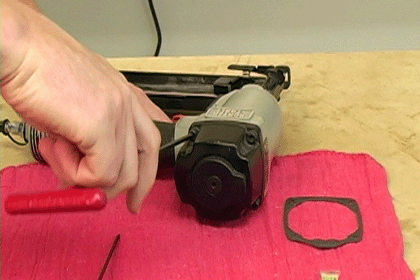
2. Remove the cylinder
Remove the cylinder cage from the nail gun body.

Get a piece of 2x4 or another block of wood. You will need to hit the nail gun handle against the wood to release the cylinder. Be careful not to hit the cylinder as it is made of plastic and can crack and break.
Give the nail gun a few good whacks against the wood.

This should free the cylinder from the nail gun.
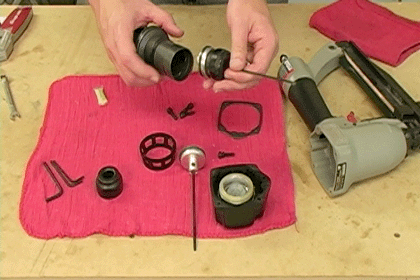
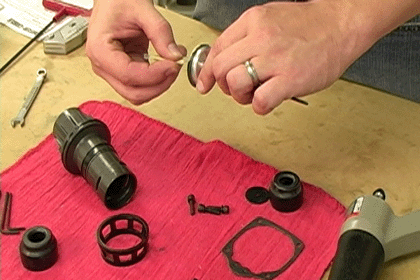
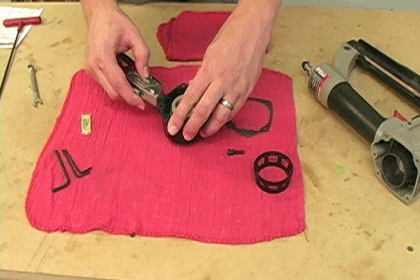
3. Remove the driver and piston
Slide the alignment plate off the driver.
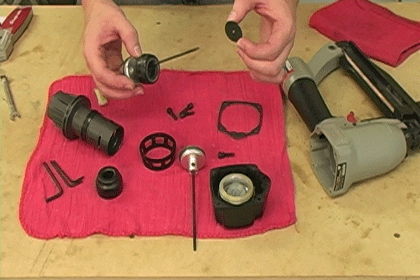
Remove the piston bumper.
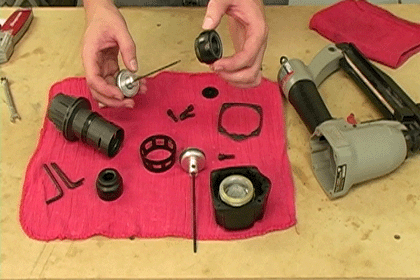
Remove the piston and driver assembly.
 [Back to Top]
Installing the Maintenance Kit
[Back to Top]
Installing the Maintenance Kit
1. Lubricate the piston o-ring
Use some of the lube that came in the maintenance kit to lubricate the piston o-ring.
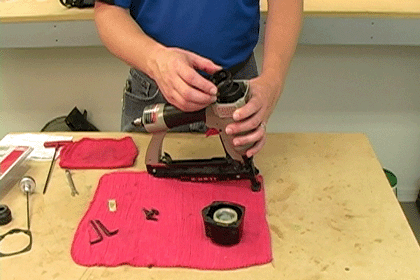
2. Install the piston assembly
Slide the piston into the cylinder.
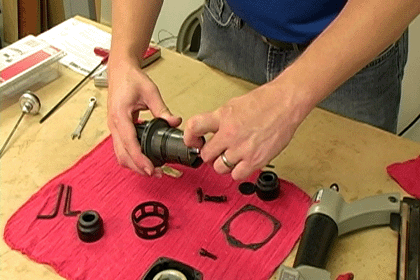
Insert the piston bumper.
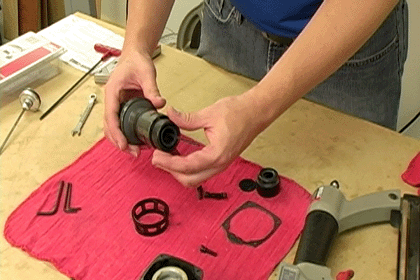
Slide the alignment plate over the driver.

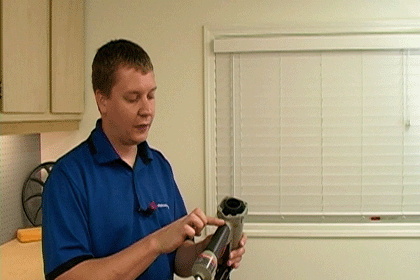
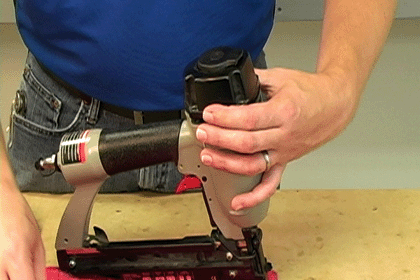
3. Install the cylinder
You need to make sure you install the piston assembly so it aligns with the notch in the tip of the nailer. To see the correct alignment, hold your nail gun up and look for the light coming in through the notch.
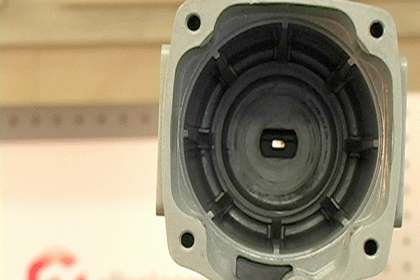
Then just slide the cylinder into the nail gun so the driver goes through the notch.
4. Replace the head gasket
On many nail guns the head gasket will be stuck to the head. Use a set of box cutters to peel the gasket off the head and replace it with your new gasket.
5. Reassemble the nail gun
Set the cylinder cage back into place.
Set the gasket and head into position on the nail gun and begin threading the four screws.
As the screws become tighter, work your way around the head, torquing each one down a bit at a time to ensure you get an even seal.
 [Back to Top]
Conclusion
A driver maintenance kit like this one can save a nail gun from a trip to the garbage at a fraction of the the cost of a new tool. The repair only takes about 20 minutes and, in many cases, can be completed with only the included tools.
Remember to find the kit designed specifically for your nail gun or other power tools with eReplacementParts.com for accurate ordering, fast shipping and the professional repair information that will get your tool running again.
[Back to top]
[Back to Top]
Conclusion
A driver maintenance kit like this one can save a nail gun from a trip to the garbage at a fraction of the the cost of a new tool. The repair only takes about 20 minutes and, in many cases, can be completed with only the included tools.
Remember to find the kit designed specifically for your nail gun or other power tools with eReplacementParts.com for accurate ordering, fast shipping and the professional repair information that will get your tool running again.
[Back to top]
What we're about.
