


Why Read This Article?
Finish Nailer Repair - Replacing the Driver Guide (Ridgid Part # 79004001022)
Article Breakdown
Finish Nailer Repair - Replacing the Driver Guide (Ridgid Part # 79004001022)
Video

Tools & Materials
- Socket wrench
- Screwdriver
- Needle-nose pliers
 Find this pull rope and more by visiting our Honda HRX217 parts page!
Replacing the starter rope
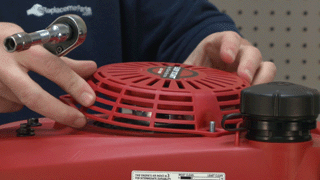
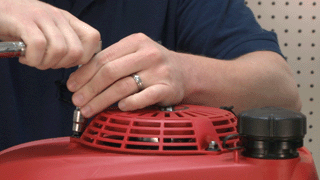
1. Remove the starter assembly
Use a socket wrench to remove the four bolts holding the starter assembly to the engine.
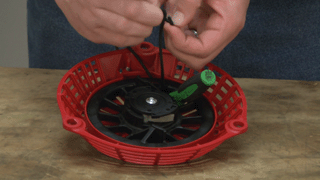
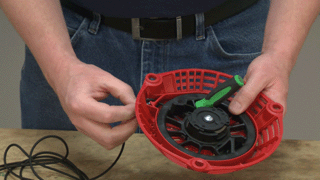
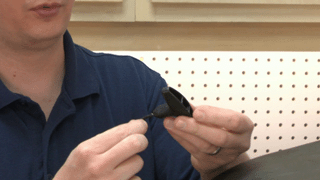
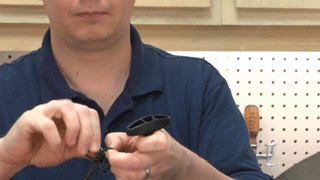
2. Remove the rope from the starter assembly
Simply pull the rope away from the pulley. Place a screwdriver into the pulley to secure it in place -- then cut/untie the rope and remove it from the assembly.
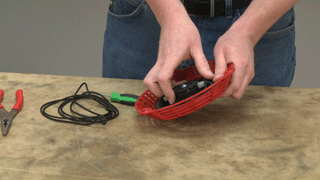
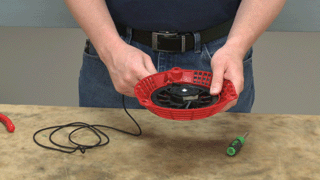
3. Re-tension the spring
Turn the pulley counter-clockwise to re-tension the spring.
4. Align holes on the starter pulley and housing
Once you're pulley has been wound, align the eyelet hole in the pulley with the eyelet hole in the housing.
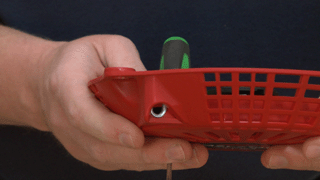
5. Secure the pulley with a screwdriver
Simply place a screwdriver through the pulley to prevent it from moving.
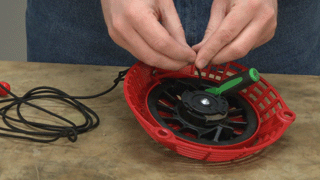
6. Fish new pull rope through the housing
Take the new rope and push it through the hole in the housing and pulley, leaving about 4-5 inches of slack.
7. Tie a knot in the pull rope and secure.
Use the slack to tie a knot in the end of the rope to secure it to the housing assembly.
8. Allow the rope to feed back onto the pulley
Remove the screwdriver that's securing the pulley and carefully allow the rope to coil up onto the recoil assembly, leaving about 3 feet of rope hanging out.
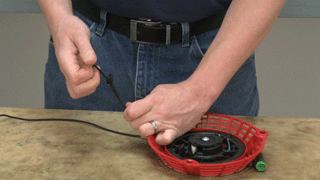
9. Tie a knot to avoid the rope being pulled into the housing
Tie a knot using the extra rope you have hanging out to prevent it from recoiling back into the housing.
10. Reinstall the starter assembly
Use a socket wrench to re-secure the starter assembly to the motor.
11. Replace the grip
Thread the end of the new rope through the grip and tie a knot at the end to secure it.
Then, untie the rope that was preventing the rope from recoiling.
[Back to Top]
Conclusion
See, wasn't that easy? And even if you don't have the exact model that we used in this video, the process should be the same with other manufacturers. Make sure to take this repair slowly as one wrong move can make your repair that much more difficult. Now start up that lawn-chopper and get to cutting!
We've got the lawn equipment parts you need for this spring and summer, here.
[Back to Top]
What We're About
