


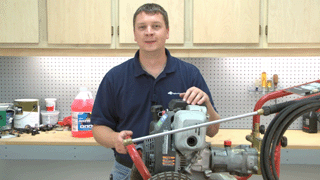
Why Read This Article?
Finish Nailer Repair - Replacing the Driver Guide (Ridgid Part # 79004001022)
Article Breakdown
Finish Nailer Repair - Replacing the Driver Guide (Ridgid Part # 79004001022)
Video

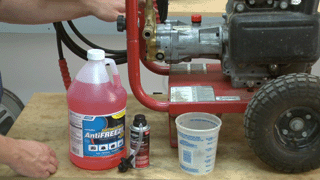
Tools & Materials
- Screwdriver
- Spark plug boot remover
- Socket wrench
- Needle-nose pliers
- Fuel-line clamp
- RV antifreeze/Pump Saver
- Motor oil
Check out our huge selection of Honda pressure washer parts here.
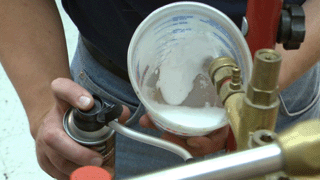
Add antifreeze to pump
1. Choose the correct antifreeze
Use either RV antifreeze or a can of Pump Saver.
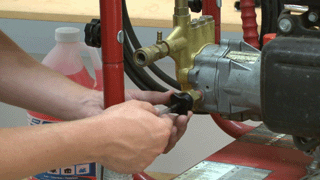
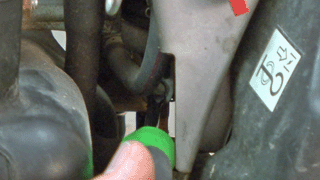
2. Attach Pump Saver hose to the inlet of the pump
If you use RV antifreeze, you'll want to rig up a hose to the inlet of the pump and a funnel to outlet. This will allow you to add the antifreeze to your pump.
If you're using a can of Pump Saver, simply screw the hose from the can to the inlet on the pump.
3. Place container over the outlet of the pump
This will catch the excess fluids that will drain out during this process.
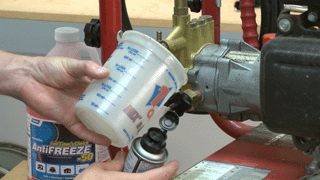
4. Spray the Pump Saver
Hold down the Pump Saver button for about 10-20 seconds.
[Back to Top] Remove all fuel from your fuel system
1. Clamp off the fuel line
Use of pair of hose clamps to clamp your fuel line.
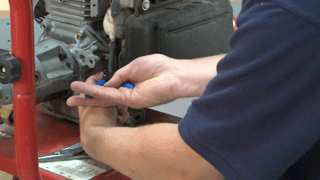
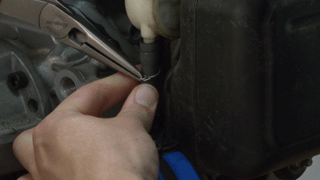
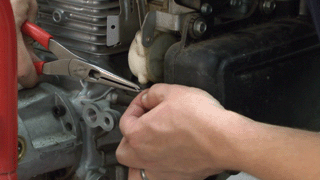
2. Release fuel clamp and full fuel line away from carburetor/fuel pump
Use a pair of needle-nose pliers to remove the fuel clamp -- then pull the fuel off of the carburetor or fuel pump (models may be different).
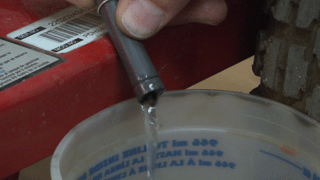
3. Drain fuel into container
After you remove the hose from the carburetor, make sure you have a container to catch the fuel you'll be draining.
4. Reattach fuel line and clamp
Once all of the fuel has been emptied, replace the fuel line and clamp into their original locations.
5. Remove fuel from the carburetor bowl
Depending on the type of carburetor you have, you'll empty the fuel by loosening a valve screw or by removing and draining the bowl completely.
 [Back to Top]
Add oil to the cylinder
[Back to Top]
Add oil to the cylinder
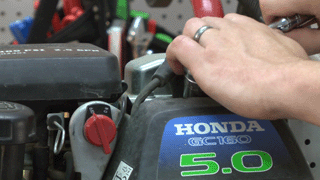
1. Remove the spark plug
Use a socket to remove the spark plug from the cylinder.
2. Add a little bit of oil into the cylinder
Add about a tablespoon of 30W motor oil into the cylinder.

3. Use the starter to crank engine over a few times
Pull the pull cord a few times to circulate the oil in the piston.

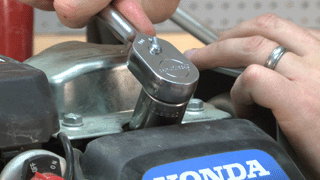
4. Replace the spark plug
Replace the spark plug with a socket wrench.
[Back to Top]
Conclusion
And it's just that easy to winterize your pressure washer for the winter. No matter what type of pressure washer you have, the steps of this process won't change. Not only will this save you money on replacing parts, it will extend the life of your pressure washer. You'll be happy you winterized your pressure washer when Spring hits, so don't delay!
Need parts for your pressure washer? Take a look at our huge selection of replacement pressure washer parts.
[Back to Top]
What We're About
