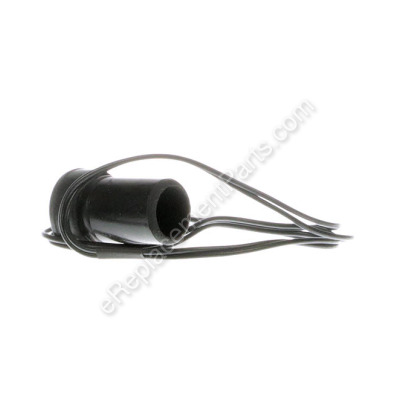
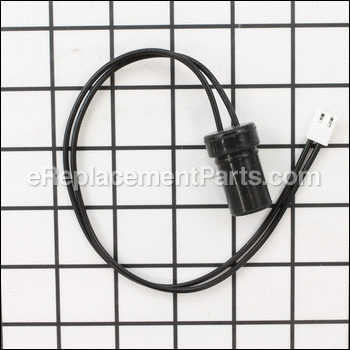
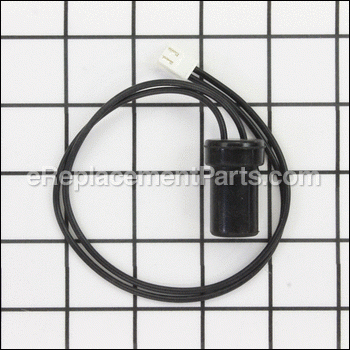
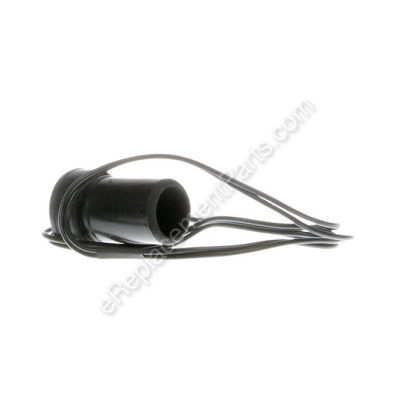
*This part replaces obsolete part #: 70-016-0100.
Product Information
Description:
| This is a photocell designed for use in space heaters to detect the presence of a flame, ensuring that the burner ignites and remains lit to provide heat while preventing the release of unburned gas. This photocell is a genuine OEM part, sold individually, and is compatible with various heater models. It is typically attached to the main combustion chamber with a bracket (sold separately). Factors like dirt and debris, aging, and exposure to higher temperatures can lead to photocell failure. A failing photocell can result in your heater not starting, starting intermittently and then shutting down, and sometimes displaying error codes related to the photocell. To replace this part, you will need a screwdriver and/or socket wrench, as well as a set of pliers. Begin by disconnecting the heater from its power source and draining the fuel from the heater. Remove the top, back, and side covers of the heater to access its internal components. Locate the photocell within the heater, disconnect its cable and the photocell itself, and then install the new photocell. Reassemble your heater, ensuring that any disconnected wires are properly reconnected. |
Frequently Purchased With
Repair Guides
Articles:
|
Step-by-step instructions for removing and installing the photocell on your ProTemp heater....
January 24, 2018
|
Questions & Answers for Photocell Assembly
No questions have been asked yet
Repair Instructions: Submitted by Customers Like You
4 of 5 people found this instruction helpful
Tool Type:
Heater
Repair Difficulty:
Medium
Time Spent Repairing:
15-30 minutes
Tools Used:
Screwdriver, Pliers
Heater would run for a minute, then shut off. If i removed the cover, it ran well.
Replaced the photocell and nozzle. Replaced the air hose as well.
Did you find this story helpful?
Thanks for voting and helping fellow customers!
1 of 1 people found this instruction helpful
Tool Type:
Heater
Parts Used:
Repair Difficulty:
Medium
Time Spent Repairing:
15-30 minutes
Tools Used:
Screwdriver, Nutdriver
Heater would not start
Removed the old components and replaced them with the new ones. The unit runs great!
Did you find this story helpful?
Thanks for voting and helping fellow customers!
1 of 1 people found this instruction helpful
Tool Type:
Heater
Repair Difficulty:
Easy
Time Spent Repairing:
15-30 minutes
Tools Used:
Screwdriver
Replaced the original thermostat and photocell which were both 12 years old.
Unscrewed the hood cover (4 screws)
Unscrewed the control panel (4 screws)
Unscrewed the burner unit (three screws)
Pulled the photocell sensor out of the metal bracket as it is only friction fit
Removed photocell wire lead plug that attaches to the main control panel
Unscrewed the thermostat bracket from the inside of the cover housing
Unscrewed the thermostat from the bracket (2 screws)
Pulled two separate wire leads from thermostat
Installed new thermostat
Reverse order this process and you are done!
Did you find this story helpful?
Thanks for voting and helping fellow customers!
Tool Type:
Heater
Parts Used:
Repair Difficulty:
Easy
Time Spent Repairing:
Less than 15 minutes
Tools Used:
Screwdriver, Nutdriver
Heater ran 15 sec then wouldn't stay lit. Displayed E-1 code.
Removed top cover(s) and side covers , removed flame detector wires from drive Board , pulled wires through the lower cover and the flame detector bracket. Reinstalled all parts as needed. Don't fire up the heater with the top covers off it will trick the heater into a fault because of not enough air through the combustion can.
Did you find this story helpful?
Thanks for voting and helping fellow customers!
Tool Type:
Heater
Parts Used:
Repair Difficulty:
Easy
Time Spent Repairing:
30-60 minutes
Tools Used:
Screwdriver, Pliers
would shut down. threw a photocell code.
bought this heater 10 years ago recently would shut down. threw a photocell code. opend it up and the lines were weather cracked and my thermostat was stuck on from being banged around. heavy use.so i decided to replace everything.very simple to work on and parts are cheep. working on a protemp pt125k forced air heater.
Did you find this story helpful?
Thanks for voting and helping fellow customers!
Tool Type:
Heater
Parts Used:
Repair Difficulty:
Hard
Time Spent Repairing:
30-60 minutes
Tools Used:
Screwdriver, soldering iron, 2.5K resistor
Failed to continue operation after 1-2 minutes
Heat Stream 70T 70K Btu;
Removed covers, replaced CDS photocell, on-line information shows replacement part # -1000 was a replacement, however, was incorrect connector; CDS cell leads soldered / spliced to original connector; problem unresolved, same as with original cell;
Discovered CDS ranging resistor R12 had changed value providing a marginal out of range voltage to the RISC processor input while operating. Padded 5V B+ resistor by adding 2.5K ohms; operational voltage to RISC input lowered from 2.4V average to 2.1V average while flame active; system now operates correctly. System checked for correct shutdown when optical path blocked simulating flame out condition.
Did you find this story helpful?
Thanks for voting and helping fellow customers!
Tool Type:
Heater
Parts Used:
Repair Difficulty:
Easy
Time Spent Repairing:
30-60 minutes
Tools Used:
Screwdriver, Pliers, Socket set, Hammer
Torpedo Hester bad nozzle
Replace nozzle. Also replaced photocell and spark plug as unit sees much use
Did you find this story helpful?
Thanks for voting and helping fellow customers!
Tool Type:
Heater
Parts Used:
Repair Difficulty:
Medium
Time Spent Repairing:
1-2 hours
Tools Used:
Screwdriver, Pliers
Not running properly, low pressure, cracked air line and deteriorated fuel line
Disassembly of the unit is pretty straightforward. Just seven sheet metal screws if I remember correctly. The only problem I encountered was that the nipple on the new fuel filter was the larger diameter than the old filter. The new fuel line purchased also has a much larger diameter to accommodate this. Unfortunately the unit was getting too much fuel after I completed the repair. It was not running properly. I went to the local hardware store and purchase the smaller diameter new fuel line and was able to stretch this over the larger nipple of the new filter. It runs perfectly again.
Did you find this story helpful?
Thanks for voting and helping fellow customers!
Tool Type:
Heater
Repair Difficulty:
Easy
Time Spent Repairing:
30-60 minutes
Tools Used:
Screwdriver, Socket set, Wrench Set, Nutdriver
The photocell turned out to be bad and also the thermostatic limit control switch
I basically took the tools that I had on hand and remove the cover of the heater and removed and replaced the photocell and thermostat limit control switch
Did you find this story helpful?
Thanks for voting and helping fellow customers!
Tool Type:
Heater
Parts Used:
Repair Difficulty:
Easy
Time Spent Repairing:
Less than 15 minutes
Tools Used:
Screwdriver, Pliers
Heater would not cycle on
Disconnect photo sensor and heater cycled on for 30 sec. Ran just Like new. Determined circuit board had power and all was functional on circuit board . Checked temp sensor by applying heat and could hear and feel sensor cycle on/off. Determined bad photo sensor
Did you find this story helpful?
Thanks for voting and helping fellow customers!
show more
Reviews
3 Reviews
Average Rating (out of 5):
Click to filter by ratings:
5 stars
2
4 stars
1
3 stars
0
2 stars
0
1 stars
0
< PREV
- 1
Just what we needed
We got this quickly. Even though it was supposed to fit our machine, the connector was wrong. We quickly changed it's end for ours and it works great. No more taping a flashlight in place to have heat in our garage.
Guest -
January 19, 2021
Verified Purchase
Satisfied
Good service fast delivery
iGlobal -
October 22, 2020
Verified Purchase
photocell assembly.
works well ,but had to adapt it a little, my plug end was different so i switched them with the old one.
Guest -
November 30, 2019
Verified Purchase
Verified Purchase
eReplacementParts Team
< PREV
- 1
Product Information
Repair Guides
Articles:
|
Step-by-step instructions for removing and installing the photocell on your ProTemp heater....
January 24, 2018
|

